OPERATING TECHNIQUES
The following guidelines will help the operator avoid
operating problems, producing bad parts, causing
injury to himself or damage to the tooling or machine.
TOOLING AND SETUP
◆ DO inspect the tooling carefully before starting
any job. It may be impossible to compensate for
badly worn dies and they could create a safety
hazard.
◆
DO select tooling which is correct for the job and
compatible with machine capacity. It is especial-
ly important to have the exact tooling when
recalling a previously run program from storage.
◆ DO ensure that tooling shoulders are tightly
seated against ram and filler block, and that
upper and lower dies are aligned front-to-back.
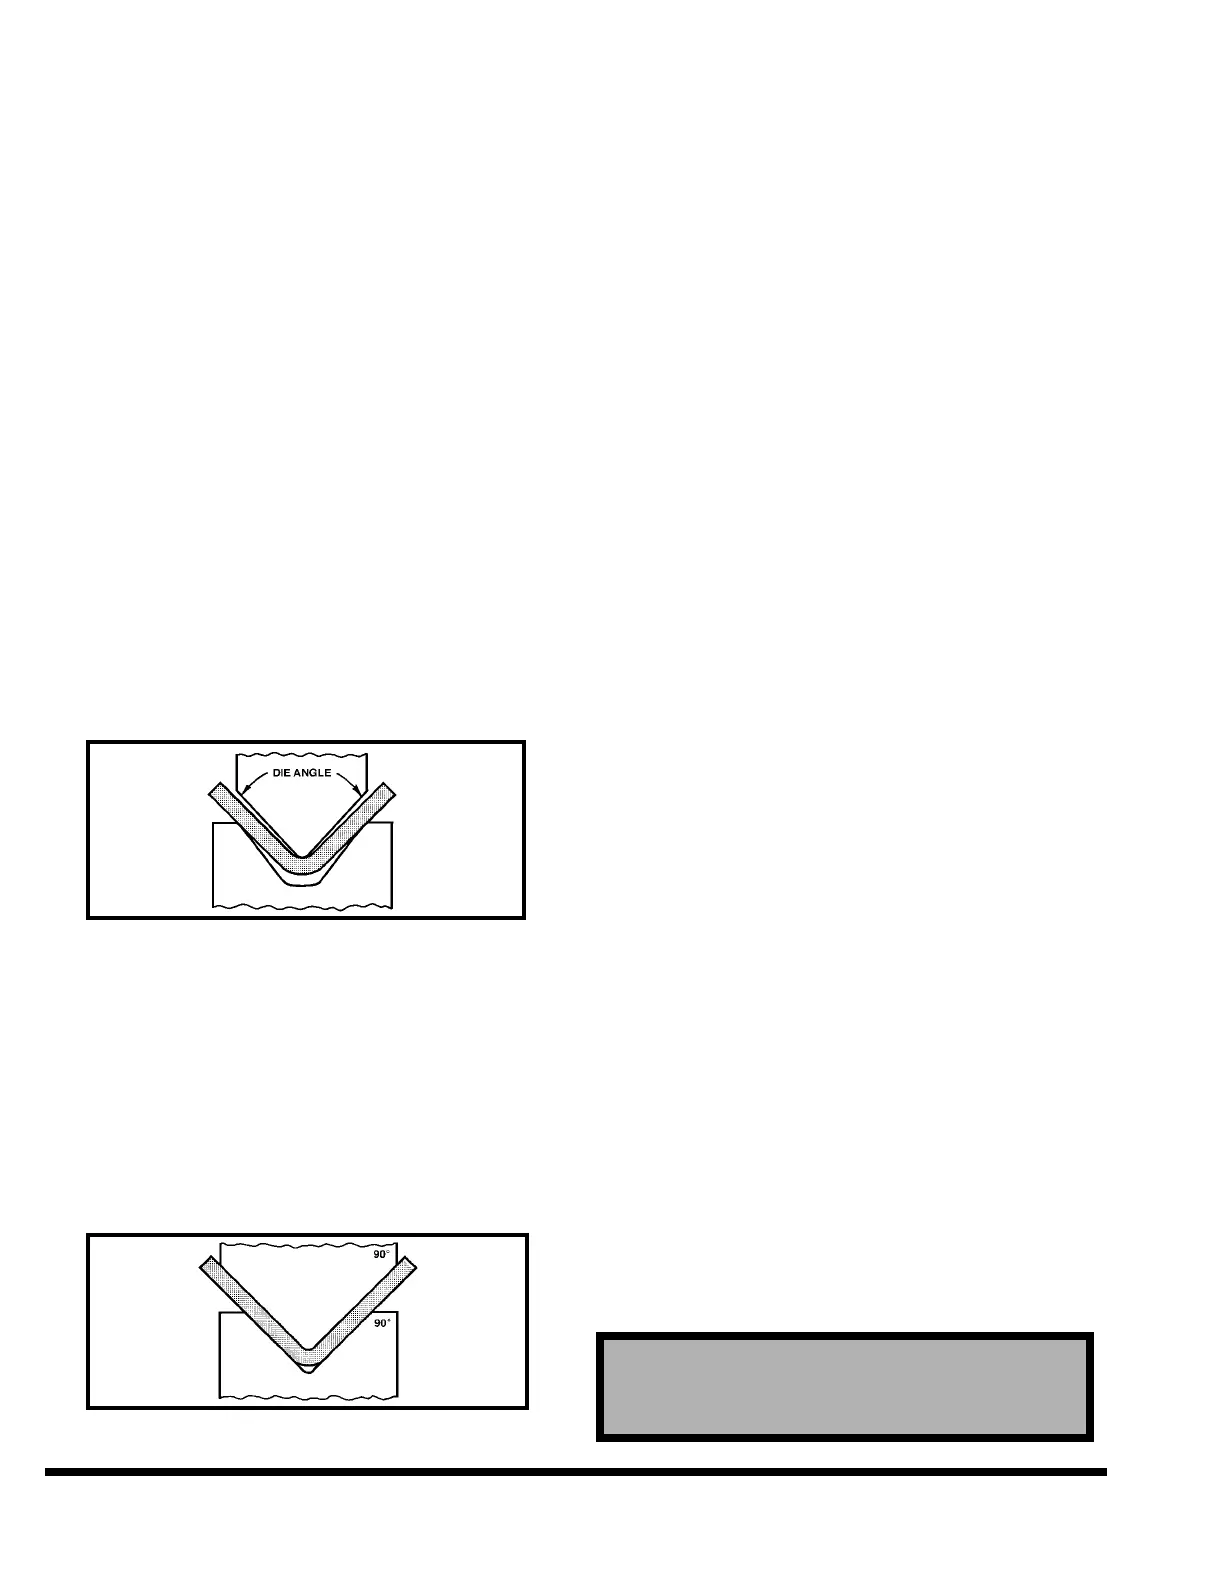
◆ DO NOT attempt to bend a part to the same
angle as the die when using ANGLE. Dies must
have sufficient allowance for springback so the
part does not bottom in the dies. It may be nec-
essary to use 80° (or less) dies when 90° air
bending for certain materials with large “spring-
back”. See Figure 5-17.
FIGURE 5-17 – Air bend
◆ DO NOT attempt to air bend a part when TON-
NAGE reversal has been selected. Bottoming dies
must be used when reversing on tonnage. See
Figure 5-18.
Note: Either air bend or bottoming dies can be
used when POSITION reversal has been
selected. However, sufficient clearance in
the dies and careful selection of the rever-
sal position and maximum tonnage is nec-
essary to avoid excessive tonnage build-up.
FIGURE 5-18 – Bottoming
◆ DO NOT use ANGLE or TONNAGE reversal
when punching. POSITION reversal should be
selected for punching.
◆ DO use as large a vee die opening as possible
when air bending. Larger vee openings are less
sensitive to material thickness variations,
deflections and tooling height variations.
◆ DO make ram tilt and die shimming adjust-
ments as soon as possible when setting up a
program as they may affect program inputs.
RUNNING
◆ DO NOT start running a job until the proper
methods and safeguards to protect the operator
and others from injury are understood and are
in place.
◆ DO NOT jog through the bend. Once ram has
reached speed change position, motion should
be continued through the bottom of the stroke.
◆ DO remove burrs or keep burrs up on material
for more consistent bends.
◆ DO run production in same speed in which the
setting up part was made.
◆ DO NOT make angle corrections in the middle
of a production run unless two or more consec-
utive bends are out-of-tolerance.
◆ ALWAYS block the ram or position the ram at
bottom of the stroke and turn “OFF” STROKE
CONTROL switch and remove the key whenever
leaving the machine.
GAGES
◆ DO ensure that gaging surfaces will not inter-
fere with the tooling or ram when setting up or
running a job.
◆ DO use the gaging surface which provides the
largest possible gaging target.
◆ DO spread gage fingers as far as possible to
achieve the best gaging accuracy.
◆ DO support workpiece in the gaging position,
both in front and rear of the bed.
REMOVING TOOLING
CAUTION
Before proceeding, read guidelines in SAFETY
section for removing tooling.
5-8