DLP-G316 Installing Fiber-Optic Cables from TXP, MXP Cards to the Standard
Patch Panel Tray
This task describes how to route fiber-optic cables
from the patch panel to TXP, MXP, GE_XP,
10GE_XP, GE_XPE, 10GE_XPE, ADM-10G, or
OTU2_XP cards.
Purpose
TXP, MXP, GE_XP, 10GE_XP, GE_XPE,
10GE_XPE, ADM-10G, or OTU2_XP card(s)
Fiber-optic cable(s)
Tools/Equipment
NTP-G34 Installing Fiber-Optic Cables on DWDM
Cards and DCUs, on page 27
Prerequisite Procedures
As neededRequired/As Needed
OnsiteOnsite/Remote
NoneSecurity Level
Procedure
Step 1 At the appropriate TXP, MXP, GE_XP, 10GE_XP, GE_XPE, 10GE_XPE, ADM-10G, or OTU2_XP card,
plug one end of a fiber-optic cable into the TX port of the DWDM adapter.
Step 2 As needed, route slack fiber-optic cable around the round cable retainers in the fiber-storage tray.
When you close the fiber-storage tray, the cables must not be pinched, and the cable bend radius
must be equal to or greater than the minimum radius that is recommended in your site specifications.
As you route each cable through the fiber-storage tray, make sure that adequate cable slack remains.
Caution
Step 3 On the DWDM (front) side of the patch panel, plug the other end of the cable into the connector on the bottom
row that corresponds to the wavelength to which the TXP, MXP, GE_XP, 10GE_XP, GE_XPE, 10GE_XPE,
ADM-10G, or OTU2_XP port is tuned.
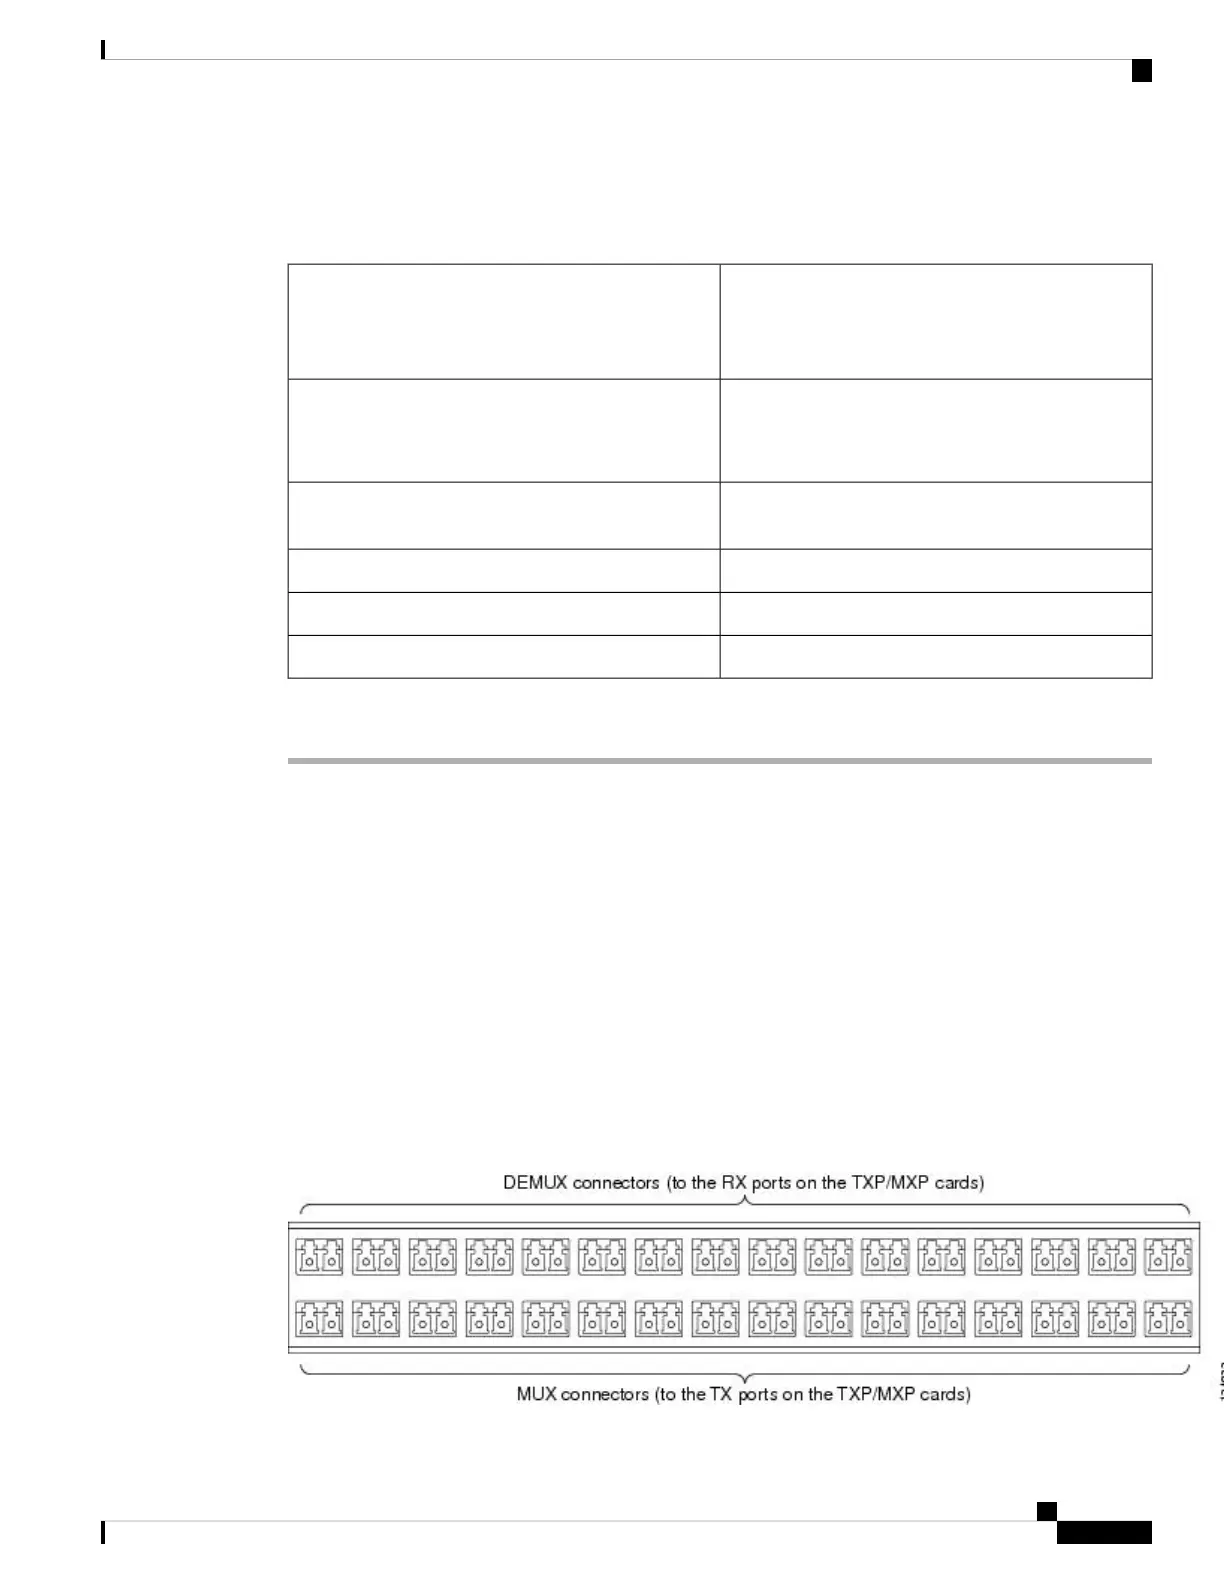
The following figure shows the patch panel connectors from the front of the patch panel tray.
Figure 7: Front View of the Patch Panel
.
Turning Up a Node
39
Turning Up a Node
DLP-G316 Installing Fiber-Optic Cables from TXP, MXP Cards to the Standard Patch Panel Tray

 Loading...


