Procedure
Step 1 Remove the NVMe/SAS SSD carrier assembly from the chassis:
a) Push the drive carrier button to disengage the drive carrier bezel.
b) Pull the drive carrier bezel to detach the carrier assembly from the chassis.
c) Remove the carrier assembly from the chassis.
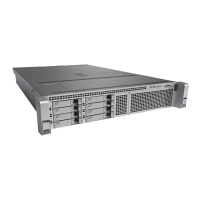
Figure 46: Removing the NVMe/SSD Carrier Assembly
Step 2 Remove the NVMe/SAS SSD drive from the carrier:
a) Using a Phillips screwdriver, remove the four (4) screws.
b) Remove the NVMe/SAS SSD drive from the carrier.
Figure 47: Removing the NVMe/SSD from the Carrier Assembly
Step 3 Install NVMe/SAS SSD drive to the carrier:
a) Place the NVMe/SAS SSD drive into the chassis.
b) Using a Phillips screwdriver, insert and tighten the four (4) screws to secure the NVMe/SAS SSD drive to the carrier.
Cisco UCS C885A M8 Server Installation and Service Guide
58
Maintaining the Server
Removing and Replacing the NVMe/SAS SSD Drive
 Loading...