3. Open My Computer and navigate to your C: drive. Create a new directory called
C:\TFTP.
4. In the C:\TFTP directory:
a. Create another directory called Release.
b. Copy the following file from the Drivers USB to the C:\TFTP\Release
directory:
• Drivers USB > ECLIPSE DRIVERS > Panel_Software > V-Series
> Main_Board > xxxxxx- Panel UBOOT TFTP Image > u-boot.ldr
Where xxxxxx represents a product number.
c. Copy the following files from the software USB to the C:\TFTP\Release
directory:
• Drivers USB > ECLIPSE DRIVERS > Panel_Software > V-Series
> Main_Board > xxxxxx- Root File System > rootfs.cramfs
• Drivers USB > ECLIPSE DRIVERS > Panel_Software > V-Series
> Main_Board > xxxxxx- Panel Kernel > vmImage
• Drivers USB > ECLIPSE DRIVERS > Panel_Software > V-Series
> Main_Board > xxxxxx - Panel Application > sbin.jffs2
Where xxxxxx represents a product number.
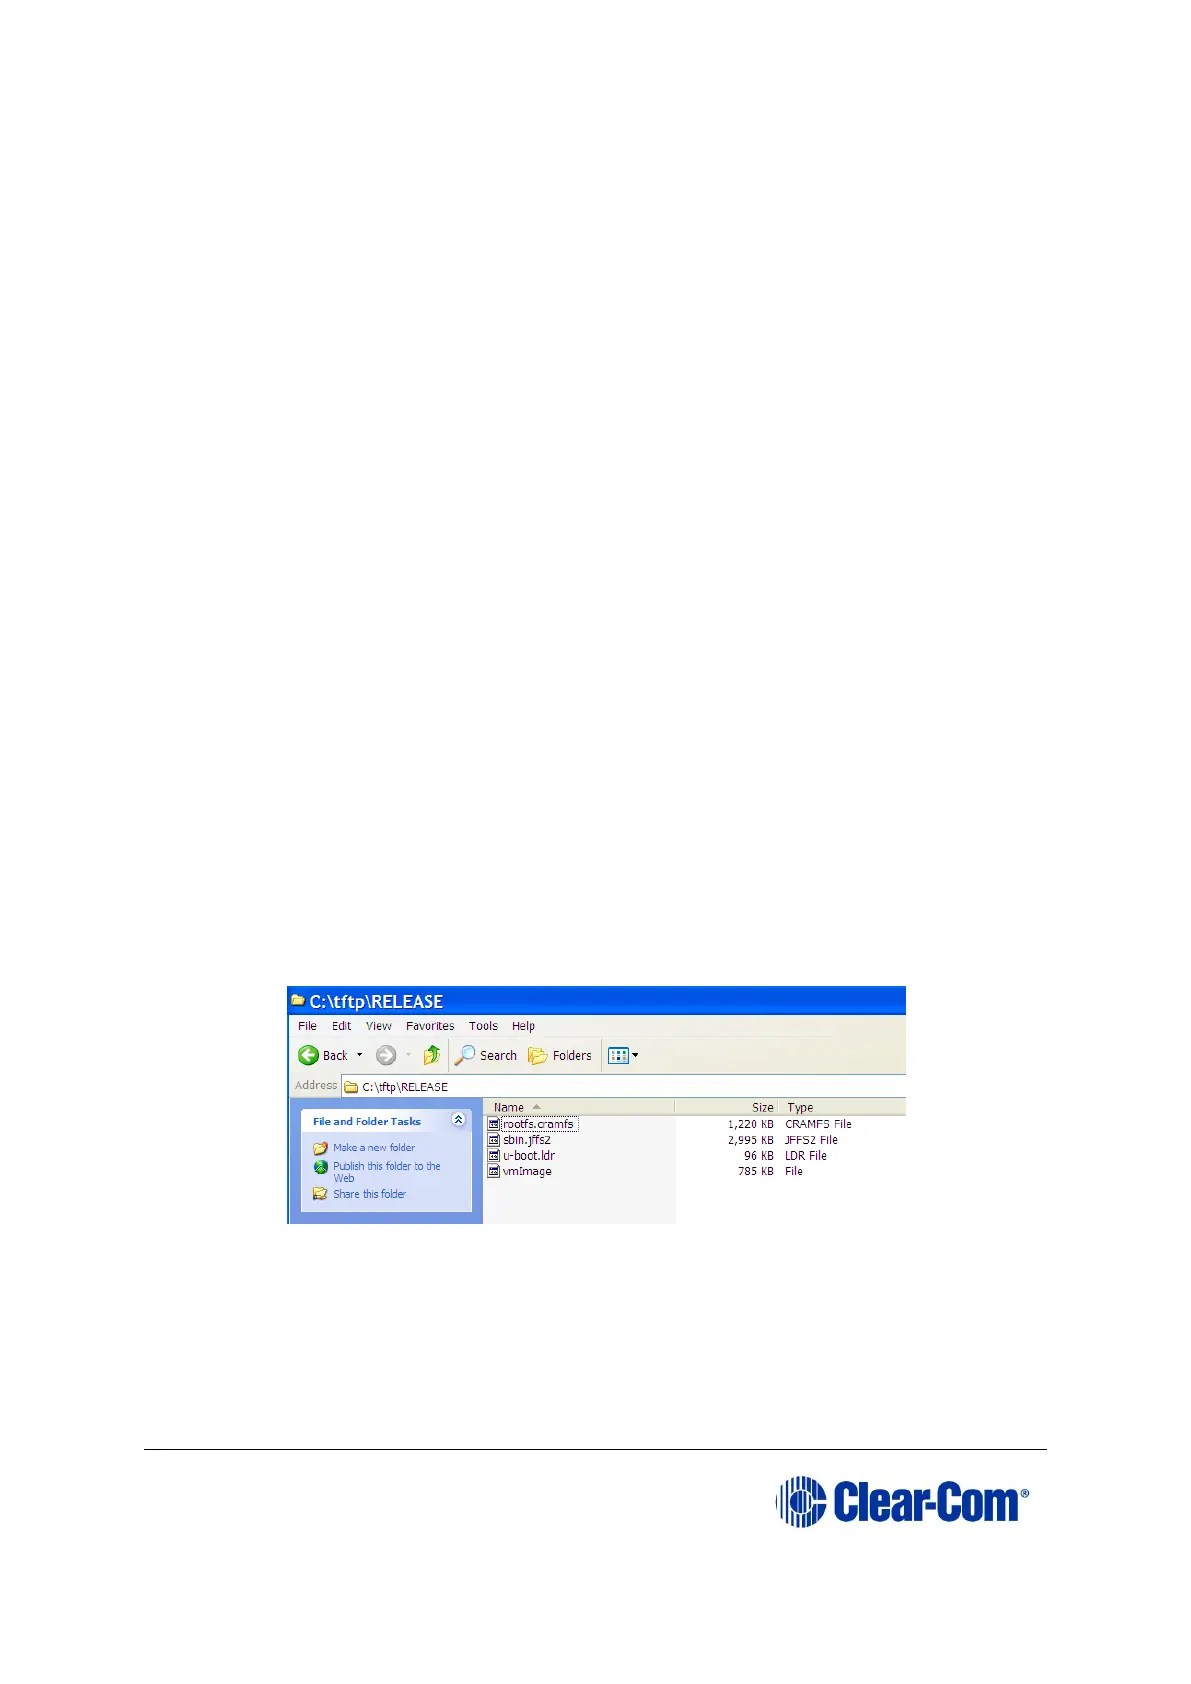
The C:\TFTP > Release directory appears similar to the following:
Figure 14-18: C:\TFTP > Release directory
5. From the Start menu of your PC:
a. Select Settings > Network and Dial-up Connections.