Positioning the counterweight
P/N 63674, Rev. 9 Page 39
3.7 POSITIONING THE COUNTERWEIGHT
After the chuck legs are correctly configured and assembled on the chuck hub, the
counterweight should be mounted on the machine.
The counterweight must be installed when the machine is used in a
vertical machining application. CLIMAX recommends that you always
use the counterweight as it improves the performance of the machine
and produces a flatter surface.
The machining arm may be mounted in a horizontal orientation after the chuck is
mounted to the workpiece, but the machining arm should be mounted first.
The counterweight serves to reduce the load on the servo drive motor and protect
the drive system from excessive force. The counterweight also provides stability to
the machine that creates more precise machining tolerances.
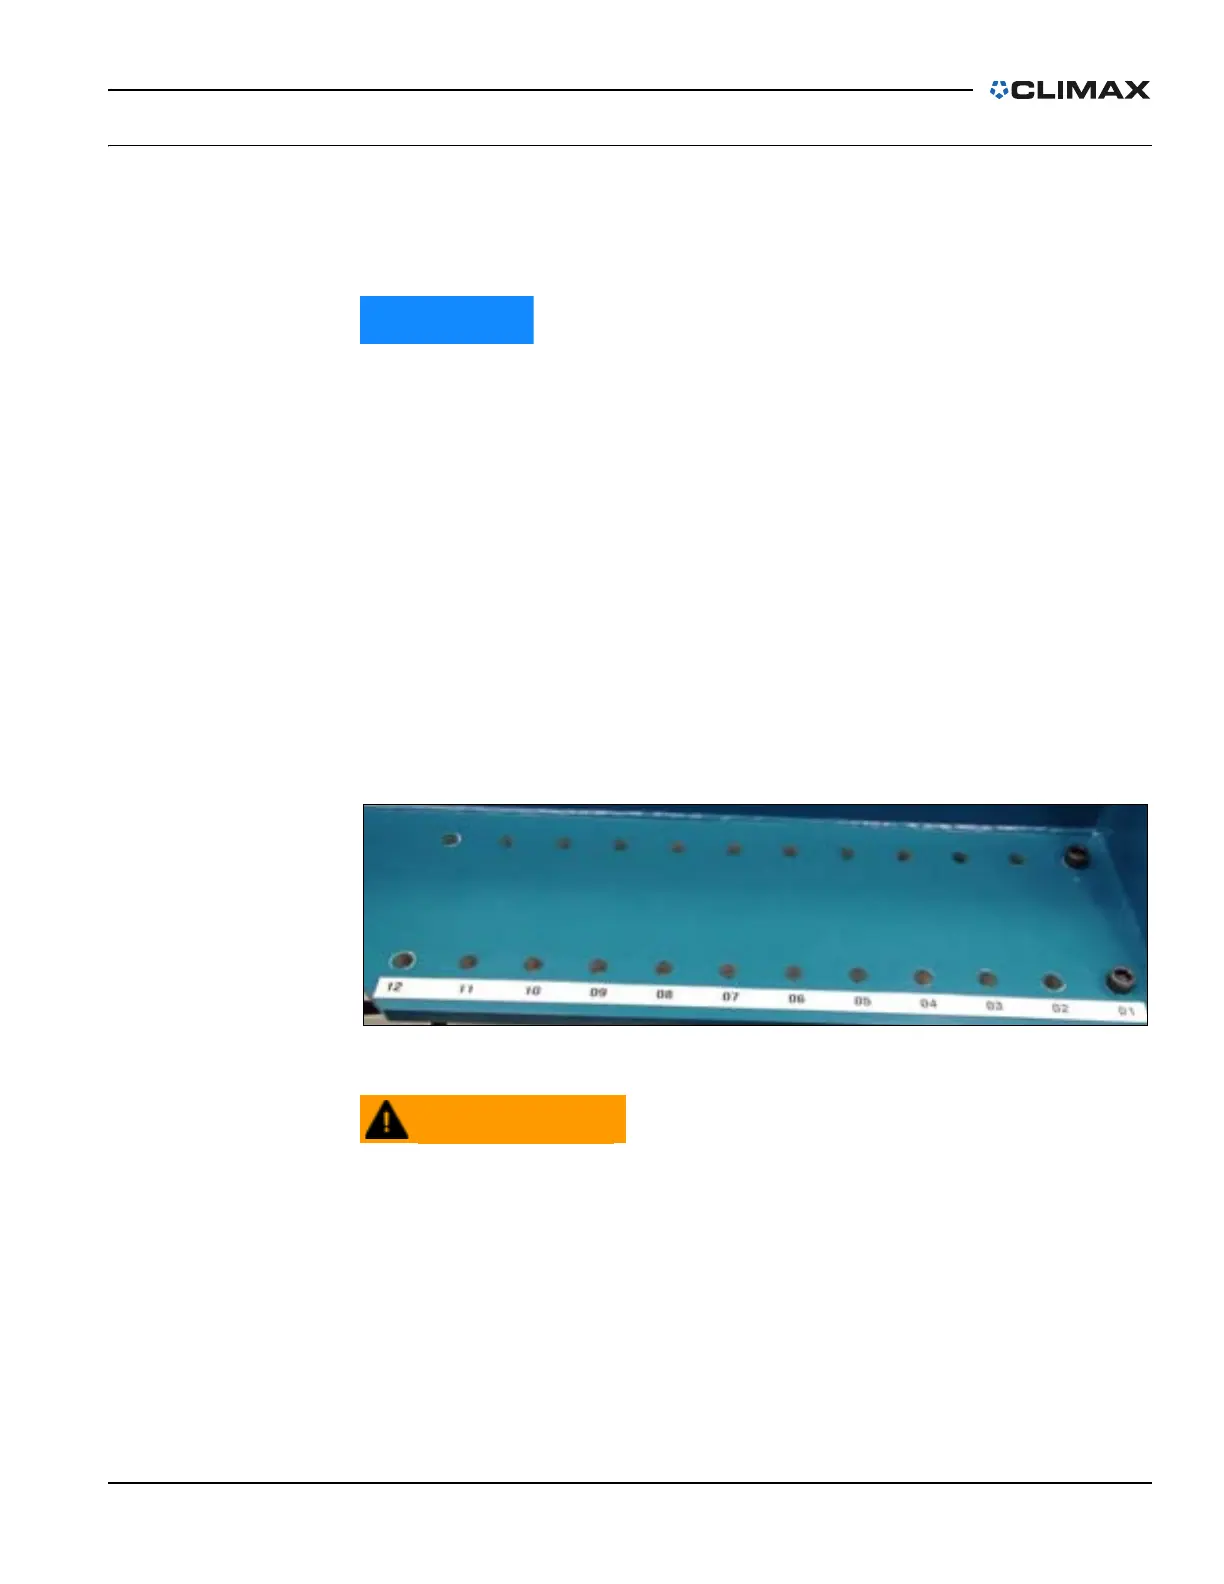
The counterweight has multiple settings and can be positioned by sliding it radially
to the next bolt-hole position (Figure 3-23). Follow the parameters in Table 3-8 on
page 38 to position the machining arm and counterweight in the necessary position
for correct range of the machining operation.
FIGURE 3-23. COUNTERWEIGHT BOLT-HOLE POSITIONS
Tighten the counterweight arm mounting bolts to 110 ft-lb (150 Nm) to
prevent unexpected movement that could cause serious injury or death.
Check that all mounting hardware is secure. A loose counterweight can
fall off during operation, seriously injuring the operator or bystanders.
Do the following to mount the counterweight:
1. Position the counterweight to the location required by your machining
needs.