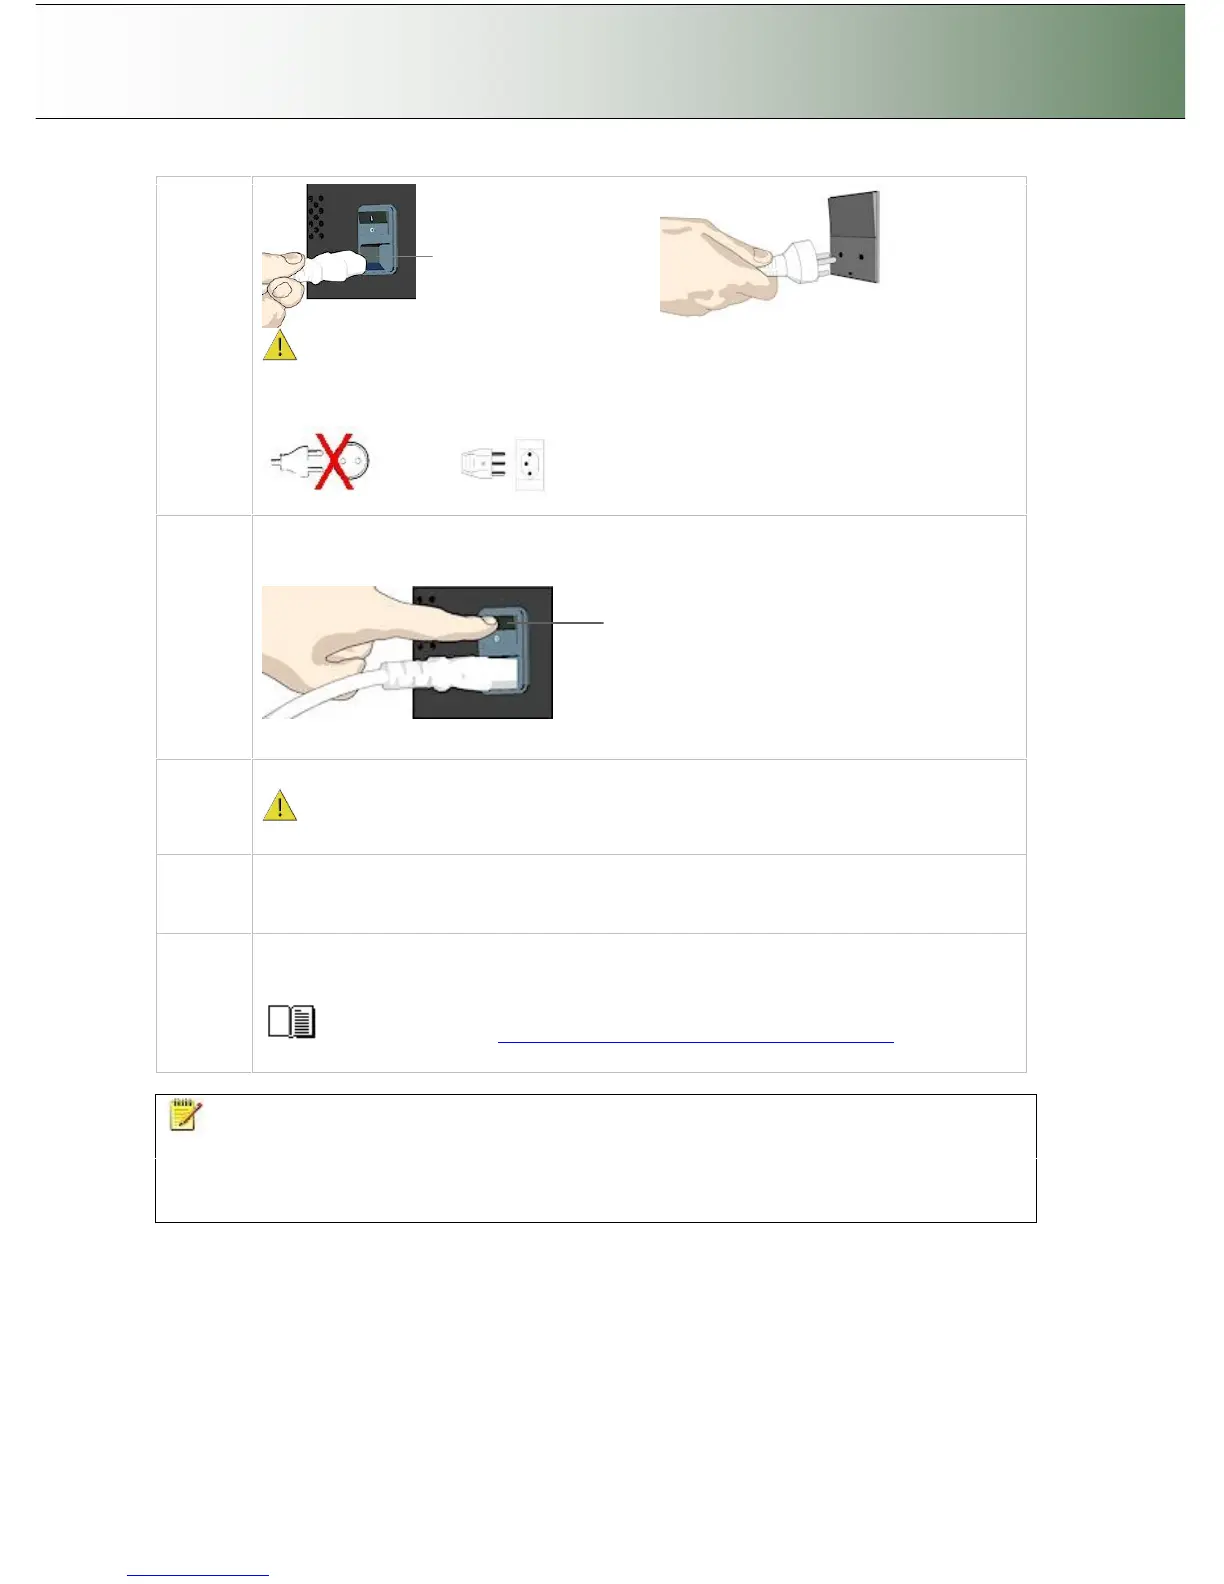
Caution: The scanner is equipped with a three-wire (pin) grounding type plug. If you
cannot insert the plug into your outlet, contact your electrician to replace the outlet and
ensure a grounded power connection. Do not try to defeat or ignore the purpose of the
grounding-type plug.
9
Turn on the Scanner
To turn on the scanner - at back of the scanner, plug in the power cable and flip the Outlet
Switch to ON. The scanner starts the init and self test sequence.
Main Power switch
Press the
“I” to turn on.
Power outlet and switch is found at the back of the scanner
10
Turn on the PC
Make sure the PC connected to the scanner is likewise power-connected to a
grounding-type power outlet with a three-wire (pin) grounding type plug.
11
Verify installation of new hardware
Double click on the WIDEsystem scanner icon on the Windows system tray. The program
should detect a Selected Scanner in the dialog.
12
Run preliminary Scanner Maintenance - Maintenance program
Left click on the WIDEsystem scanner Icon and select Launch Scanner Maintenance from
the menu. Follow the instructions on your screen.
See the section ”Running the Scanner Maintenance Program” for detailed
instructions.
NOTE: On Windows Compatibility - Your scanner and drivers are tested and developed to support
the most current active Microsoft Windows version OS systems. Drivers and interface support in regard to
specific Windows versions will follow the Microsoft Support Lifecycle Policy. The compatibility
specifications can therefore change accordingly. The most current OS compatibility specifications and
drivers will be available on your manufacturer’s website.