Using the scanner, how do I … Scan to File? 6-10
6.2.7 Set the File Format Quality
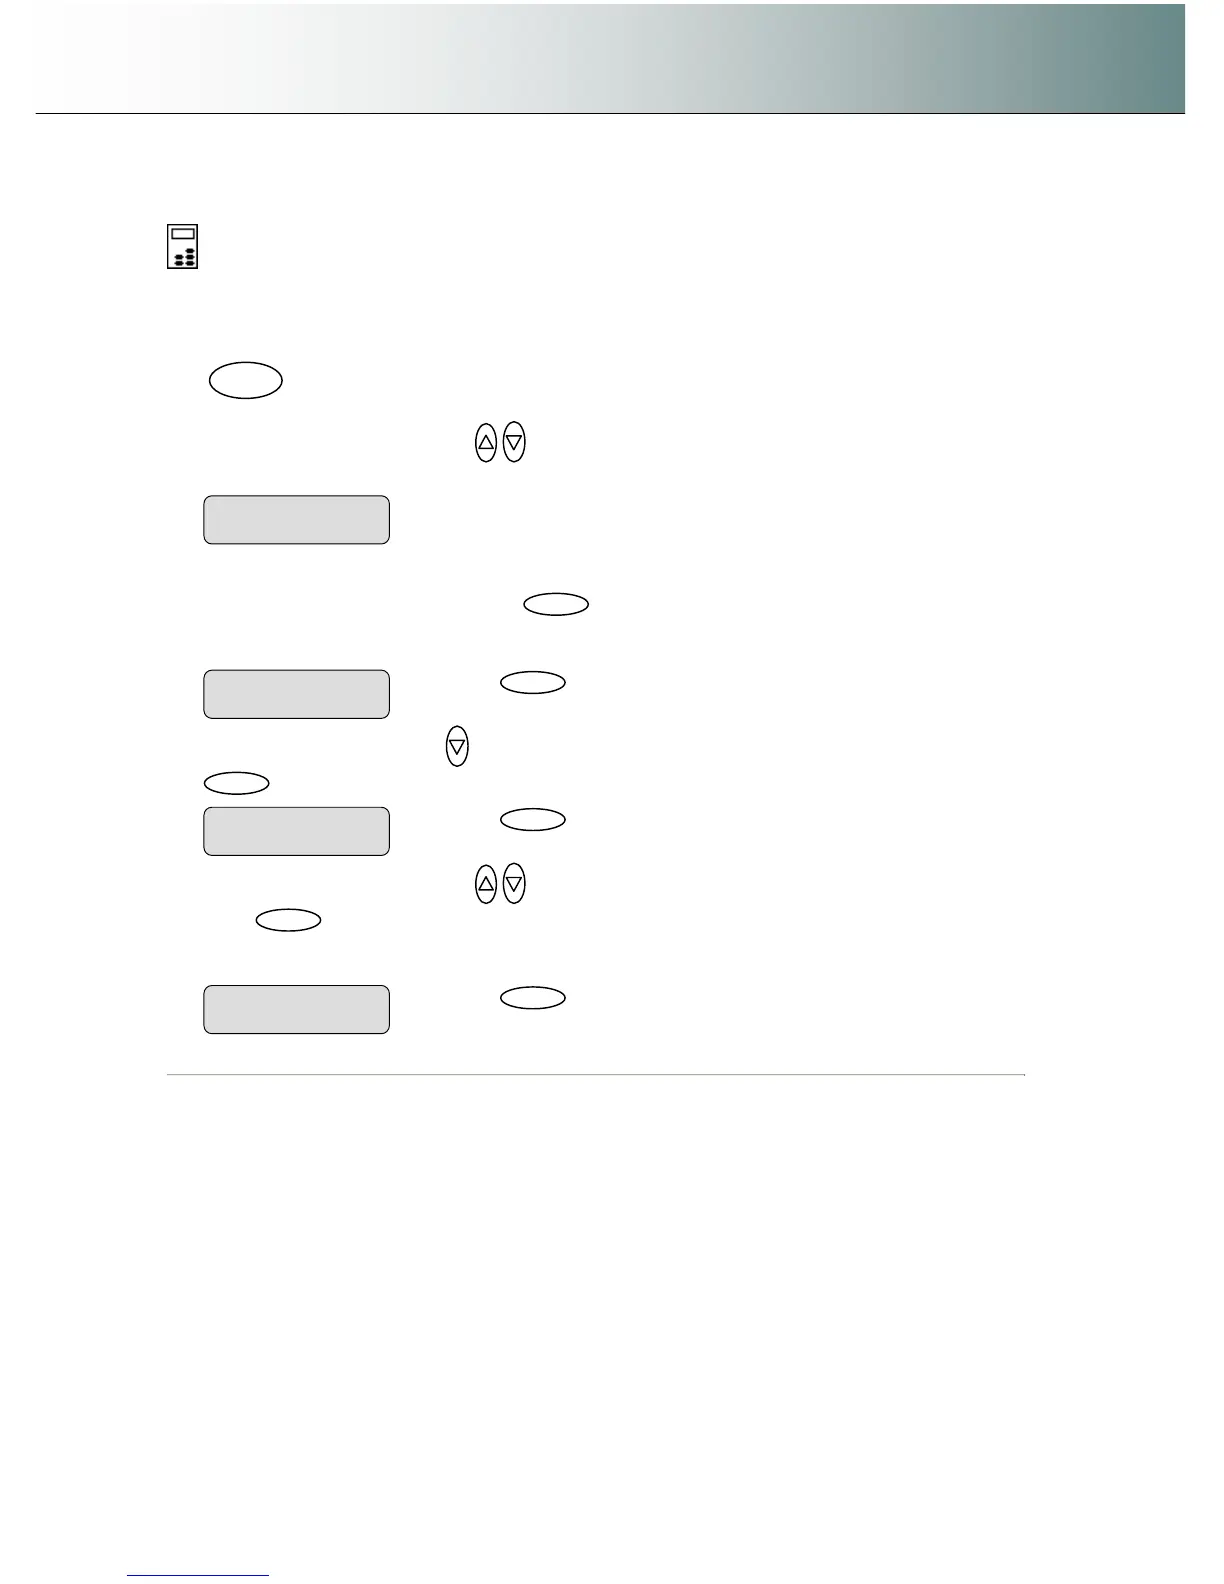
On the iJET Panel –
1. If you are not already in the Scan-to-File menu, and want to change the Quality value for the
current file format setting - start/enter the menu with the Scan to button as described in the
beginning of this section.
.
2. Press the arrow up/down buttons
to move through the Scan-to-File Menu options until the
display shows File Format. Then move on to step 4.
3. If you are in the Scan-to-File menu and have just selected a File Format as described in the
previous section - When you pressed
to accept the File Format, the “>” marker moved
back up to the option text “File Format”. From here you can move forward in the Scan-to-File Menu to
set the File Format quality parameter.
4. Press the arrow down button
to move to the File Format’s Quality parameter option and then
to indicate you want to change it.
5. Press the arrow up/down buttons
to change the value displayed.
6. Press
to accept the new quality value for the current File Format The “>” marker moves back
up back up to the Scan-to-File Menu level. From here you can move on and make more Scan-to-file
menu settings.
> File Format
JPEG
to indicate you want to change the
value. The > marker will move down..
JPEG Quality
> 70
Press
to accept the parameter value.
> JPEG Quality
100
Press
to accept the File Format. The “>
“marker moves back up.
> File Format
JPEG