Configuration and Setup 3-21
3.8 Printer Setup on the Scanner
In order to be operated from the iJET Panel, your copy scanner needs to recognize a printer. The setup
procedure depends on whether you connect a printer through the USB host (output) port or through a LAN
port (either directly or indirectly). Direct connection through the LAN port will require that you enter the
local printer’s IP address. If you connect to the network through the LAN port and want to use a printer on
that network, you will have to enter the network printer’s IP address.
On scanners: FLEX50i, HD4230i
To apply printer setup settings:
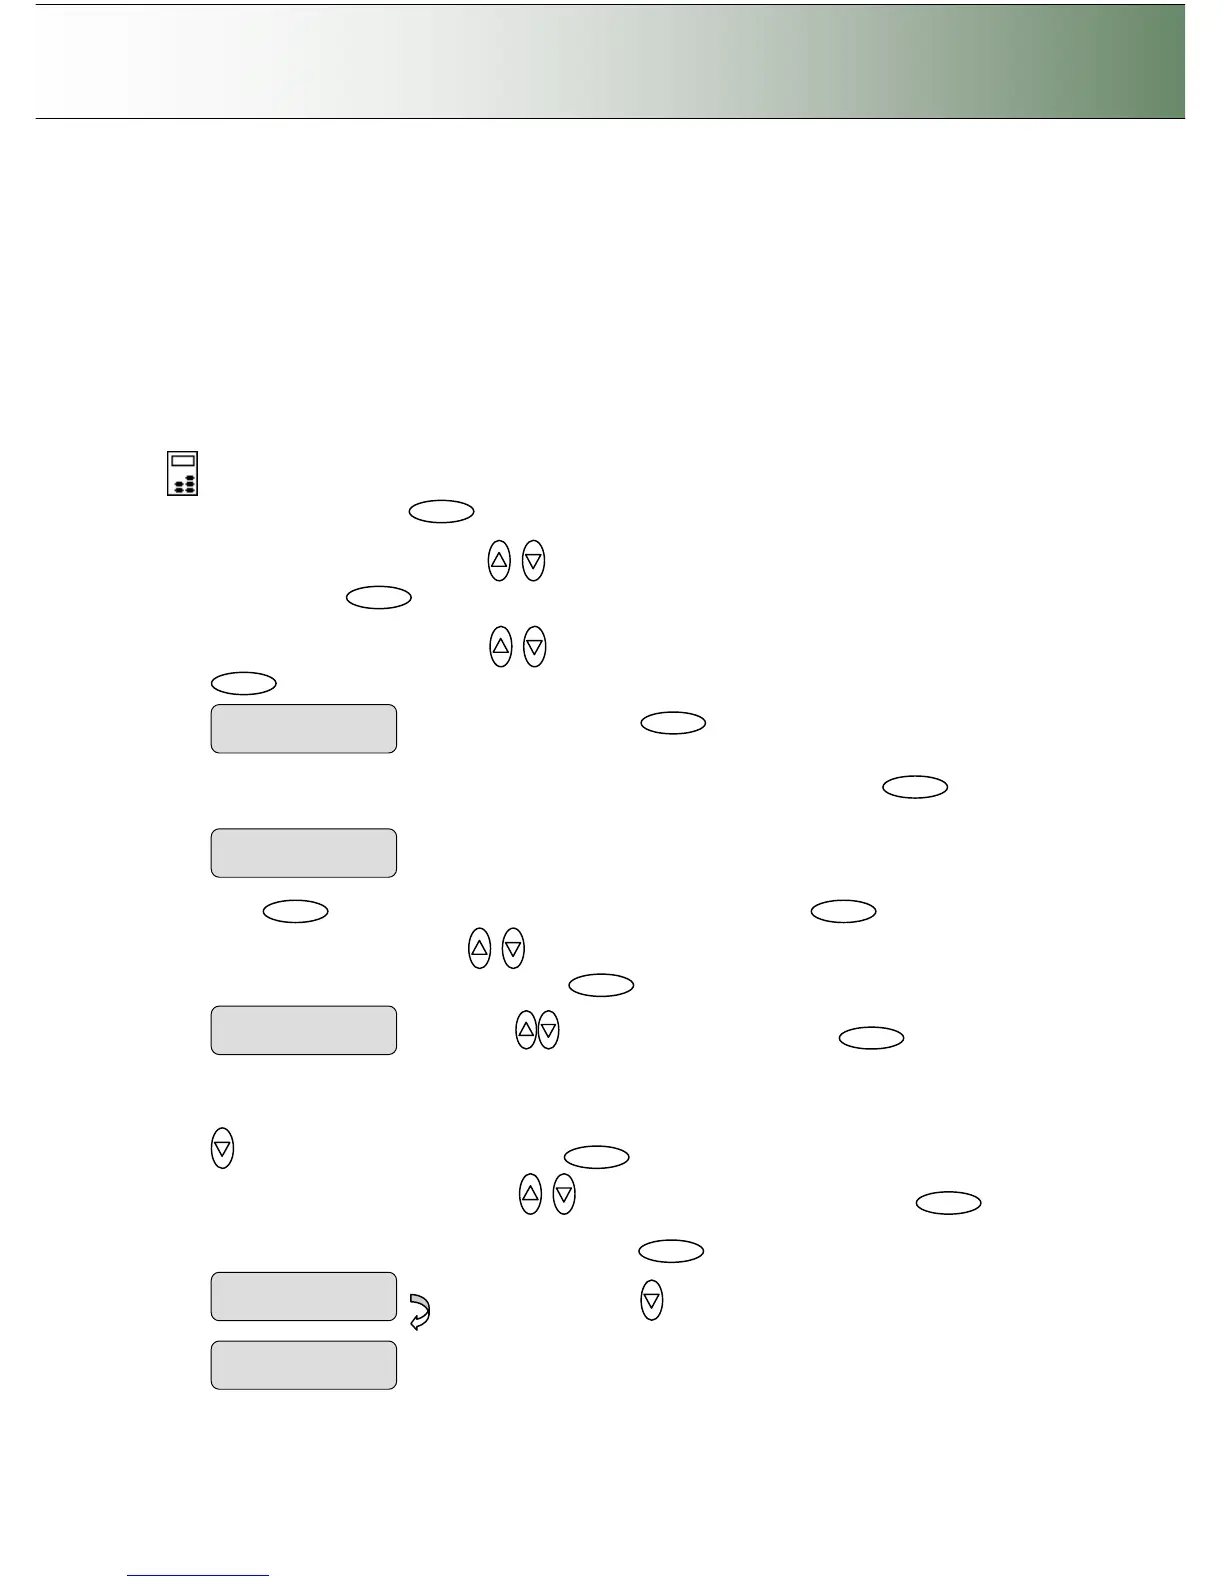
On the iJET Panel
1. Select the Menu button.
2. Use the arrow button up or down until the display window shows Advanced and confirm with
the Enter button .
3. Use the arrow buttons up or down until the display shows Printer Setup and confirm with
.
4. You can set up a Color Printer and a B&W Printer (max 2 printers at a time). Press to reach
the Color Printer option.
5. Press to confirm Color Printer and reach the Interface option and again to confirm
Interface. Use arrows down/up to select USB or LAN, depending how you connected your
color printer and confirm your selection with .
6. If you are using LAN interfacing, either with a printer directly connected to the scanner’s LAN port or
to a remote printer on the network, you will need to set the printer’s IP address. Press arrow down
to display the IP setting dialog and then . The default IP shows 4 groups with 3 zeros in
each group. Use the arrows up/down to change the first group (3 digits). Press to
move to the next 3 digit group and again the arrows to change them. Repeat this with each group
until you have the right IP displayed and press Enter to confirm.
Press
to reach the IP setting dialog.
Interface