Using the scanner, how do I … Scan to File? 6-1
6. How do I Scan to File?
Scan-to-file means that you save the image in a file format on a PC’s hard disk rather than outputting
directly to a printer (copy). Scans cannot be saved in the scanner itself. In order to scan and save the
image in a file, your system must recognize a PC. Therefore, the configuration must include a PC, either
directly through USB or else through the network. The PC must have WIDEsystemNET installed. Your
system can scan to file if:
1. Your scanner is connected to the network through the LAN interface and Scan2Net Designated
Folder functionality has been configured in WIDEsystemNET on each PC so that a special scan input
folder is defined on the PC and the PC will be recognized by the scanner.
2. Your scanner is connected to a local PC through USB and Scan2Net Designated Folder functionality
has been configured in WIDEsystemNET on that PC so that a special scan input folder is defined on
the PC and the PC will be recognized by the scanner.
3. Your scanner is connected to the network through the LAN interface. The scanner has been enabled
for access from the PC’s on the LAN by setting the scanner’s Share option to YES (see section:
Setup to Share the Scanner). The PC’s on the LAN are setup to recognize the shared scanner with
WIDEsystemNET software and compatible scan/copy software.
NOTE: WIDEsystemNET software is on the WIDEsystem TOOLS CD that came with your scanner.
See the CD’s included documentation and your WIDEsystemNET software on-line help for instructions on
installing and configuring a PC for Designated Folder functionality.
This section will focus on the first and second scan-to-file scenario in which you use the iJET
Panel to select a scan target and scan to a designated folder.
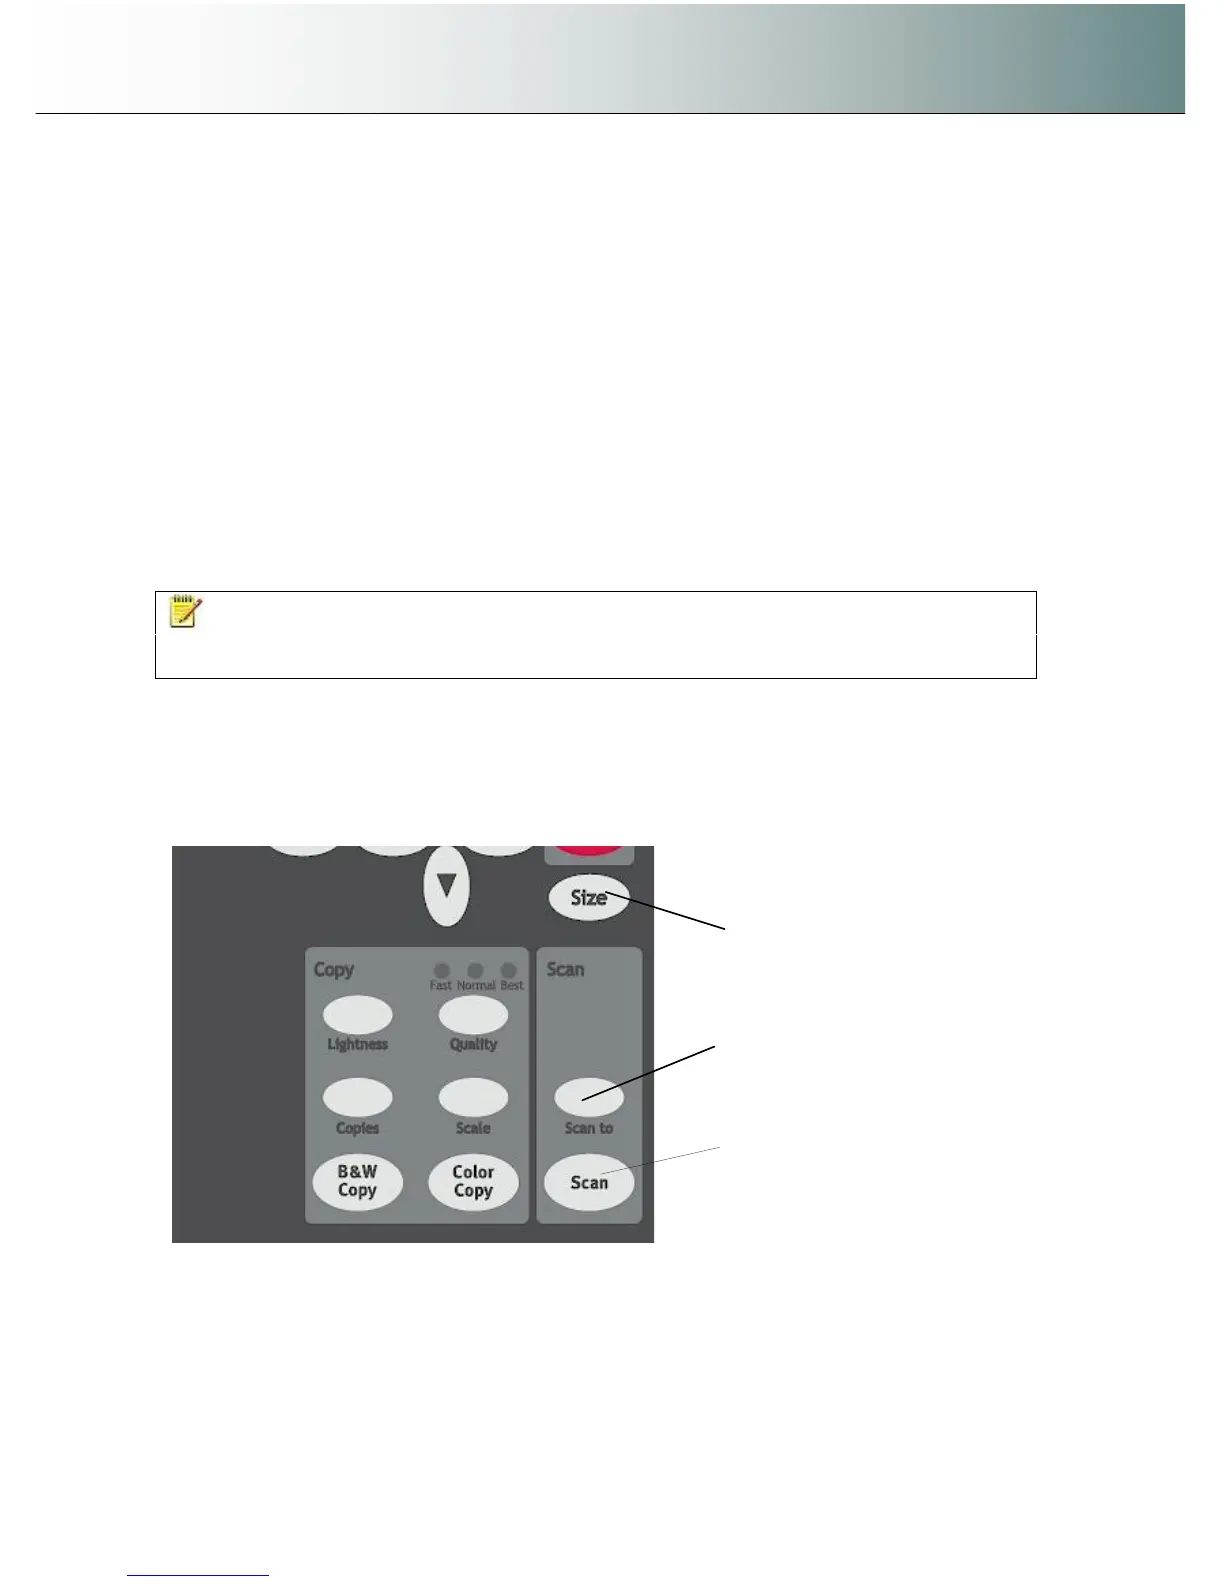
You will use the iJET Panel’s Scan to button to make all your settings for a scan to file job and the Scan
button to start it. You will use the Size button to enter the original’s size before pressing the Scan button
(unless scanning the whole original with Auto size). Details follow in the next section.
Scan button – start