Maintenance Manual SP 40
Rev. 005
54
Chapter 3
Operabilty and Configuration
The printer setup forms contain all printer parameters and the values that can be set. The current value is indicated by
an asterisk (*).
Each Setup form is identified by a marker in the upper left corner of the page as follows:
Configuration Setup
Program 1
Program 2
Offset Tuning Setup
Figure 3.5 - Markers meaning in Setup Mode
Pressing the STATION 2 key:
The printing of the printer setup forms starts. The forms are printed according to the selection made with the
STATION1 key.
The selection of the Program Setup is made simply pressing the STATION1 key. When passing from one Program
Setup to another, the printer resets before setting the parameters as defined in the new program setup.
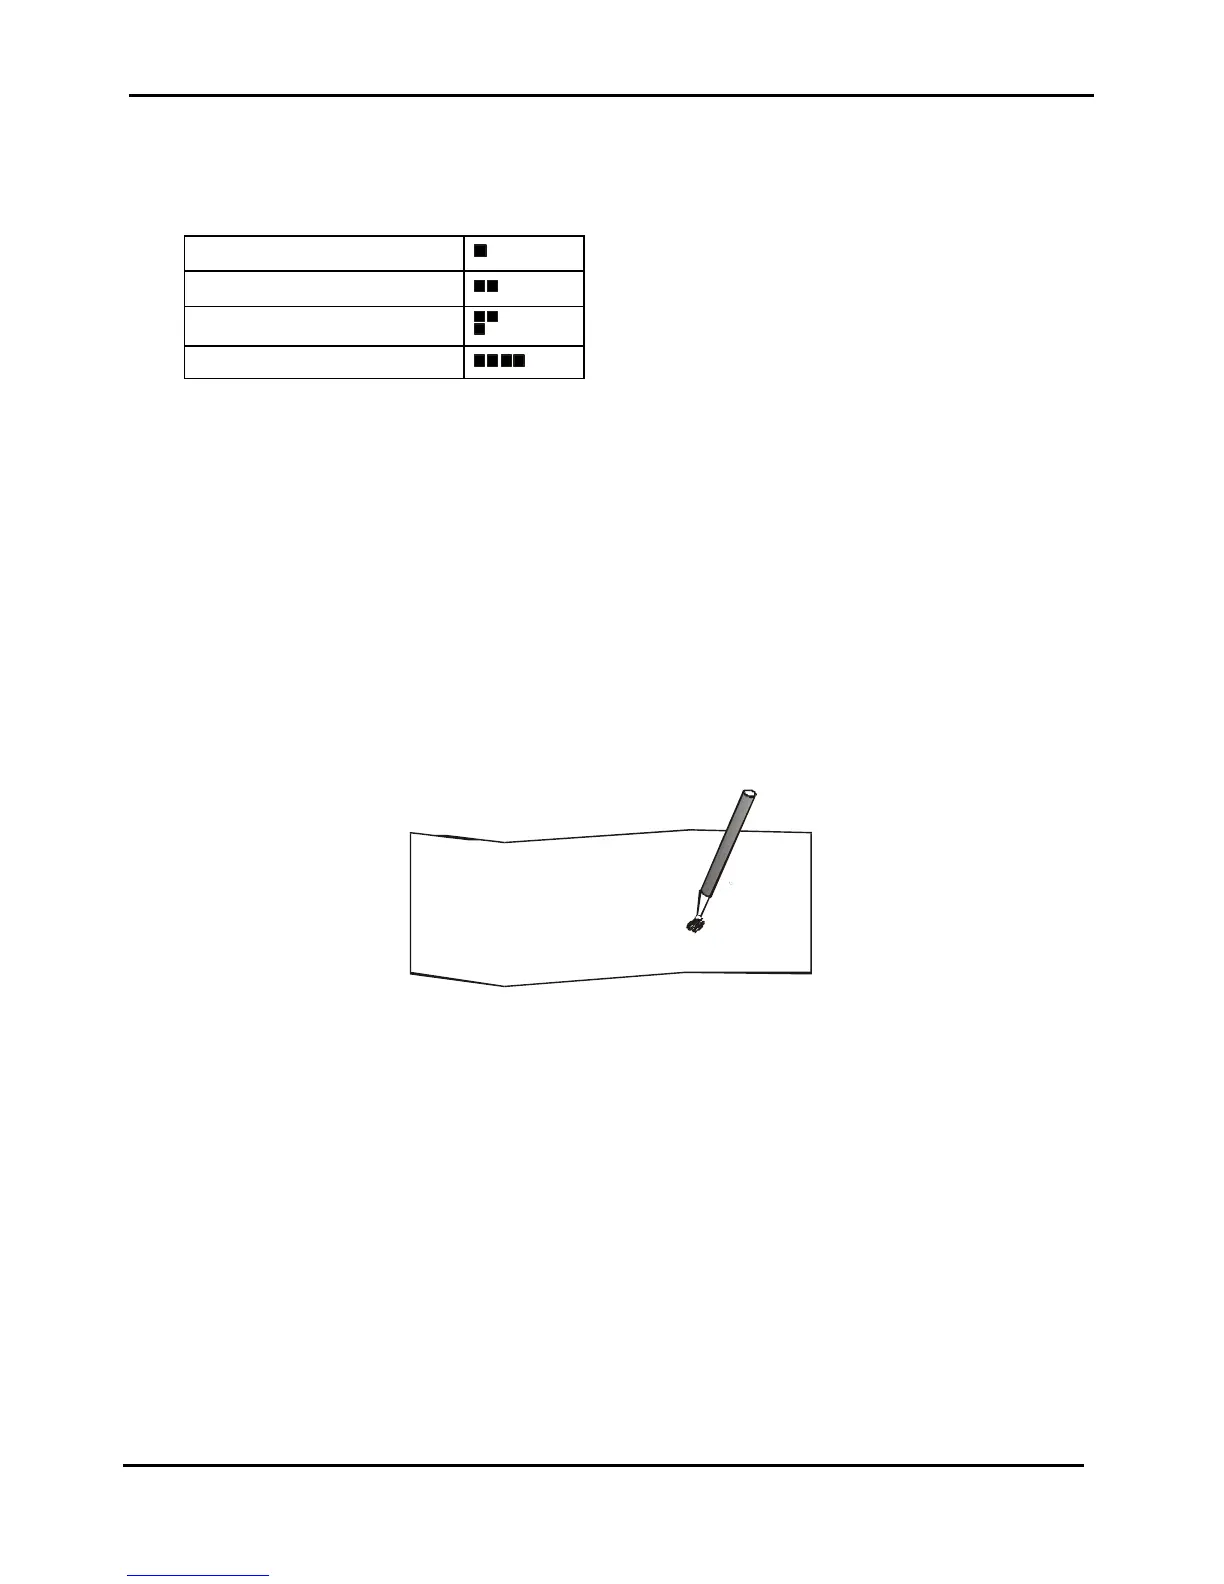
3.3.2.2 Filling in the Printer Setup Forms
To change the values of the parameters, fill in the marker ( ) beside the value you want to set with a black or blue ball-
point pen or a fiber-pen.
Note: Do not use pencils.
AUTOFEED SIGNAL( )( )
disabled *enabled
SLCT-IN SIGNAL( )( )
disabled *enabled
BUFFER CONTROL( )( )( )
DTRXON/XOFF*XON/XOFF +
Figure 3.6 - How to fill Markers in Setup Mode
Note: If more than one value is set for a parameter, the printer ignores these parameters and maintains the currently
set value.
Do not fill in the marker beside the title of the preprinted form, otherwise the printer will not be able to read that page.
3.3.2.3 Reading the Preprinted Forms
When the Printer Setup Forms have been filled in, insert them back into the printer. The printer is able to recognize
the Setup Forms by means of the markers on these pages. The printer reads the values marked for the various
parameters and configures the printer accordingly.
The settings are confirmed by a # symbol printed on the left of the corresponding marker.