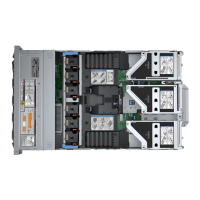
Connecting the HA interconnect
About this task
Cable the HA interconnect to provide communication between the two nodes of the HA pair. The physical labeling on the
ports is different from how the ports are identified in the DDOS software. The following table lists the physical and software
identifiers for each port.
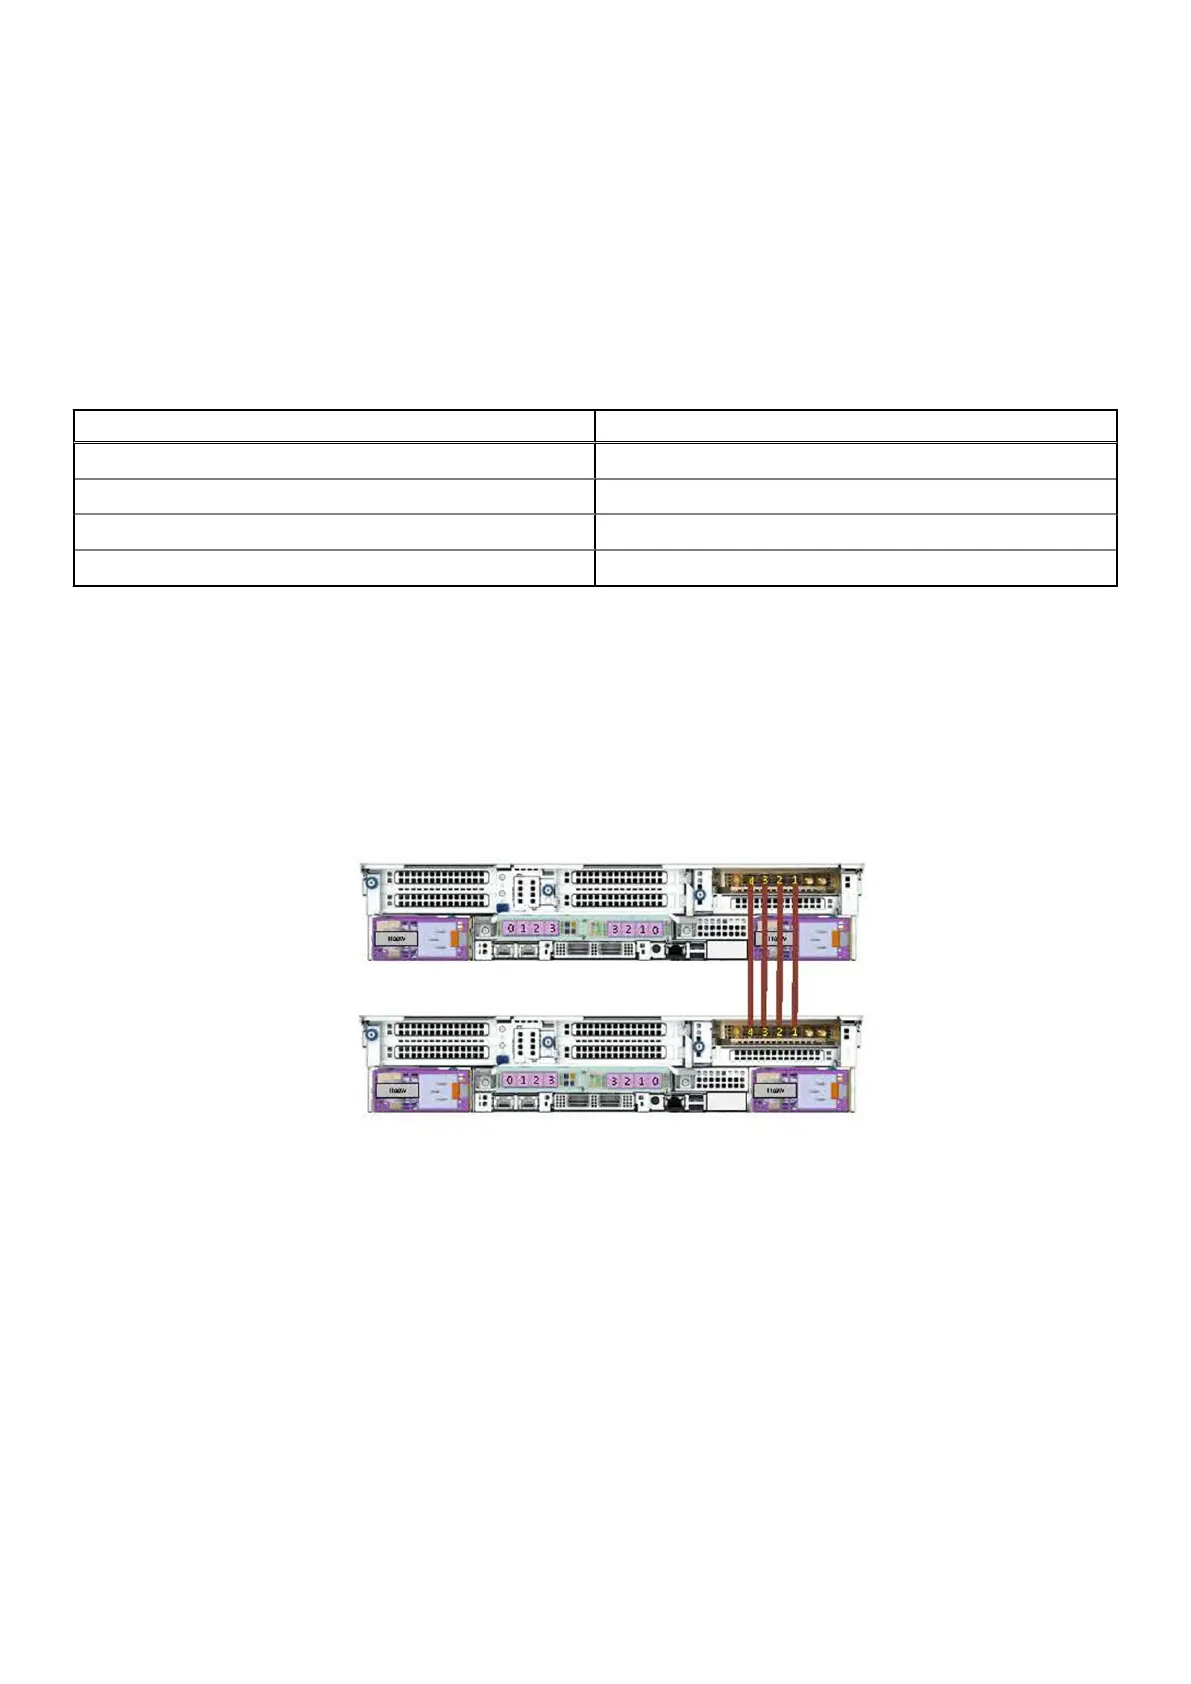
DD9410 and DD9910 systems use the NIC card in slot 7 for the HA interconnect.
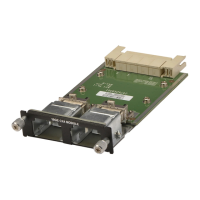
Table 16. Physical and DDOS HA interconnect port identifiers
Physical port number DDOS port identifier
1 eth7a
2 eth7b
3 eth7c
4 eth7d
Steps
1. Connect a 10GBase-T, 25G QSFP28, or 25G QSFP56 cable from port 1 of the NIC in slot 7 on the primary node to port 1 of
the NIC in slot 7 on the standby node.
2. Connect a 10GBase-T, 25G QSFP28, or 25G QSFP56 cable from port 2 of the NIC in slot 7 on the primary node to port 2 of
the NIC in slot 7 on the standby node.
3. Connect a 10GBase-T, 25G QSFP28, or 25G QSFP56 cable from port 3 of the NIC in slot 7 on the primary node to port 3 of
the NIC in slot 7 on the standby node.
4. Connect a 10GBase-T, 25G QSFP28, or 25G QSFP56 cable from port 4 of the NIC in slot 7 on the primary node to port 4 of
the NIC in slot 7 on the standby node.
Figure 48. DD9410 and DD9910 HA interconnect
Connecting data cables
About this task
Slot numbers
The following figure shows the HBA slot numbers.
The slot labeled 0 is the OCP card, which contains ports ethMa and ethMb, The management port ethMa is the first port set up
by the Configuration Wizard.
50
Connect Cables and Power On