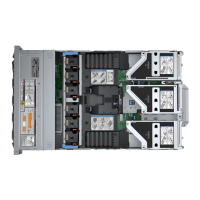
Install the FS240 in the rack
Install the cache SSD shelf in the rack.
About this task
Note the rack location for the FS240 in Install the System in the Rack, and follow the steps in Install an FS240 shelf into the
rack to install the FS240 in the rack.
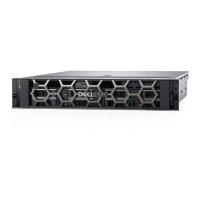
Connect the standby node
Connect SAS, network, HA interconnect, and power cables to the standby node.
About this task
Follow the steps in Connect Cables and Power On to connect the SAS, network, HA interconnect, and power cables to the
standby node then power it on.
Configure networking on the new node
About this task
Complete the following steps to configure networking on the new node.
The administrative interfaces are located on the management module on the rear of the chassis. These interfaces are for
management network traffic only. Do not use these interfaces for data traffic.
Steps
1. Connect an administrative console to the serial port on the back panel of the system.
2. Launch a terminal emulation program from your computer and configure the following communication settings:
NOTE: You must have 115200 baud rate for the system to work correctly; 9600 baud rate does not work.
● Baud rate : 115200
● Data bits: 8
● Stop bits: 1
● Parity: None
● Flow control: None
● Emulation: VT-100
3. Press Enter to activate the console.
NOTE: If you do not see the prompt on your terminal to log in, then complete Step 4.
4. Verify the front blue power LED is on. If it is not, make sure the power cables are fully seated at both ends, and both AC
sources are on.
5. Log in to the system console using the sysadmin username.
localhost.localdomain login: sysadmin
6. Type the default password, which is the system serial number.
Password: system_serial_number
NOTE:
If you type an incorrect password four consecutive times, the system locks out the specified username for 120
seconds. The login count and lockout period are configurable and might be different on your system. See the DD OS
Administration Guide and the DDOS Command Reference Guide for setting these values.
7. Accept the EULA.
88
Single Node to HA Upgrade