ACCESSORIES
Extended Carriage
Version 5 Model 200i and 250i Motorcycle Dynamometer Installation Guide
3-35
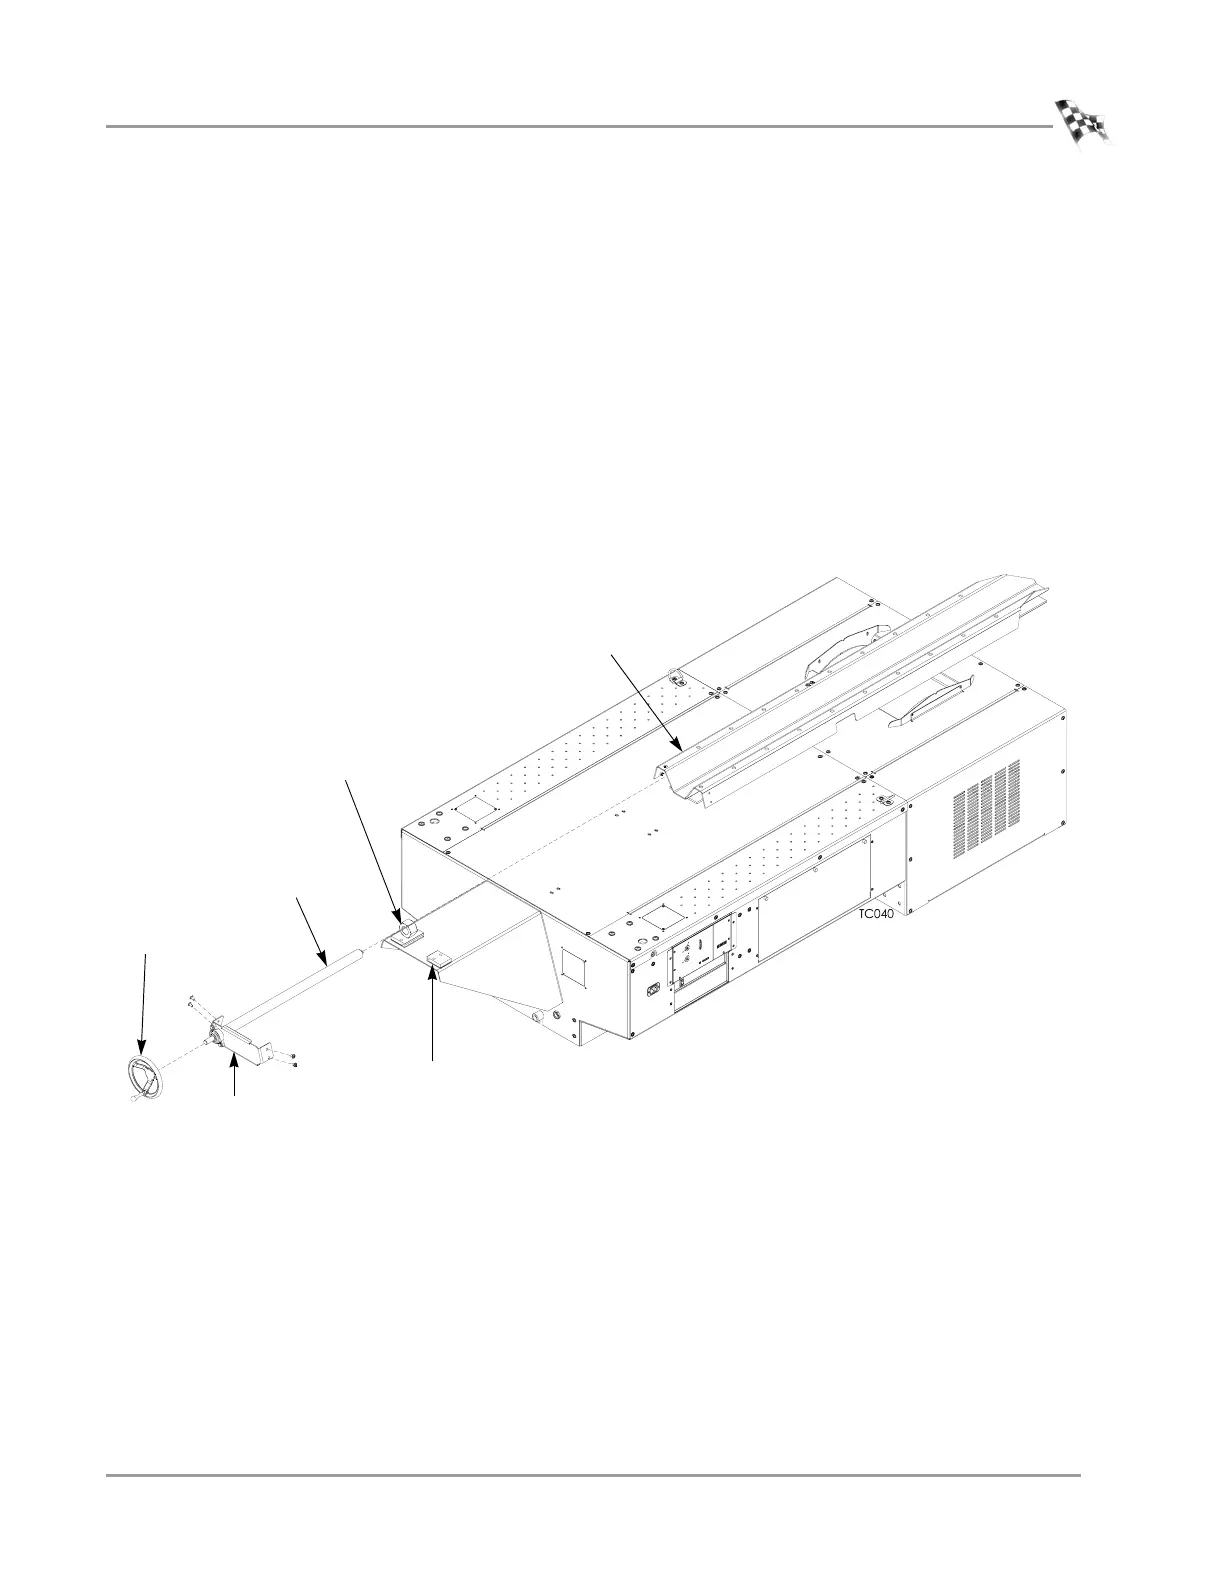
3 Starting from the back of the dyno, slide the carriage under the front carriage
clamp and the nut block.
4 Slide the hand crank onto the end of the carriage screw.
5 Secure the hand crank to the screw shaft by tightening the set screw using a
5/32-inch allen wrench.
6 Screw the carriage screw into the nut block until it is halfway through the nut
block.
7 Secure the bearing bracket to the carriage using four 1/4-20 x 1/2-inch
button-head flange bolts.
8 Using the hand crank, screw the carriage screw completely through the nut block
and into the screw support bracket
Note: If you ordered the power carriage accessory, refer to “Power Carriage” on
page 3-42 for installation instruction.
Figure 3-41: Install the Extended Carriage
hand crank
bearing bracket
extended carriage
carriage screw
carriage clamp
nut block