Setting up a VPLEX Local implementation
43
Setting up VPLEX
2. Log in with username service and password Mi@Dim7T.
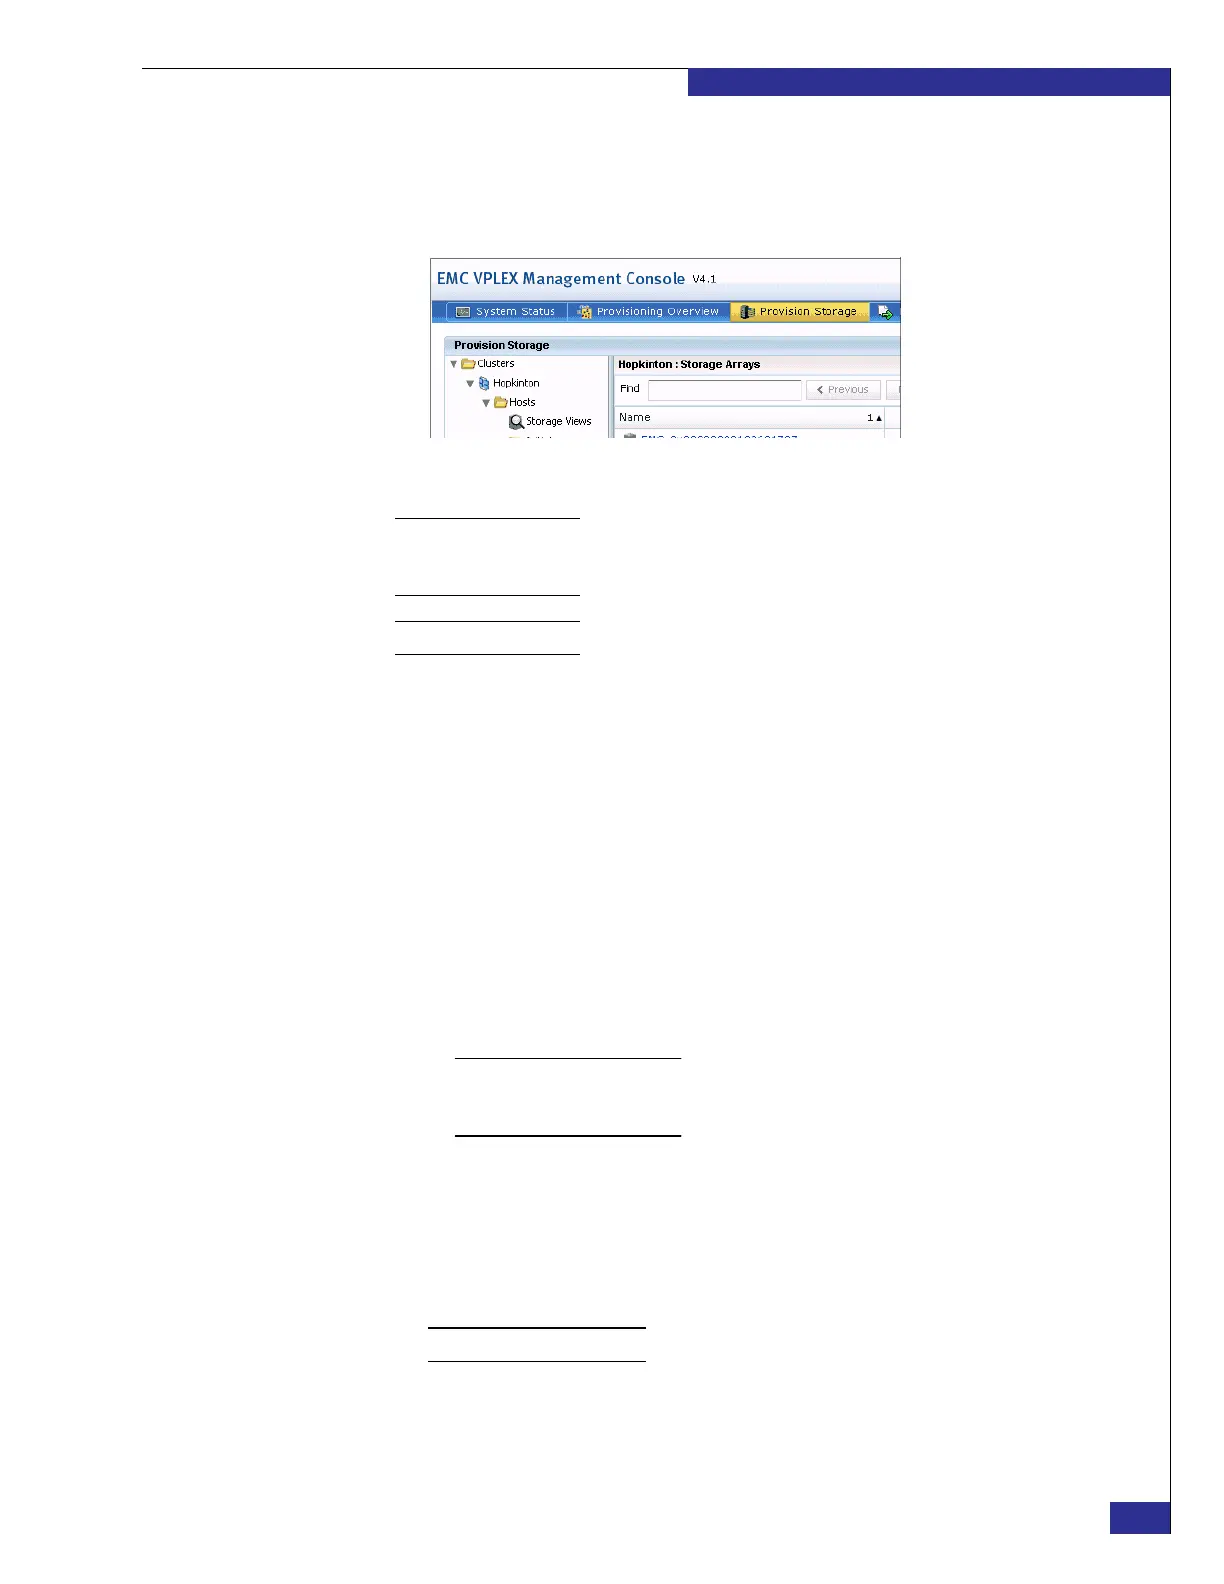
3. To begin provisioning and exporting storage, click Provision Storage on the main
screen of the VPLEX Management Console GUI (shown in Figure 29).
Figure 29 VPLEX Management Console: Provision Storage button
Note: To display online help and product information, click the question mark at the upper
right corner of the screen. To display documentation and additional resources for the current
VPLEX release, click Help on the task bar.
If you are using the
VPlexcli
Note: The VPLEX CLI guide contains details on using VPlexcli commands.
To claim and name a storage volume:
1. Type the following commands to display a list of available storage volumes:
cd /clusters/cluster-1/storage-elements/storage-volumes
ls
2. Type the following command to claim and name a storage volume:
storage-volume claim -n <storage_volume_name> -d
<storage_volume_ID>
where:
• <storage_volume_name> is an unique name you are assigning to the volume.
• <storage_volume_ID> is the ID (for example, Symm2206_2ADF, or
clar2065_LUN537) in the output from step 1.
Note: If you want to claim multiple storage volumes, separate the volume IDs with
commas or use the command storage-volume claimingwizard, as described in the
VPLEX CLI Guide.
3. Type the following command to create the extent:
extent create -d <storage_volume_name>
In you do not include any arguments, this command creates an extent the size of
the storage volume. However, you can create multiple smaller extents (up to 128
per storage volume).
Note: Extents are named and claimed automatically.
4. Type the following command to verify that the extent was created:
ls /clusters/cluster-1/storage-elements/extents