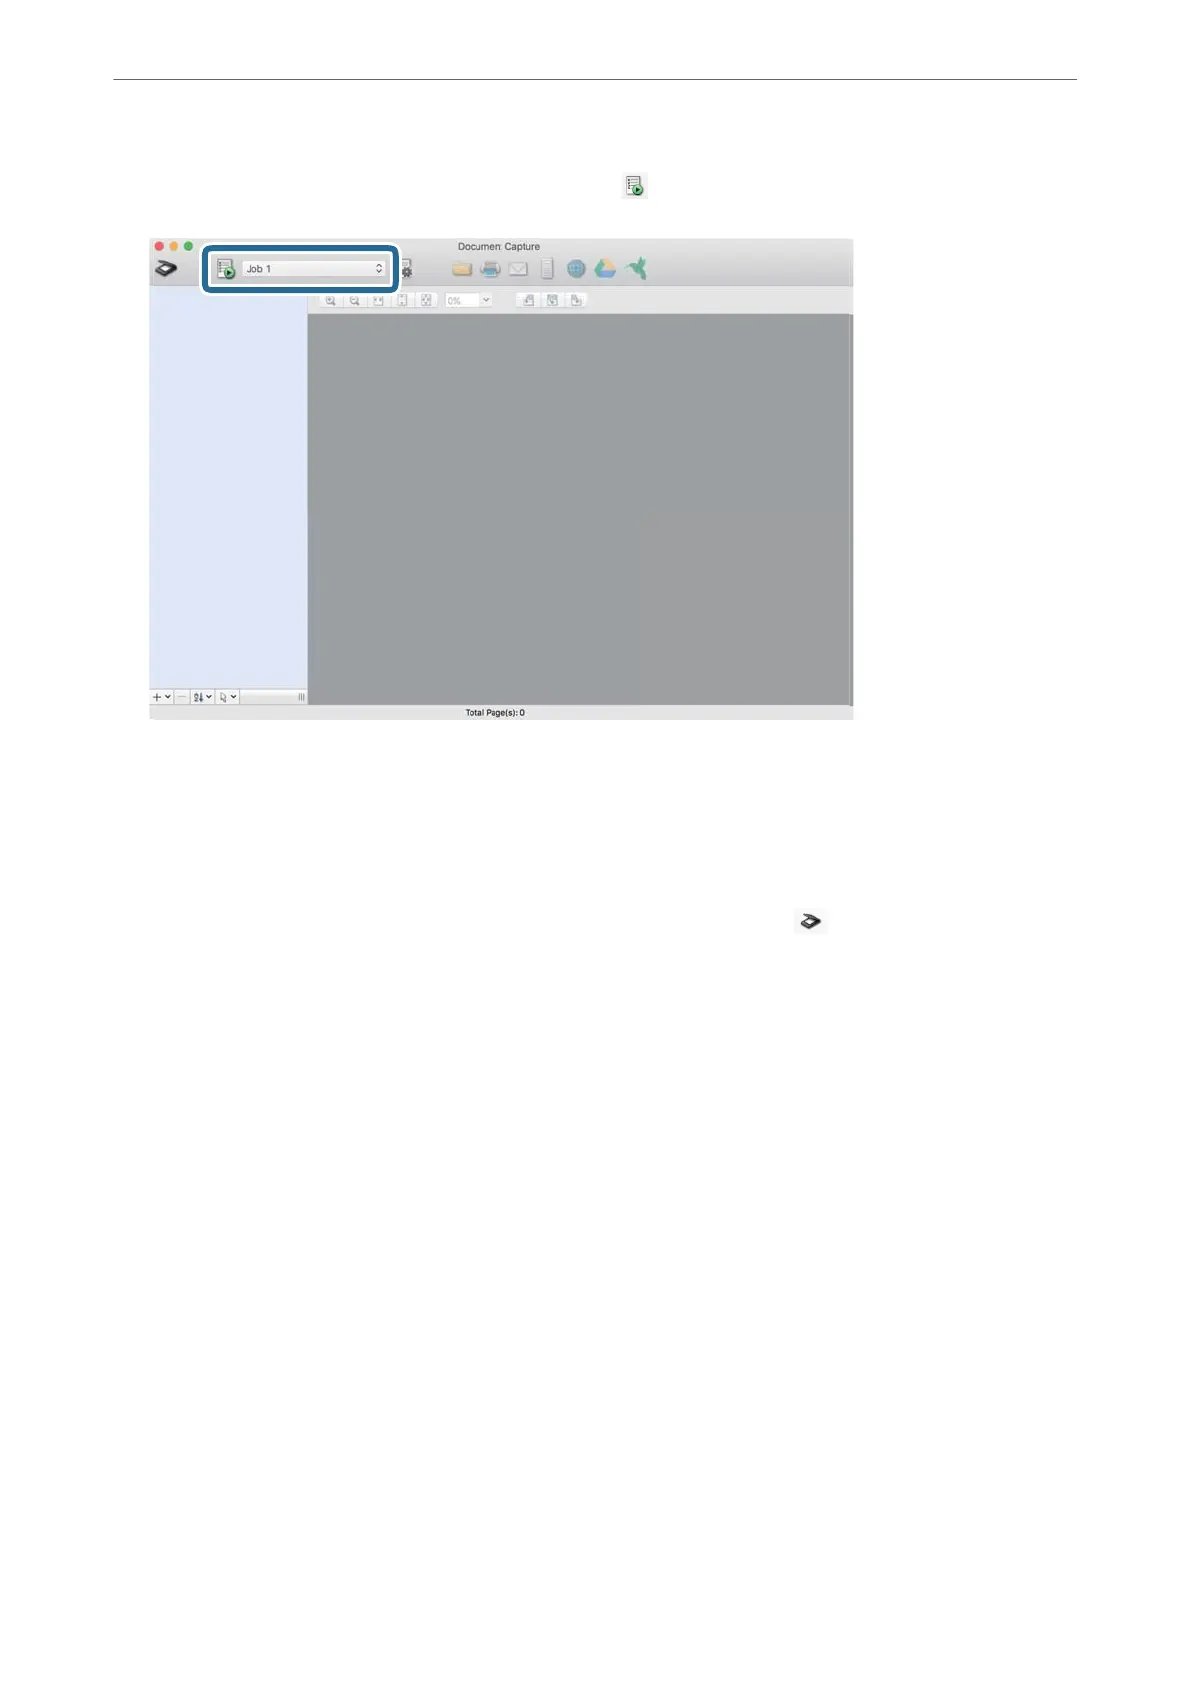
11.
Select the job from the pull down list, and then click the
icon.
e
selected job is performed.
12.
Follow the on-screen instructions.
e
scanned image is saved using the settings you made for the job.
Note:
You can scan the originals and send the scanned image without using the job. Click
and make scanning settings,
and then click Preview Scan. Next, click the destination to which you want to send the scanned image.
Scanning Using Epson Scan 2
You can scan the originals using detailed settings that are suitable for text documents.
1.
Place the original.
2.
Start Epson Scan 2.
❏ Windows 10/Windows Server 2016
Click the start button, and then select EPSON > Epson Scan 2.
❏ Windows 8.1/Windows 8/Windows Server 2012 R2/Windows Server 2012
Enter the application name in the search charm, and then select the displayed icon.
❏ Windows 7/Windows Vista/Windows XP/Windows Server 2008 R2/Windows Server 2008/Windows Server
2003 R2/Windows Server 2003
Click the start button, and then select All Programs or Programs > EPSON > Epson Scan 2 > Epson Scan
2.
❏ Mac OS
Select Go > Applications > Epson Soware > Epson Scan 2.
Scanning
>
Scanning from a Computer
>
Scanning Using Epson Scan 2
105
 Loading...