FARO
®
Laser Scanner Manual
130
Chapter 8: Special Scanning Modes
8.4.1 Creating a scan group
1. Create a scan. For more information, see Scanning on page 44. When the
scan is finished, the screen will switch to the Preview Scans page. This
scan is the primary scan of the group.
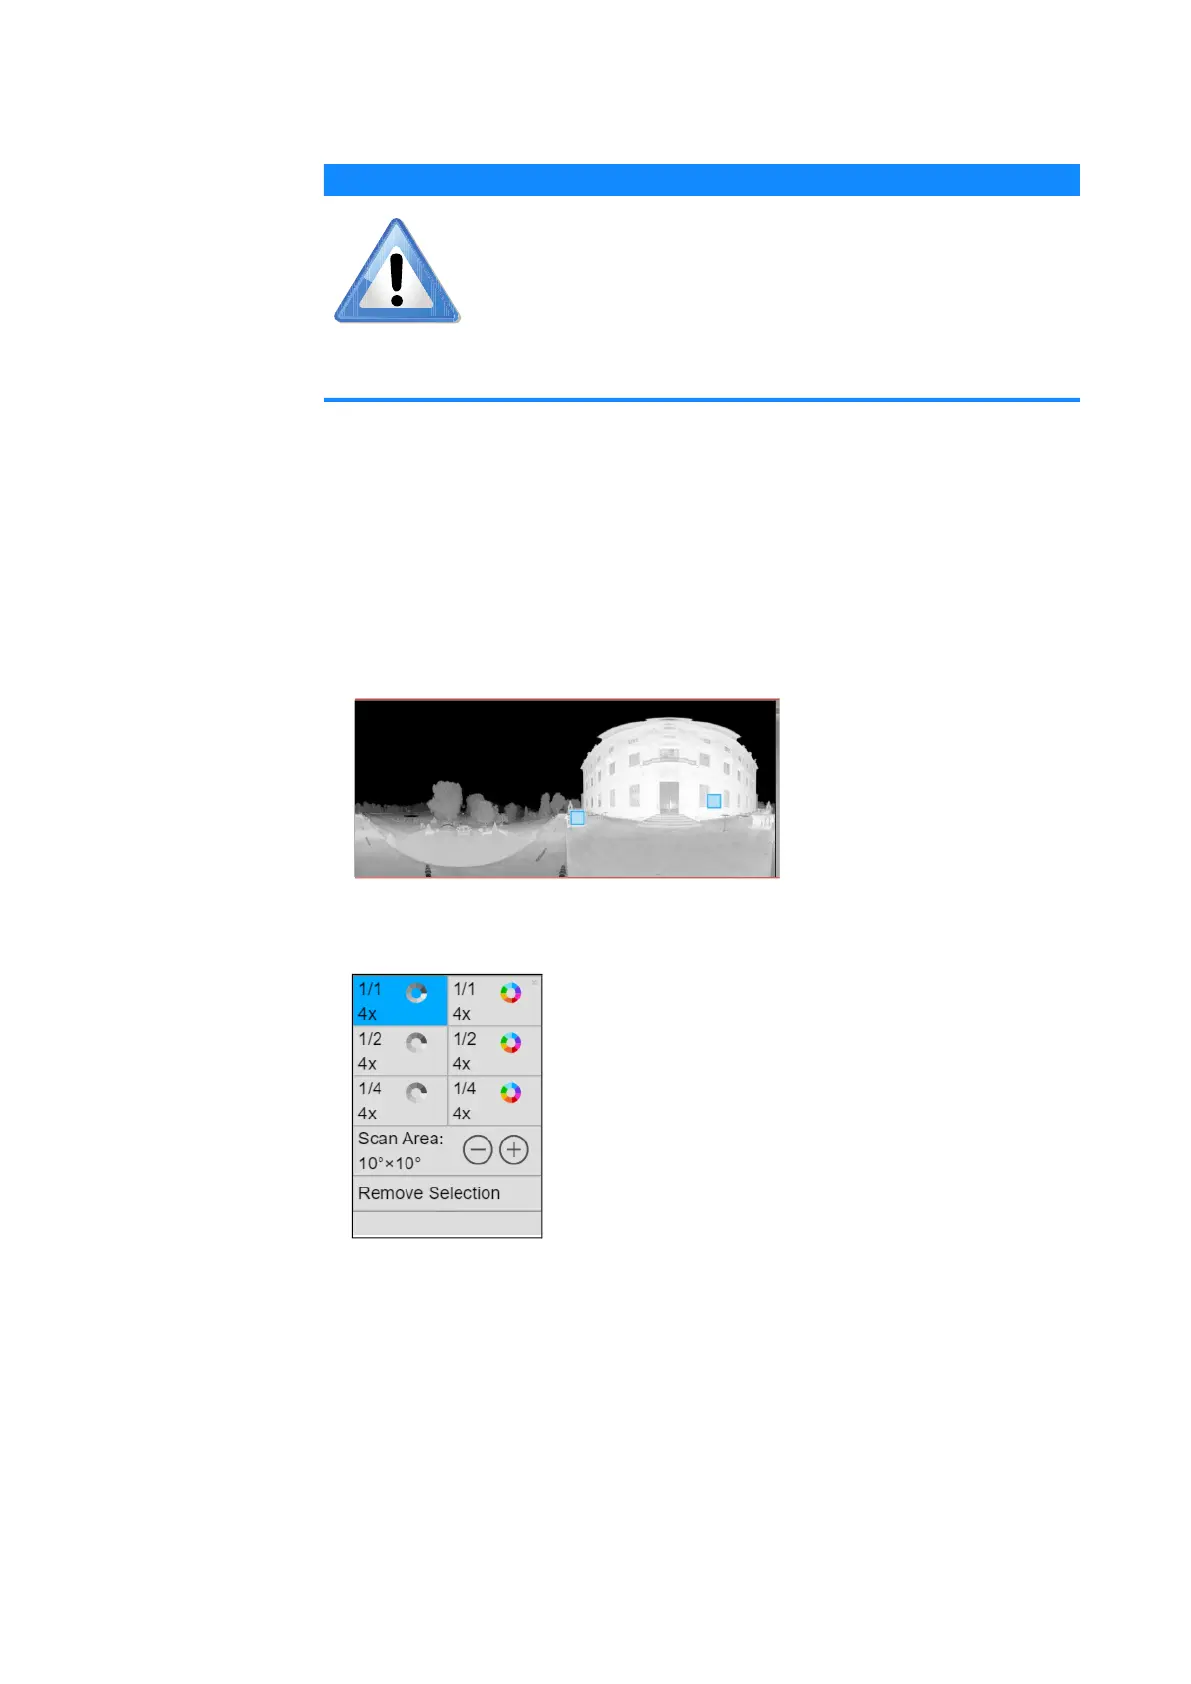
2. Locate a registration target (or other object) that you want to scan at a
higher resolution. Use the mouse-wheel (or pinch gestures) to zoom in the
preview image.
3. Click a target to select it. A blue selection rectangle appears. You can drag
it to adjust the position.
4. Click the selection rectangle to open the detail scan pop-up window.
5. Select the resolution, quality, and color type for the detail scan. You can
also change the size of the scan area, or remove the selection. Click the
“X” in the upper-right corner of the window to dismiss it.
6. Repeat steps 2 through 5 for each target that you want to scan.
NOTICE
The primary scan and the detail scans must all be taken from
the same scanner position. Ensure that the scanner tripod or
other mount will not move throughout the procedure. If
possible, use WLAN and operate the scanner from a remote
user interface (See WLAN on page 95.). If you must use the
touchscreen, do not tap the screen hard enough to disturb
the scanner.
Figure 8-14: Adding detail scans to group
Figure 8-15: Detail scan pop-up
 Loading...