EasyManuals Logo

GE LOGIQ E10 Service Manual

GE LOGIQ E10
778 pages
To Next Page IconTo Next Page
To Previous Page IconTo Previous Page
Page #636 background imageLoading...
Page #636 background image
DIRECTION 5750007-1EN, REV. 1 LOGIQ E10 BASIC SERVICE MANUAL
8 - 390 Section 8-14 - Cables replacement
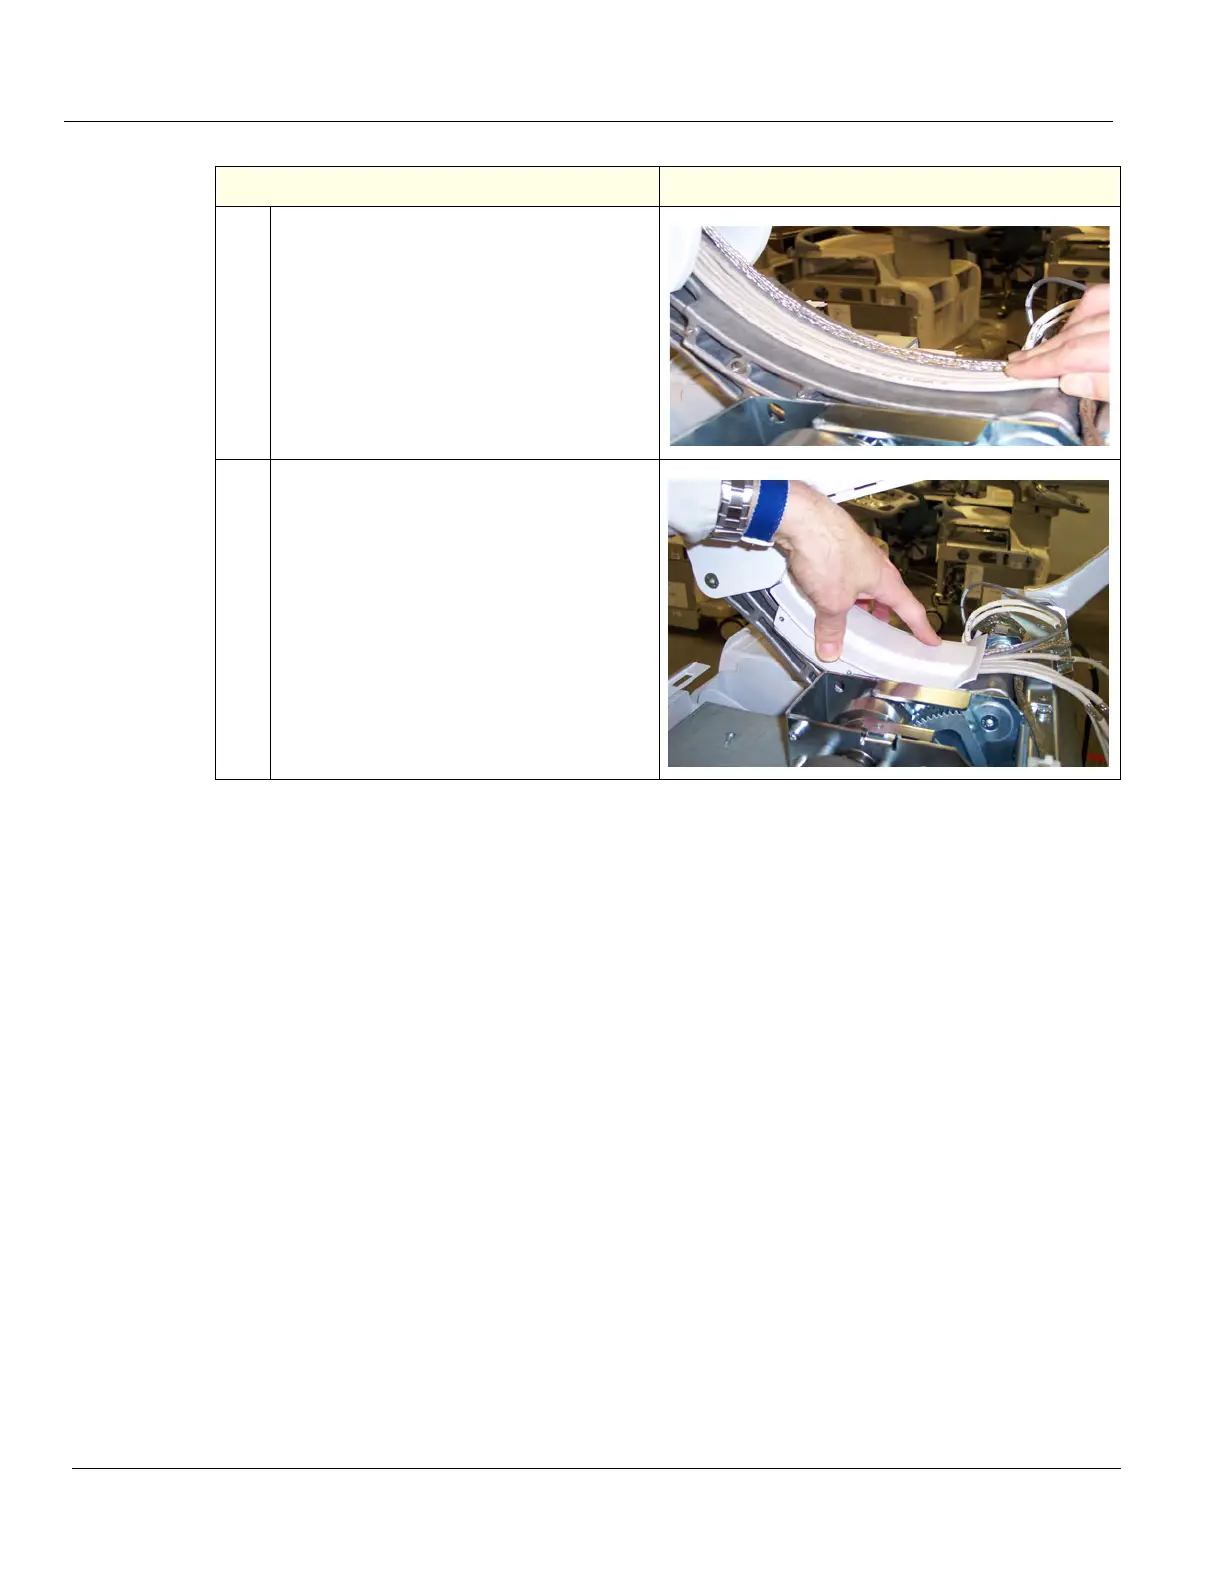
5. Lay the cables in the center of the Upper
Arm of the Z-Mechanism. Follow the
contour of the Upper Arm and maintain the
Cable Configuration from Step 3.
6.
With the console raised to its full height,
install the Main Cable Cover so the Cover
overlaps the Main Cable Cover edges.
Slide the Cable Cover back and forth to
make sure it does not bind on the cables.
Install the four screws to secure the Main
Cable Cover and Column Cover Assembly
(tighten by hand).
Table 8-393 Main Cable (Harness) Routing
Steps Corresponding Graphic

Table of Contents

Other manuals for GE LOGIQ E10

Questions and Answers:

Question and Answer IconNeed help?

Do you have a question about the GE LOGIQ E10 and is the answer not in the manual?

GE LOGIQ E10 Specifications

General IconGeneral
TouchscreenYes
3D/4D ImagingYes
ApplicationsVascular, Cardiac, Musculoskeletal, OB/GYN
Image StorageUSB, Network
ConnectivityDICOM, Ethernet, Wireless

Related product manuals