Using Onboard Help
6-24 LOGIQ V2/LOGIQ V1 – User Guide
Direction 5610736-100
Rev. 9
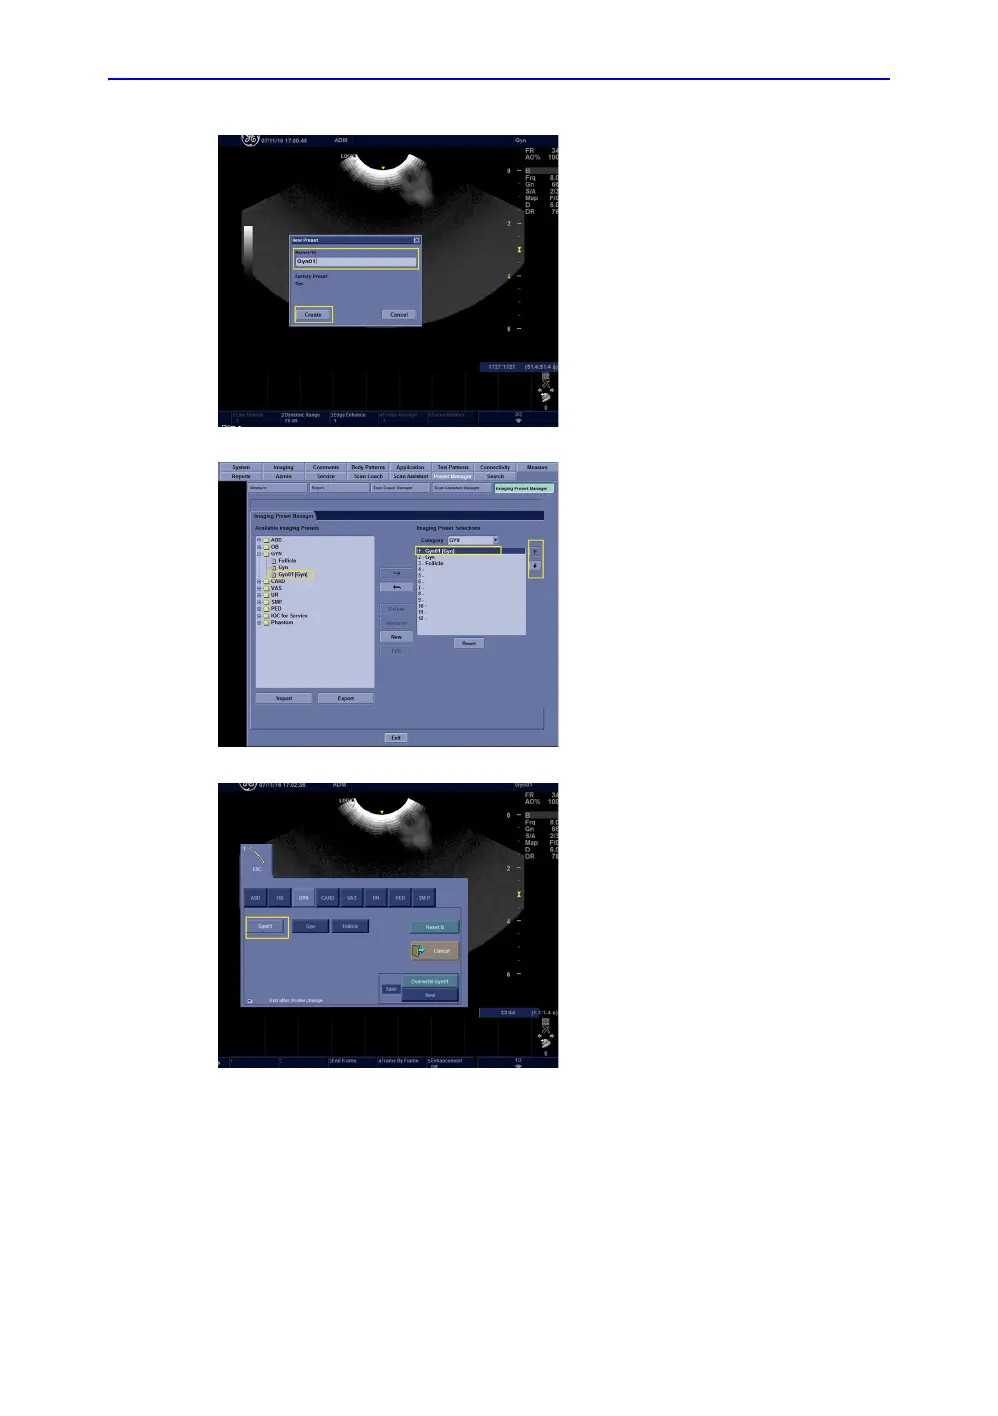
Figure 6-20. User preset set-up
6/8 A pop-up menu appears on the
monitor. Enter the name of the new
preset, and click on Create when
finished. The menu will automatically
close.
7/8 A pop-up menu appears on the
monitor. The user defined preset of
Gyn01 will be displayed under
Available Imaging Presets and
Imaging Preset Selections confirming
it was successfully created and saved.
The arrows on the right side of Imaging
Preset Manager can adjust the order
of presets.
8/8 The next time the Preset key of the
control panel is pressed, the user
defined preset of Gyn01 will be
displayed and ordered as its location
under Imaging Preset Selections
categories.
 Loading...


