Getting Started 11
5.
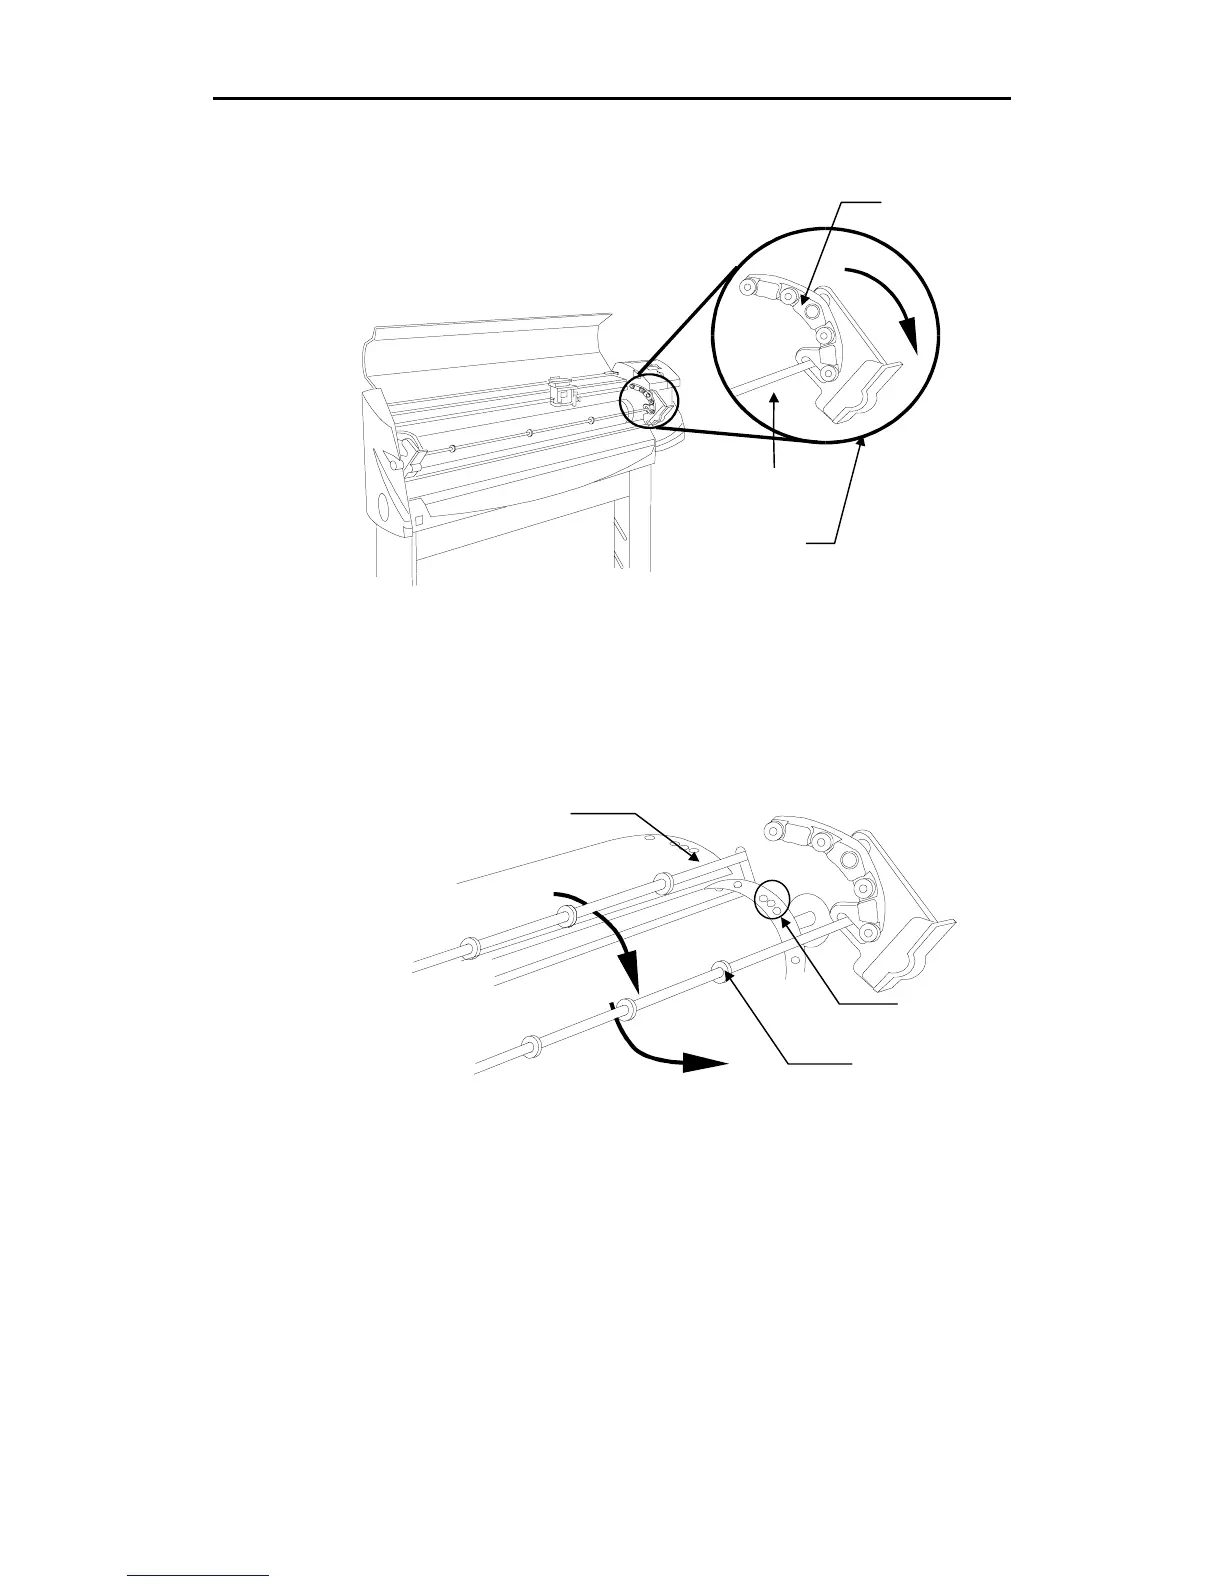
Open the bails and the front material guide tube by simultaneously pulling
the bail handles forward and down away from the front of the plotter.
6.
Open the rear material guide tube by lifting it up. (See the illustration
below.)
7.
Pull the material up toward the plotter, feeding the material from back to
front as shown in the illustration below, ensuring that the material is
underneath the front and rear material guide tubes.
8.
Match the three closely-spaced holes in the material with the three material
alignment pins on the sliding sprocket at the left end of the plotter. This
sprocket may be shifted slightly left or right to accommodate small
differences in the material width.
Bail
Bail handle
Front material
guide tube
Front material
guide tube
Material
alignment pins
Rear material
guide tube