5. Then save the setting and reboot the unit. If the Account 1’s Local SIP port does not be set to 0, the
phone system will pop up a prompt window and it writes “The local SIP port is 5060 in your account,
save the operation will change the port to the random one, sure to change?” Click OK to change to port
from 5060 to 0 by force.
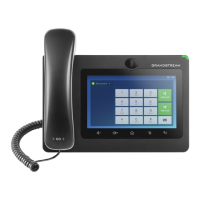
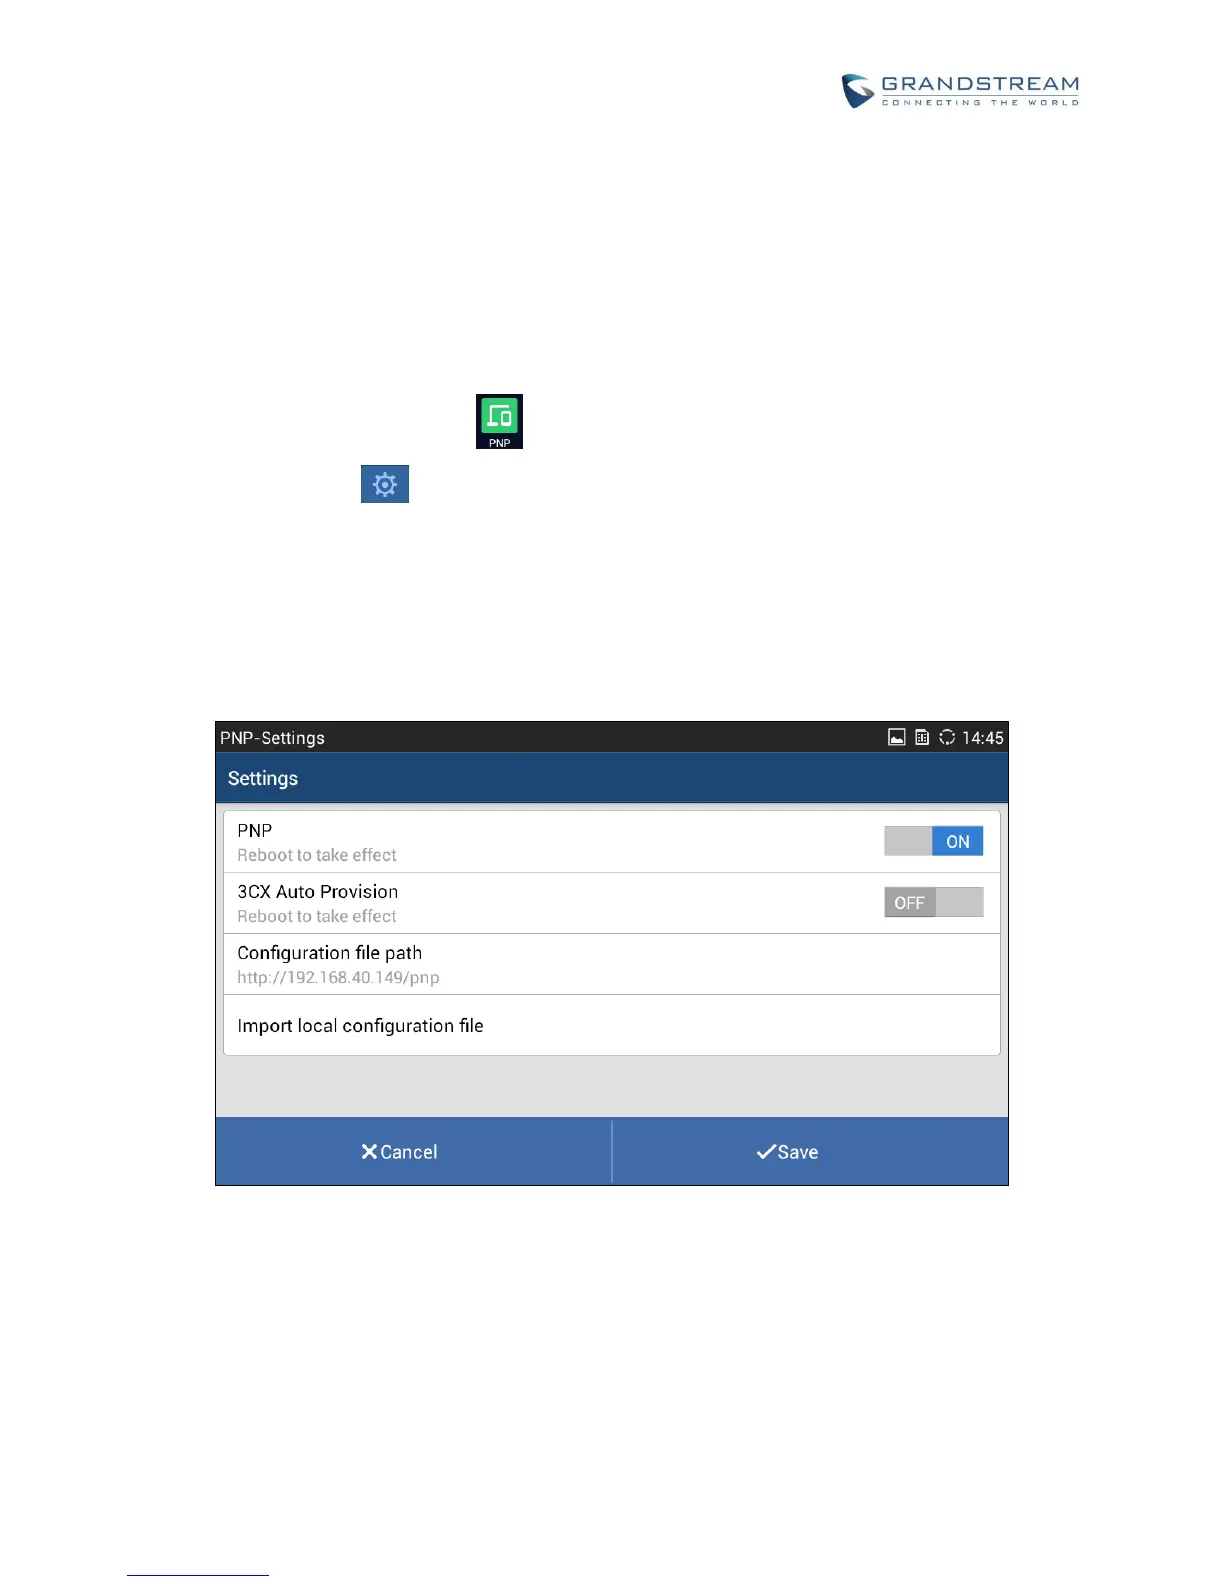
ENABLE FROM LCD
1. On the LCD screen, tap the icon to enter the PNP application.
2. Tap the Setting icon at the upper right corner of the screen to enter the PNP-Settings page.
3. In the Settings page, switch the PNP feature on and switch the 3CX Auto Provision off. Type the URL
to the Configuration file path in the correct format. And if the GXV3275 needs to be set as a file server,
it needs to load the configuration file to the directory /Local Storage/pnp via the Import local
configuration file.
4. Save the setting and reboot the device.
Figure 151: GXV3275 PNP Settings
 Loading...