53
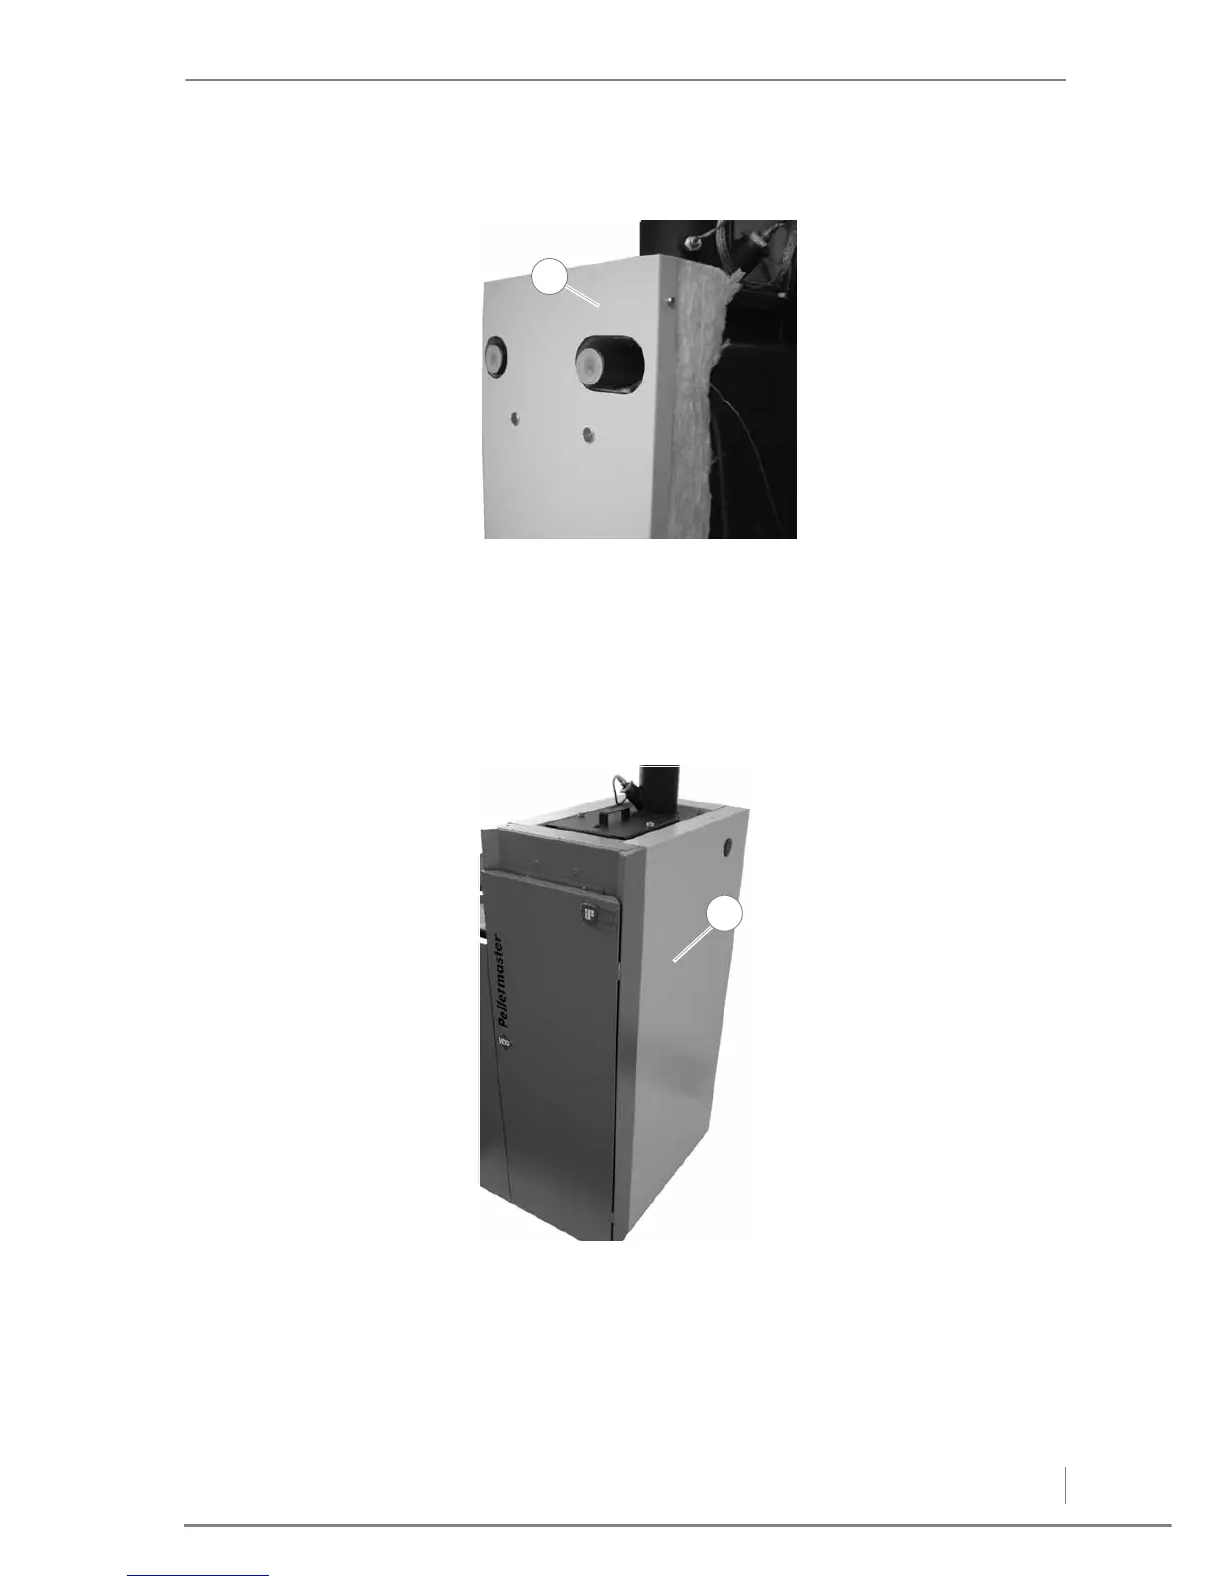
REAR BOILER CLADDING 1. Remove the pre-mounted flat-headed screws of the rear cladding
from the boiler body.
2. Set the rear cladding (1) on the base plate on the rear side of the
boiler.
3. Mount the rear cladding (1) on the boiler with the flat-headed
screws.
✓ The rear cladding has been attached.
R
IGHT HAND BOILER CLADDING
1. Hook the right hand cladding (1) into the already pre-mounted
shaped studs on the front and rear cladding of the boiler.
✓ The right hand cladding has been attached.
Figure 4/27 - Attaching the rear cladding