(3) Insertanewlter.
Ensurethatthelteriscorrectlyplacedinthecapthecorrectwayroundwiththethreelugs
closest to the front face of the cap or accessory and correctly engaged in the location points.
(4) Retthecaporaccessory.
Reverse the removal procedure.
5.2.2 Changing the Certied Sensor Cartridge
WARNINGS
Change cartridges using the procedure described below.
Failure to correctly follow this procedure could result in the
wrong cartridge being installed, and possibly non-detection
of events. Alternatively, extraneous alarms could be
triggered by chemicals detected but not of concern at a
particular location.
Sensor Cartridges may contain corrosive solutions.
Dispose of according to local and national regulations.
!
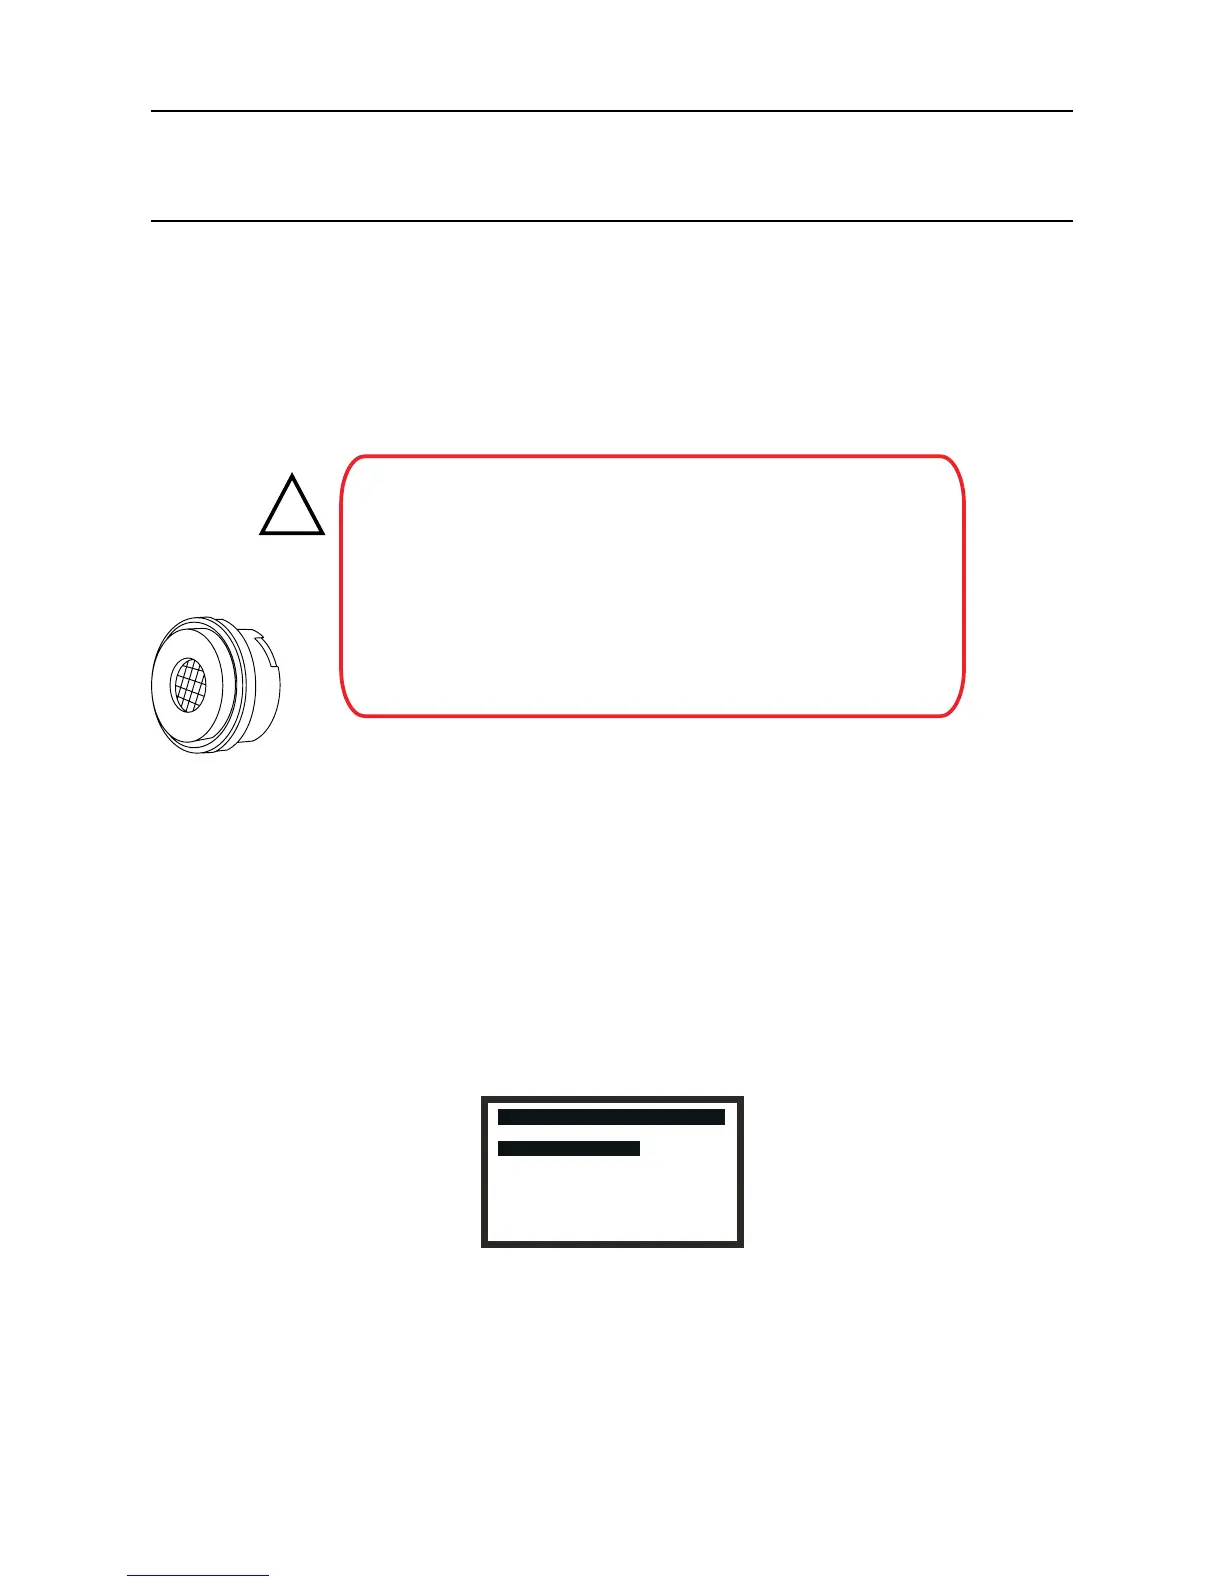
TheCertiedSensorcartridgeislocatedinthesensorbody
and protected by the cap or accessory. This procedure allows
the cartridge to be safely changed with the unit powered-up.
Eachcartridgeisprovidedwithacerticateofcalibration(printed
onthereverseoftheinstructionsheet,PartNo:2110M8015,
supplied with the cartridge) that guarantees that the cartridge
is calibrated and ready for use.
Before installing a cartridge check that the number on the cartridge label matches the gas type and
range for the function required. A list of cartridges is given in Appendix A.
Toreplaceacartridgecarryoutthefollowingprocedure:
(1) Press esc at the Gas Reading display.
The Main Menu is displayed.
Main Menu
Calibration Menu
Display Menu
History Log Menu
Change Passwords Menu
Reset Passwords
Configuration Menu
(2) Select CongurationMenu from the list.
(3) Press ok.
(4) Enter the current Level 2 password.
For information about passwords see Chapter 4.
The Conguration Menu is displayed.
5. MAINTENANCE

 Loading...