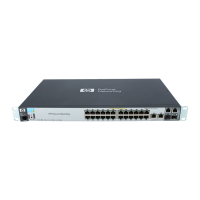
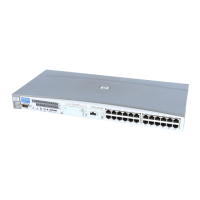
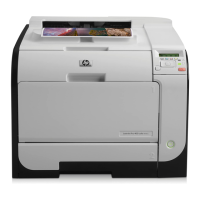
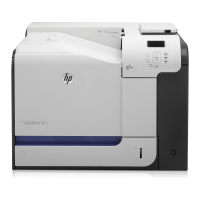
For example, the starting web page could show a state with links to individual cites. Each city would
open to a web page with individual buildings linked. Then, each building could be linked to a web
page with the building floors linked, and each floor to individual printers.
1. In the Advanced view settings section of the Select a view screen, click Show. The
Advanced view settings panel displays.
NOTE: The Final URL field populates automatically with the Internet address for the final MPL
view that you selected for this MPL ID.
2. In the Starting URL field, enter the Internet address of the image that provides a starting point
for the clickable image map.
3. Perform one of the following actions.
Option Description
Back Click Back to return to the Select an MPL screen without saving the
changes.
Apply Click Apply to apply your changes to the MPL view and remain in the
Advanced view settings panel to make any more modifications.
Done Click Done to apply the changes to the MPL view and return to the Select an
MPL screen.
Hide Click Hide to close the Advanced view settings panel.
Manage virtual printers
In some environments, it is not possible for the HP UPD to communicate with the destination printer.
This might occur because the HP UPD and the printer are not on the same network, there is a
firewall, or communication has been disabled for some other reason. In these environments, the
HP UPD is unable to determine the physical capabilities of the product, and only basic printing
options are provided to the user.
NOTE: The use of virtual printers requires HP UPD 5.3.1 or later and HP MPA 2.6.3 or later.
By using the Use the device configuration from a virtual printer option and then selecting one of
the previously defined HP MPA virtual printers, the administrator can enable the HP UPD to act as
though it communicated with the target product. The administrator can also set up the driver features
as though the product detected the specific hardware features. Once a virtual printer is selected, the
capabilities of that virtual printer are displayed for the administrator.
●
Create a new virtual printer
●
Edit existing virtual printer
Create a new virtual printer
Follow these steps to set up a virtual printer.
1. On the HP Managed Printer Lists menu, select Manage Virtual Printers. The Create a new
virtual printer screen displays.
2. Enter the address of the printer in TCP/IP or hostname format.
3. Click Add. See
Edit existing virtual printer on page 136 for more information.
ENWW Manage the HP UPD using HP MPA 135
 Loading...
