Hardware options installation 58
o
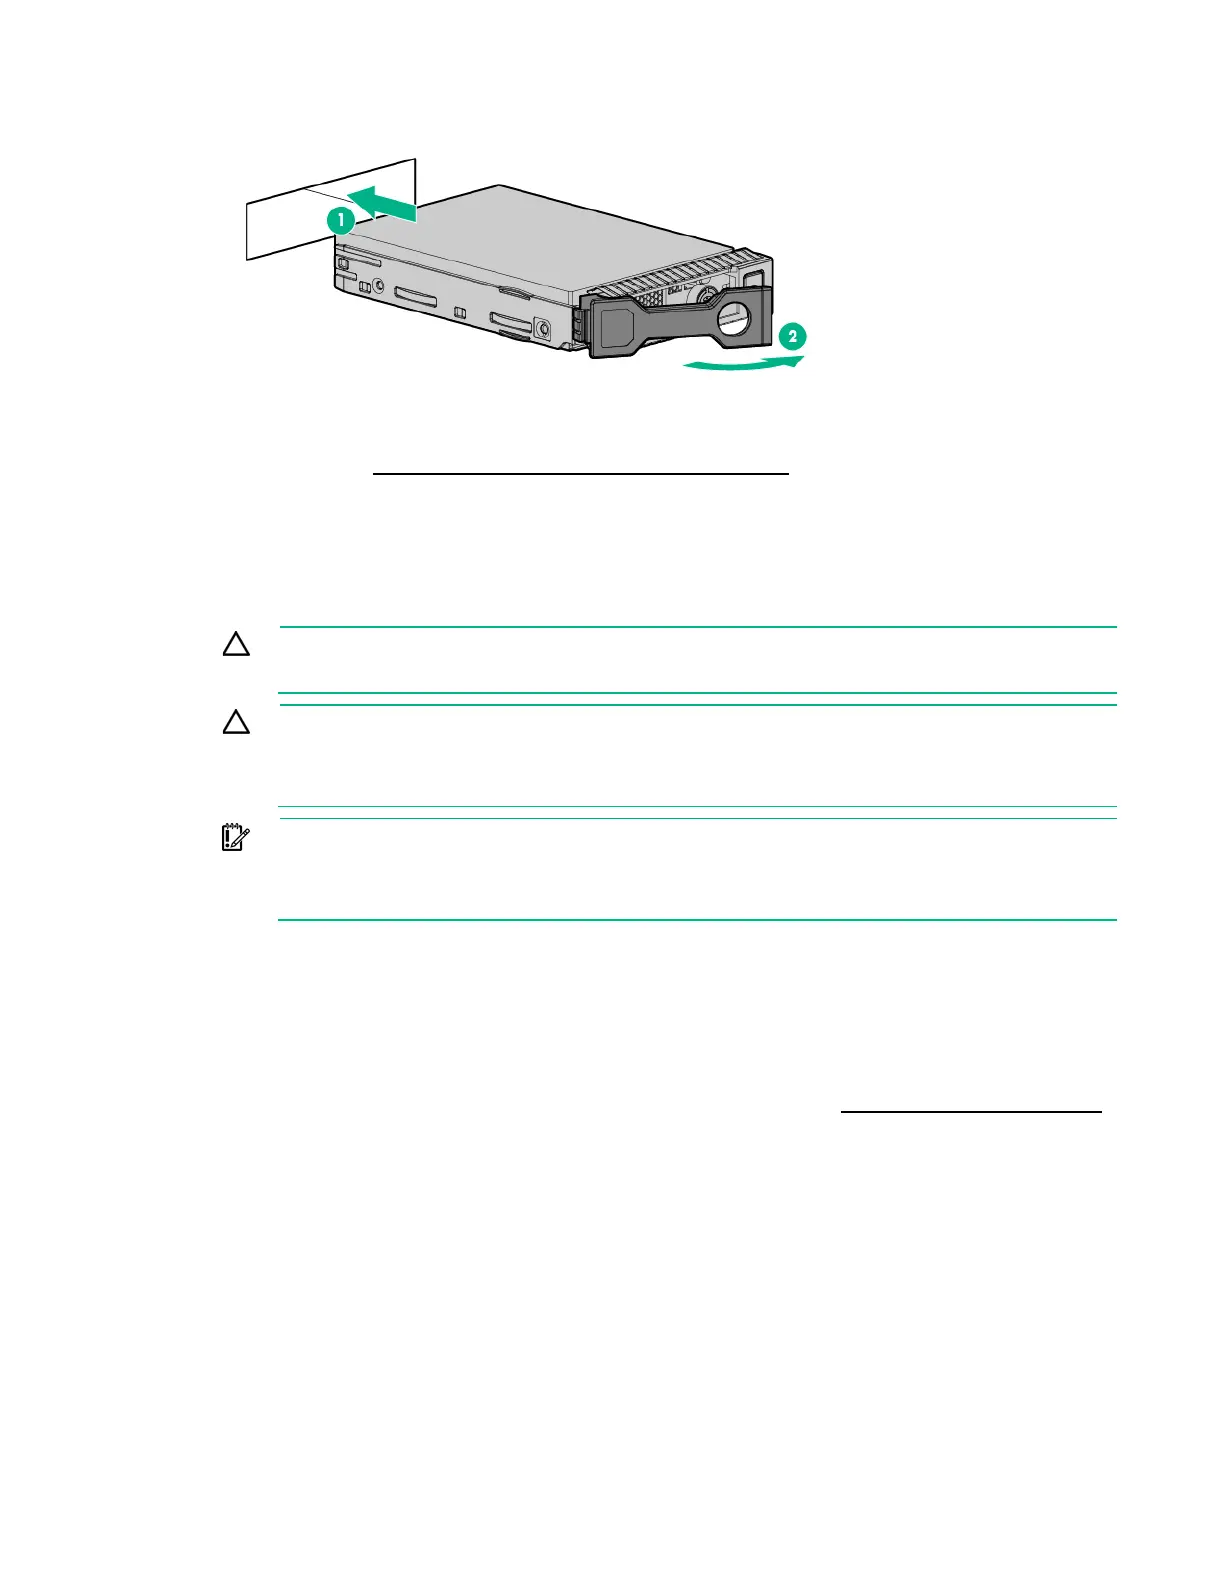
SFF drive
5. Determine the status of the drive from the drive LED definitions ("Drive LEDs" on page 16).
To configure arrays, see the HPE Smart Storage Administrator User Guide on the Hewlett Packard
Enterprise website (http://www.hpe.com/info/smartstorage/docs).
Drive cage options
Drive cage installation cautions
CAUTION: To prevent damage to electrical components, properly ground the server before
beginning any installation procedure. Improper grounding can cause ESD.
CAUTION: Do not operate the server with any of the rear drive bays empty. To maintain
proper airflow and sufficient cooling in the rear drive cage, all drive bays in this cage should
have a drive or a drive blank. Hewlett Packard Enterprise recommends installing at least one
drive in the rear drive cage before operating the server.
IMPORTANT: The 3x2 connector of the power Y-cable is reserved for PCI riser cage
installation. When installing the four-bay LFF hot-plug rear drive cage or six-bay SFF hot-
rear drive cage, do not remove the cable tie that secure the split ends of the power Y-cable
together.
Four-bay LFF hot-plug rear drive cage option
This rear drive cage option supports low-profile LFF SAS and SATA drives. These drives are assigned the
drive numbers 49–52.
For more information about product features, specifications, options, configurations, and compatibility,
see the product QuickSpecs on the Hewlett Packard Enterprise website (http://www.hpe.com/info/qs).
Install the four-bay LFF hot-plug rear drive cage
1. Power down the server (on page 19).
2. Remove all power:
a. Disconnect each power cord from the power source.
b. Disconnect each power cord from the server.
3. Remove the server from the rack (on page 28).
4. Remove the access panel (on page 29).
5. Remove the air baffle (on page 30).

 Loading...


