Hardware options installation 62
Two-bay SFF hot-plug rear drive cage and two-slot PCI riser
cage options
CAUTION: To prevent improper cooling and thermal damage, do not operate the server
unless all expansion slots have either an expansion slot cover or an expansion board installed.
This drive cage option supports SFF SAS and SATA HPE SmartDrives. These drives are assigned the
drive numbers 49–50.
The PCI riser cage option has two PCIe3 x8 (8, 4, 1) full-height, half-length slots.
For more information about product features, specifications, options, configurations, and compatibility,
see the product QuickSpecs on the Hewlett Packard Enterprise website (http://www.hpe.com/info/qs).
Installing two-bay SFF hot-plug rear drive cage and two-slot PCI riser cage options
1. Power down the server (on page 19).
2. Remove all power:
a. Disconnect each power cord from the power source.
b. Disconnect each power cord from the server.
3. Remove the server from the rack (on page 28).
4. Remove the access panel (on page 29).
5. Remove the air baffle (on page 30).
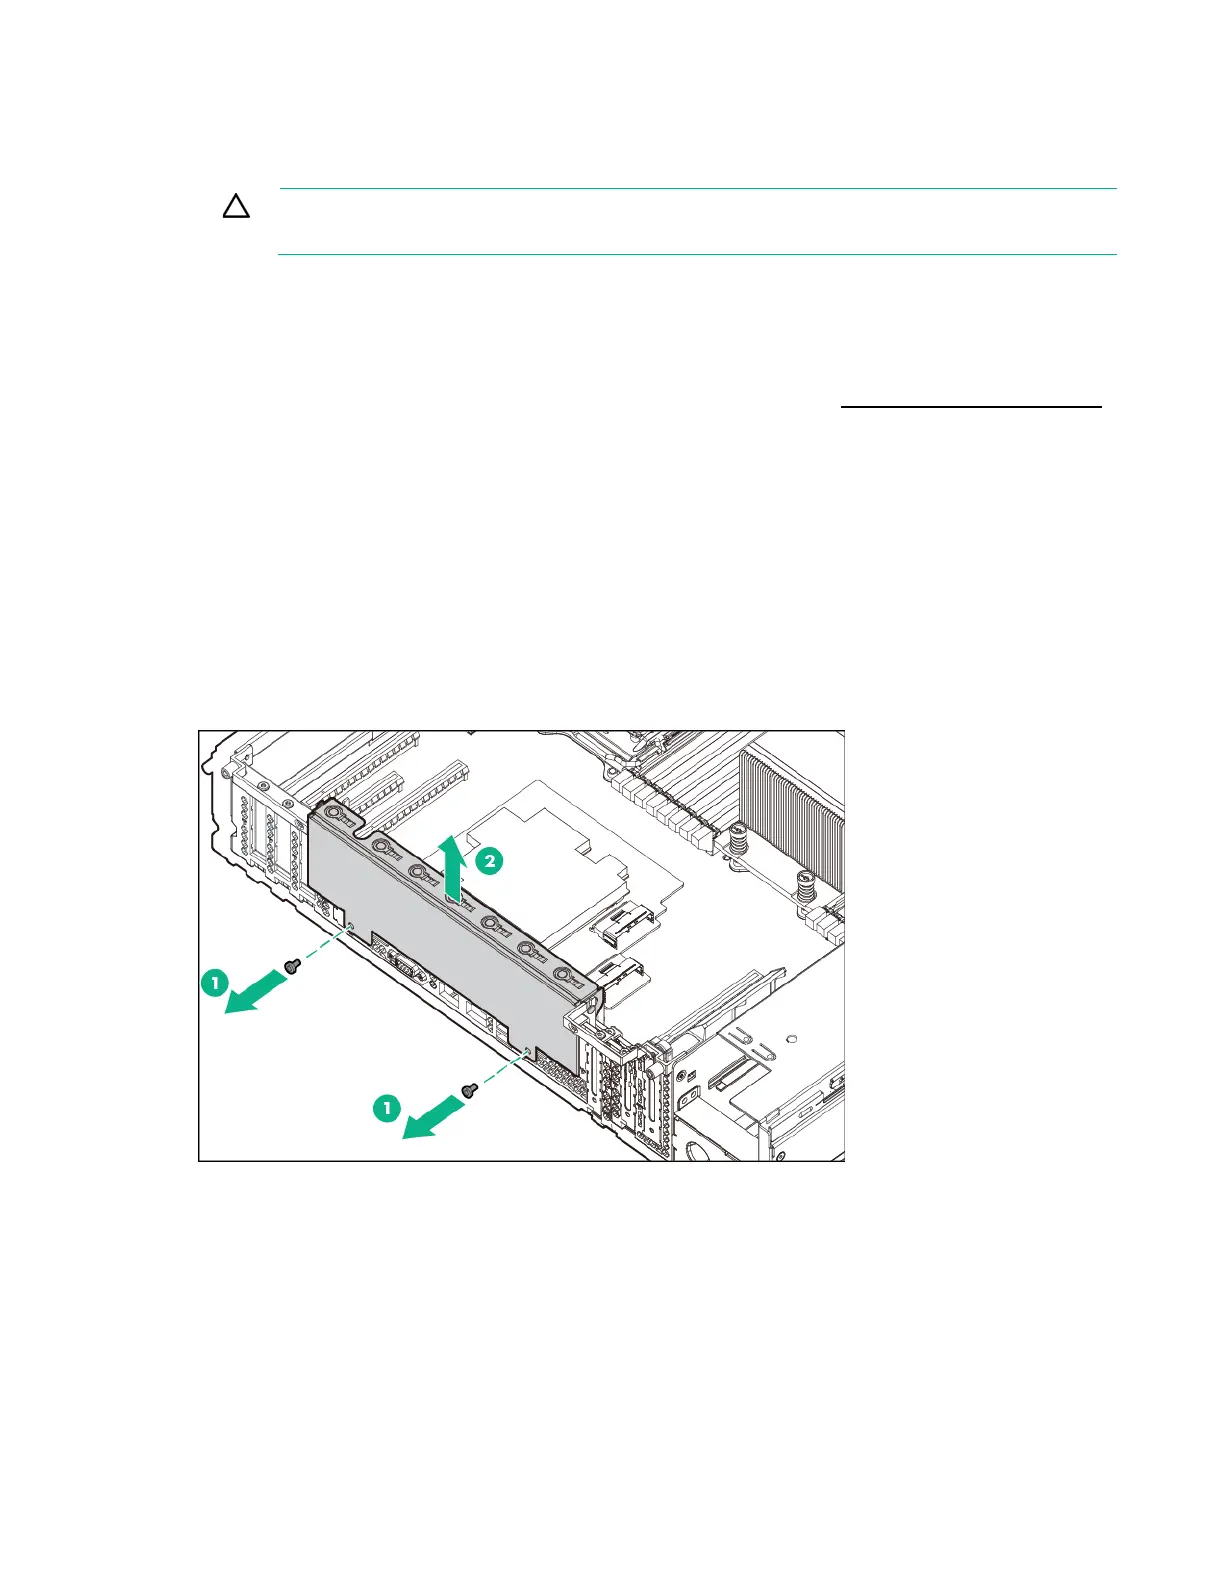
6. Remove the rear option blank.
Retain the blank for future use.
7. Install the two-bay SFF rear drive cage:
a. Align the pin on the drive cage with the notch on the rear panel.
b. Tighten the thumbscrew to secure the drive cage to the rear panel.

 Loading...


