Hardware options installation 52
Drive installation guidelines
When adding drives to the server, observe the following general guidelines:
• The system automatically sets all device numbers.
• Populate drive bays, based on the drive numbering sequence. Start from the drive bay with the
lowest device number ("Drive numbering" on page 15).
• All drives grouped into the same drive array must meet the following criteria:
o They must be either all SAS or all SATA.
o They must be either all hard drives or all solid state drives.
o Drives should be the same capacity to provide the greatest storage space efficiency when drives
are grouped together into the same drive array.
Installing a hot-plug drive in the front drive cage 1
CAUTION: Do not operate the server with any of the front drive cage 1 bays empty. To
maintain proper airflow and sufficient cooling in the front drive cage 1, all drive bays in this cage
should have a drive or a drive blank.
To install the component:
1. If installed, remove the security bezel (on page 19).
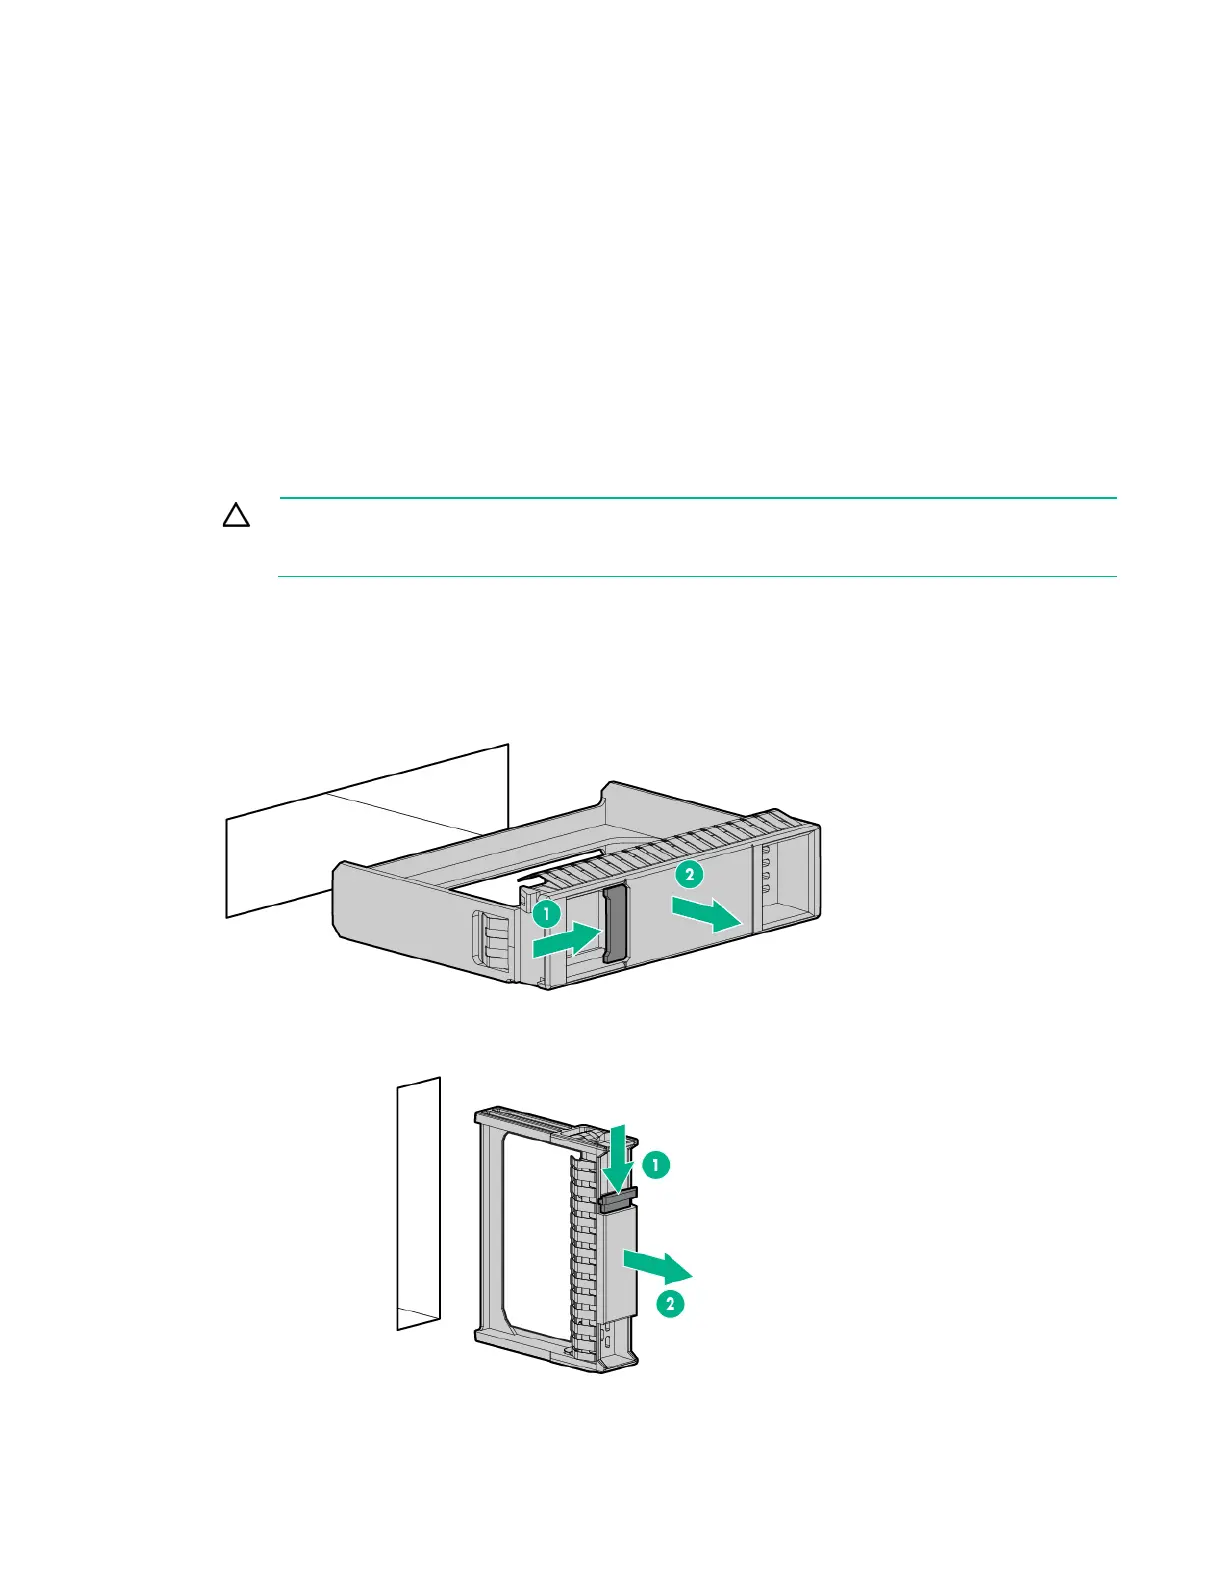
2. Remove the drive blank:
o LFF drive blank
o SFF drive blank
3. Open the drive release lever: