Removing and replacing the optical drive filler
To remove the component:
CAUTION: To prevent improper cooling and thermal damage, do not operate the server unless
all bays are populated with either a component or a blank.
1. Power off the server (“Powering off the server” (page 99)).
2. Extend or remove the server from the rack.
3. Remove the access panel. See “Removing the access panel” (page 42).
4. Remove the fans 2 and 3. See “Removing and replacing a hot-swap fan” (page 108).
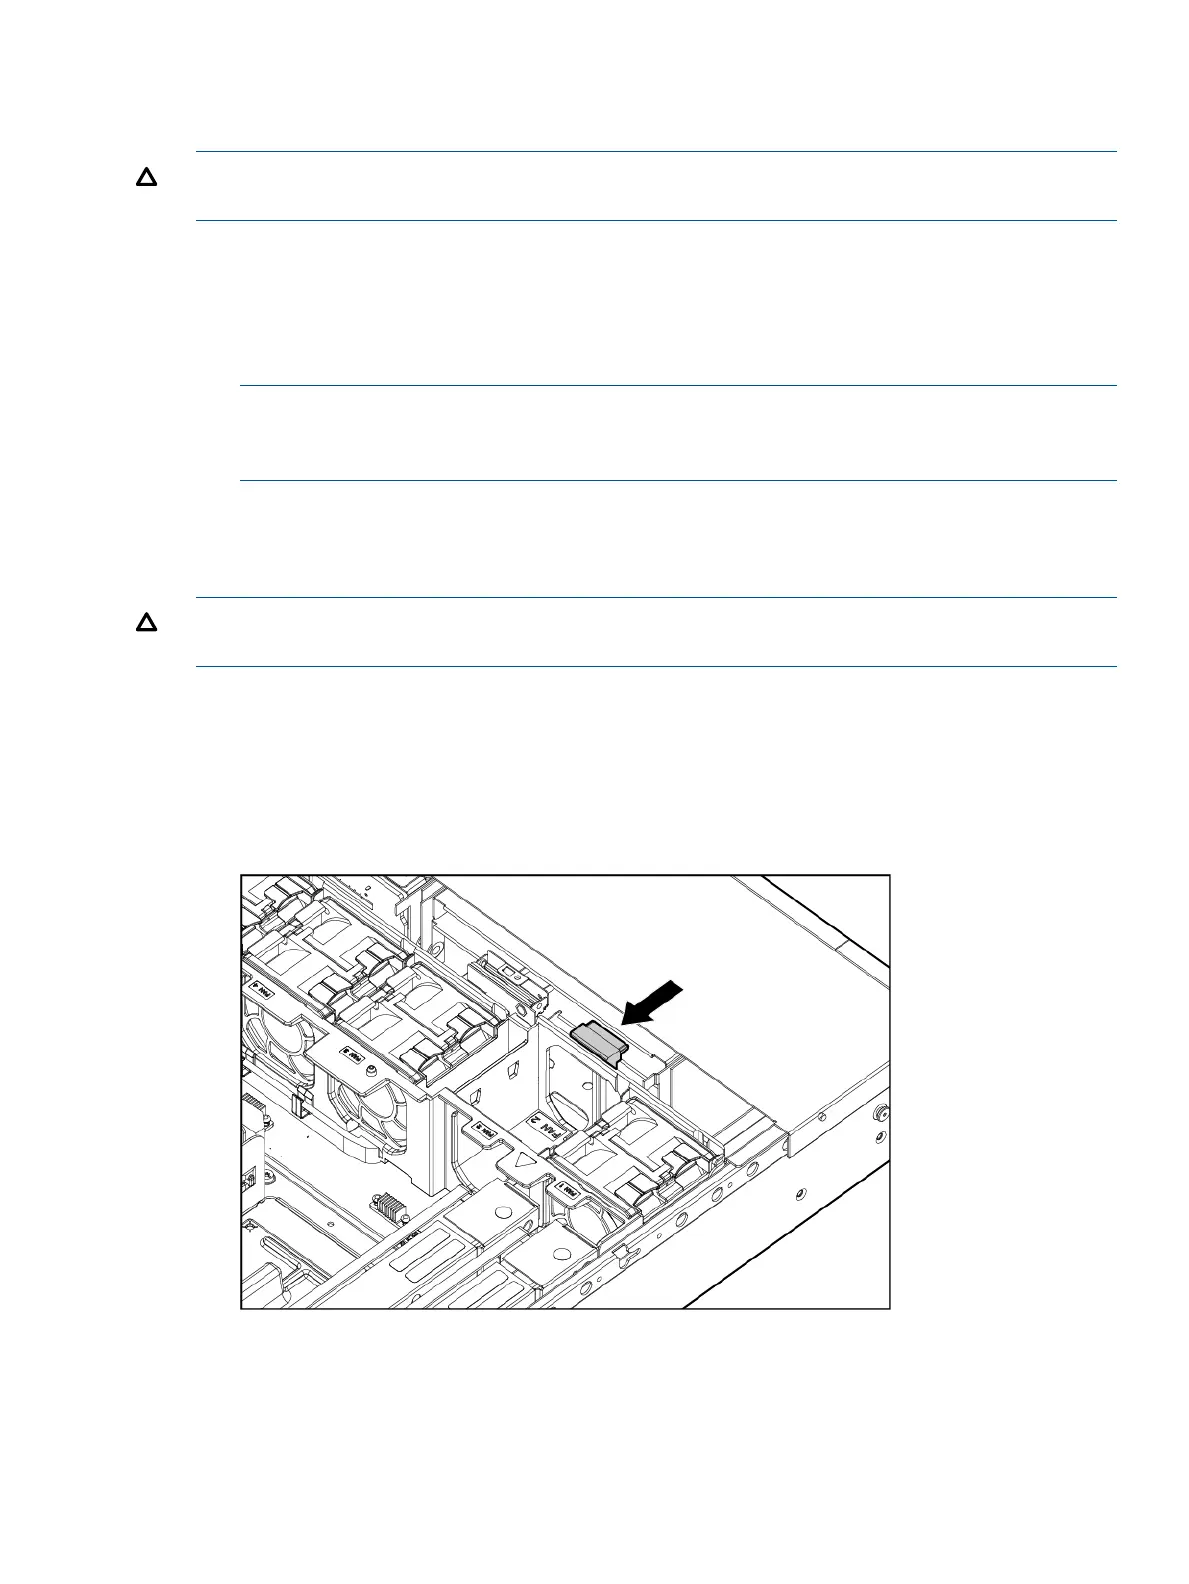
5. Push out the drive filler.
NOTE: You might have to use a nonconductive tool with a length of at least 20 cm and a
thickness of about 1 mm to push out the drive filler. HP recommends using a ruler or similar
tool.
To replace the component, reverse the removal procedure.
Removing and replacing the optical drive
CAUTION: To prevent improper cooling and thermal damage, do not operate the server unless
all bays are populated with either a component or a blank.
1. Power off the server (“Powering off the server” (page 99)).
2. Extend or remove the server from the rack. See “Removing the server from the rack” (page
99).
3. Remove the access panel. See “Removing the access panel” (page 42).
4. Remove the fans 2 and 3. See “Removing and replacing a hot-swap fan” (page 108).
5. Disconnect the drive cable.
HP Confidential Removing and replacing the optical drive filler 107

 Loading...


