Top stacker
The printer comes with a top stacker to stack the pages of your job automatically.
It can accommodate up to 100 sheets of paper, depending on the paper type and size.
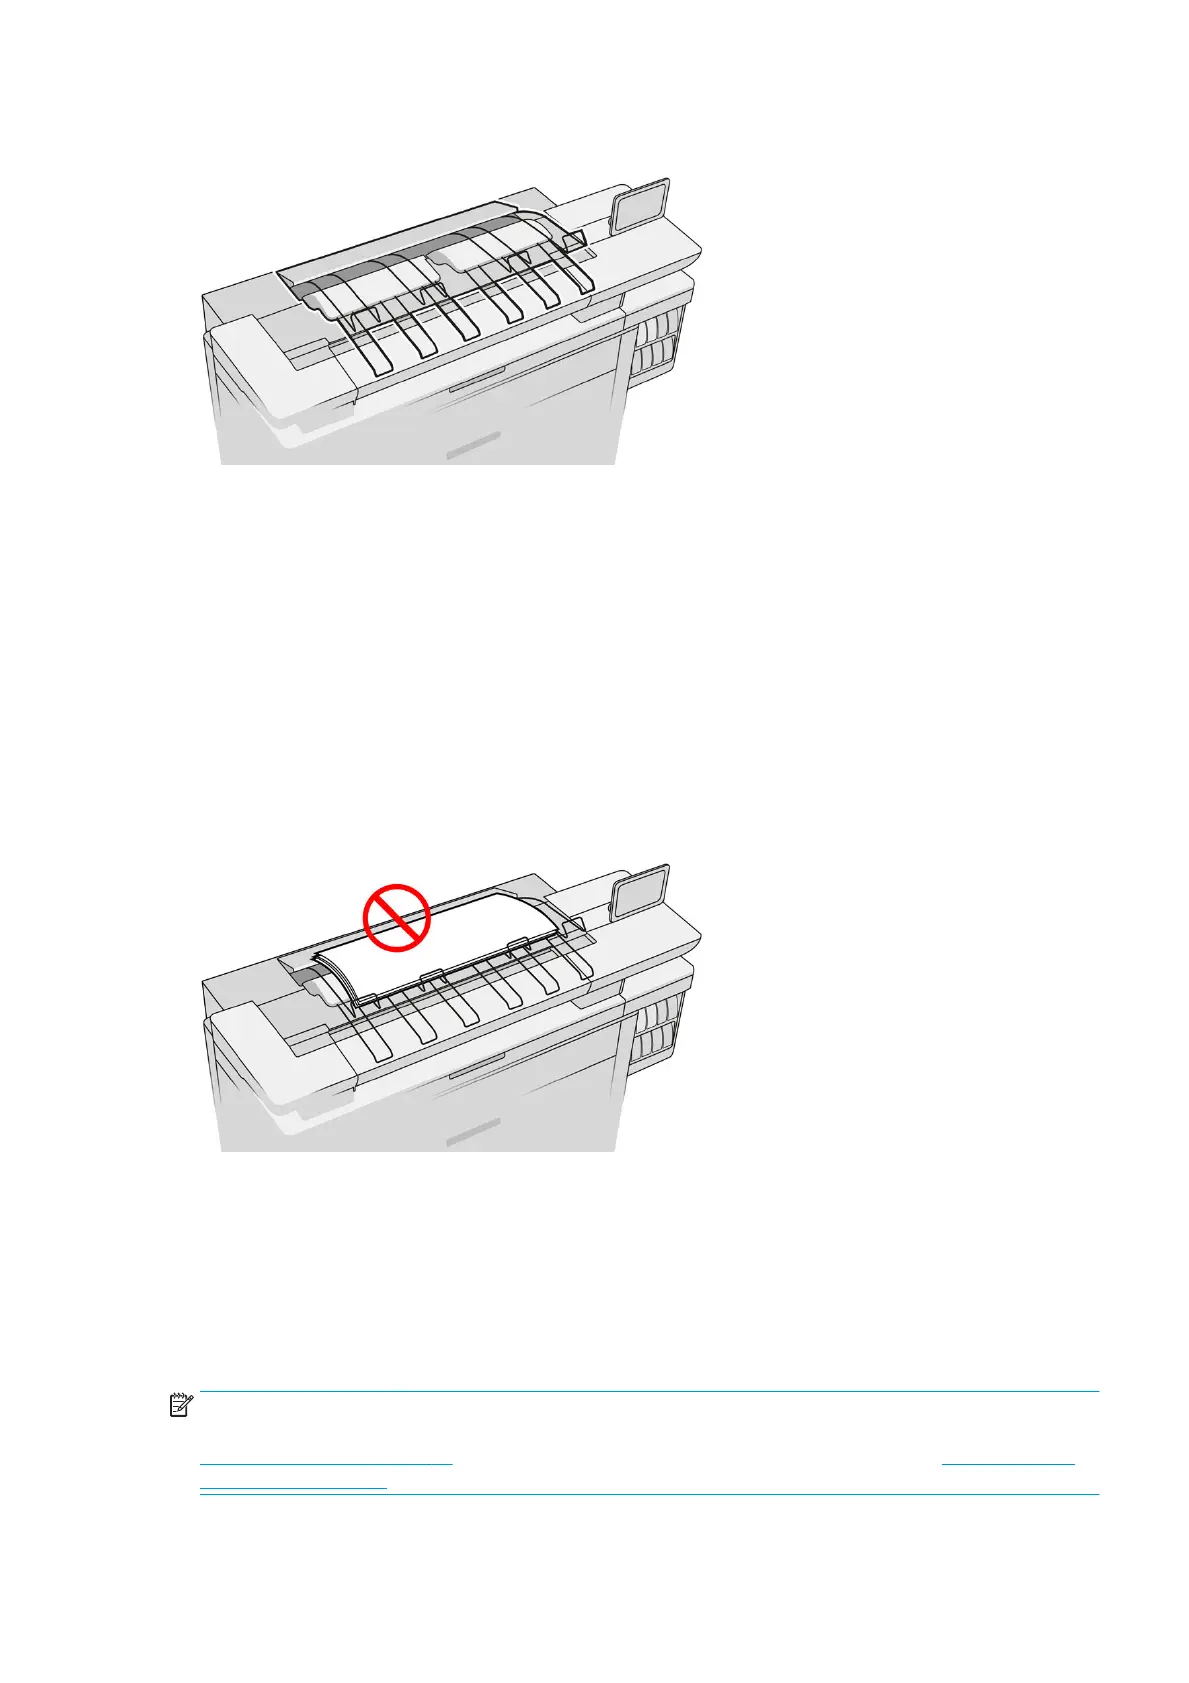
When stacking Natural Tracing Paper, use the supports attached to the top stacker (not recommended for
other paper types).
By default, the printer cuts the paper after every printed page, and the resulting sheets of paper are neatly
stacked by the stacker.
If you send pages longer than 1.2 m (4 ft) to the stacker, you are recommended to stand by the stacker to
prevent the prints from falling on the oor.
You can retrieve part of the stacker pile by waiting until the current job nishes, or by pausing the current job.
After retrieving sheets from the stacker, do not return them to the stacker or put them on top of the stacker,
which can cause a paper jam.
To use the stacker, select it as follows when sending the job to print:
●
Front panel: Go to job properties, delivery output, and select Top stacker.
●
Printer driver: Go to printer properties, delivery output, and select Top stacker.
●
HP SmartStream: Go to job properties, delivery output, and select Top stacker.
The printed job is automatically collected by the top stacker. Wait until the job has nished, then collect the
output.
NOTE: During normal use, you do not need to do anything with the stacker except to remove the stack of
printed paper. Occasionally you will need to open the top cover to access the printheads for replacement (see
Replace printheads on page 54), and you may need to take action to clear a paper jam (see Paper jam in the
top stacker on page 41).
ENWW Top stacker 89
 Loading...