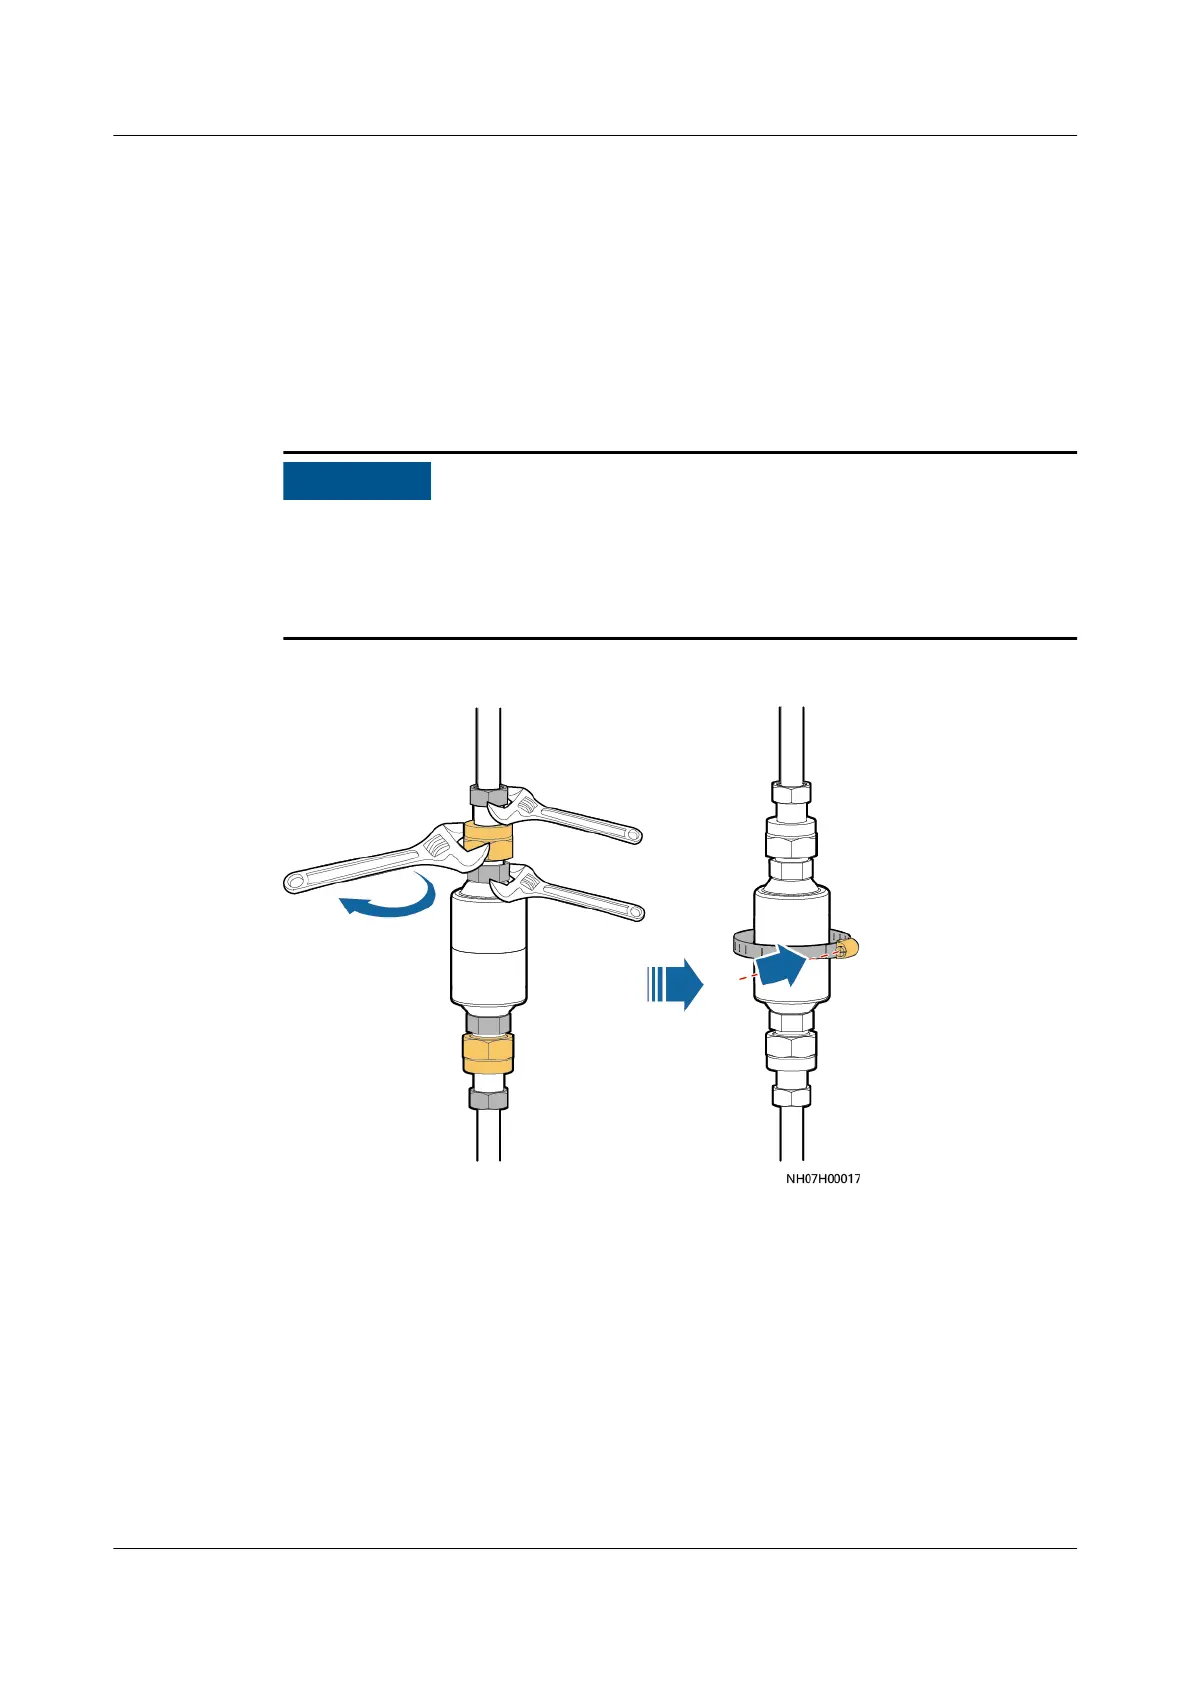
1. Remove the hold hoops from the lter dryer using a Phillips screwdriver.
2. Heat the thread connection position of the adjustable nut using a heat gun
for 10 minutes. Secure the lter dryer nut and pipe nut (as shown in Figure
11-25) using two 27# adjustable wrenches respectively. Then loosen the
adjustable nut using a 36# adjustable wrench to separate the pipe from the
lter dryer.
Step 6 Remove the plastic plug from the port of the new
lter dryer.
Step 7 Install the new lter dryer, as shown in Figure 11-27.
● Secure the lter dryer in the original position. Ensure that the arrow on the
lter dryer points upwards.
● Installation of the new
lter dryer requires the collaboration of two persons.
The torque for tightening the adjustable nut is 70 N·m.
Figure 11-27 Installing a lter dryer
1. Apply red glue to the third to second last thread circles of the outer screw
thread counting from the pipe outlet inward. Secure the
lter dryer nut and
pipe nut using two 27# adjustable wrenches respectively. Then tighten the
adjustable nut using a 36# adjustable wrench.
2. Reinstall the hold hoops.
Step 8 Perform a leakage test with nitrogen again. Refer to 3.11 Leakage Test with
Nitrogen for Refrigerant Pipes.
Step 9 After checking that the smart cooling product does not leak, vacuumize the smart
cooling product and charge refrigerant. Refer to 4.1 Vacuumizing and
Precharging Refrigerant.
NetCol5000-A050 In-row Air Cooled Smart Cooling
Product
User Manual 11 Parts Replacement
Issue 08 (2021-09-17) Copyright © Huawei Technologies Co., Ltd. 271