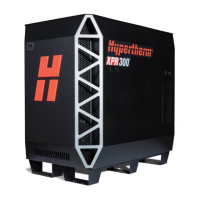
Plasma Power Supply
18 810410 Field Service Bulletin XPR170
4. Apply liquid thread sealant to the fitting threads.
5. Use a 1-1/16 inch, open-ended wrench on the coolant check valve and an 11/16 inch,
open-ended wrench on the 45-degree swivel fittings to install the 45-degree swivel fittings on
the coolant check valve. Tighten to 8.5 N∙m – 9.5 N∙m (75 in∙lbf – 84 in∙lbf).
Do not overtighten.
6. Do not adjust the nut on the coolant check valve.
7. Make sure that the arrow on the coolant check valve points to the coolant flow meter.
8. Connect the tubes to the push-to-connect fittings on the coolant check valve. Refer to How to
use push-to-connect fittings on page 12.
9. Install all of the panels.
10. Add coolant to fill the tank.
NOTICE
PTFE TAPE CAN CAUSE CLOGGED VALVES, REGULATORS, AND TORCHES
Never use PTFE tape on any joint preparation. Use only a liquid or paste thread sealant on male thread
ends.
 Loading...


