Plasma Power Supply
XPR170 Field Service Bulletin 810410 29
Replace the coolant pump, solenoid valve, and motor assembly
Refer to Coolant system on page 134 for location and part number.
Remove the coolant pump, solenoid valve, and motor assembly
1. Complete the following procedures:
a. Remove the power from the cutting system.
b. Refer to Remove the right-side (liquid-cooling-side) panel on page 62.
c. Drain the coolant. Refer to Remove old coolant from the coolant system in the Maintenance
section in the XPR170 Instruction Manual (810060).
Keep all nuts and screws that you remove.
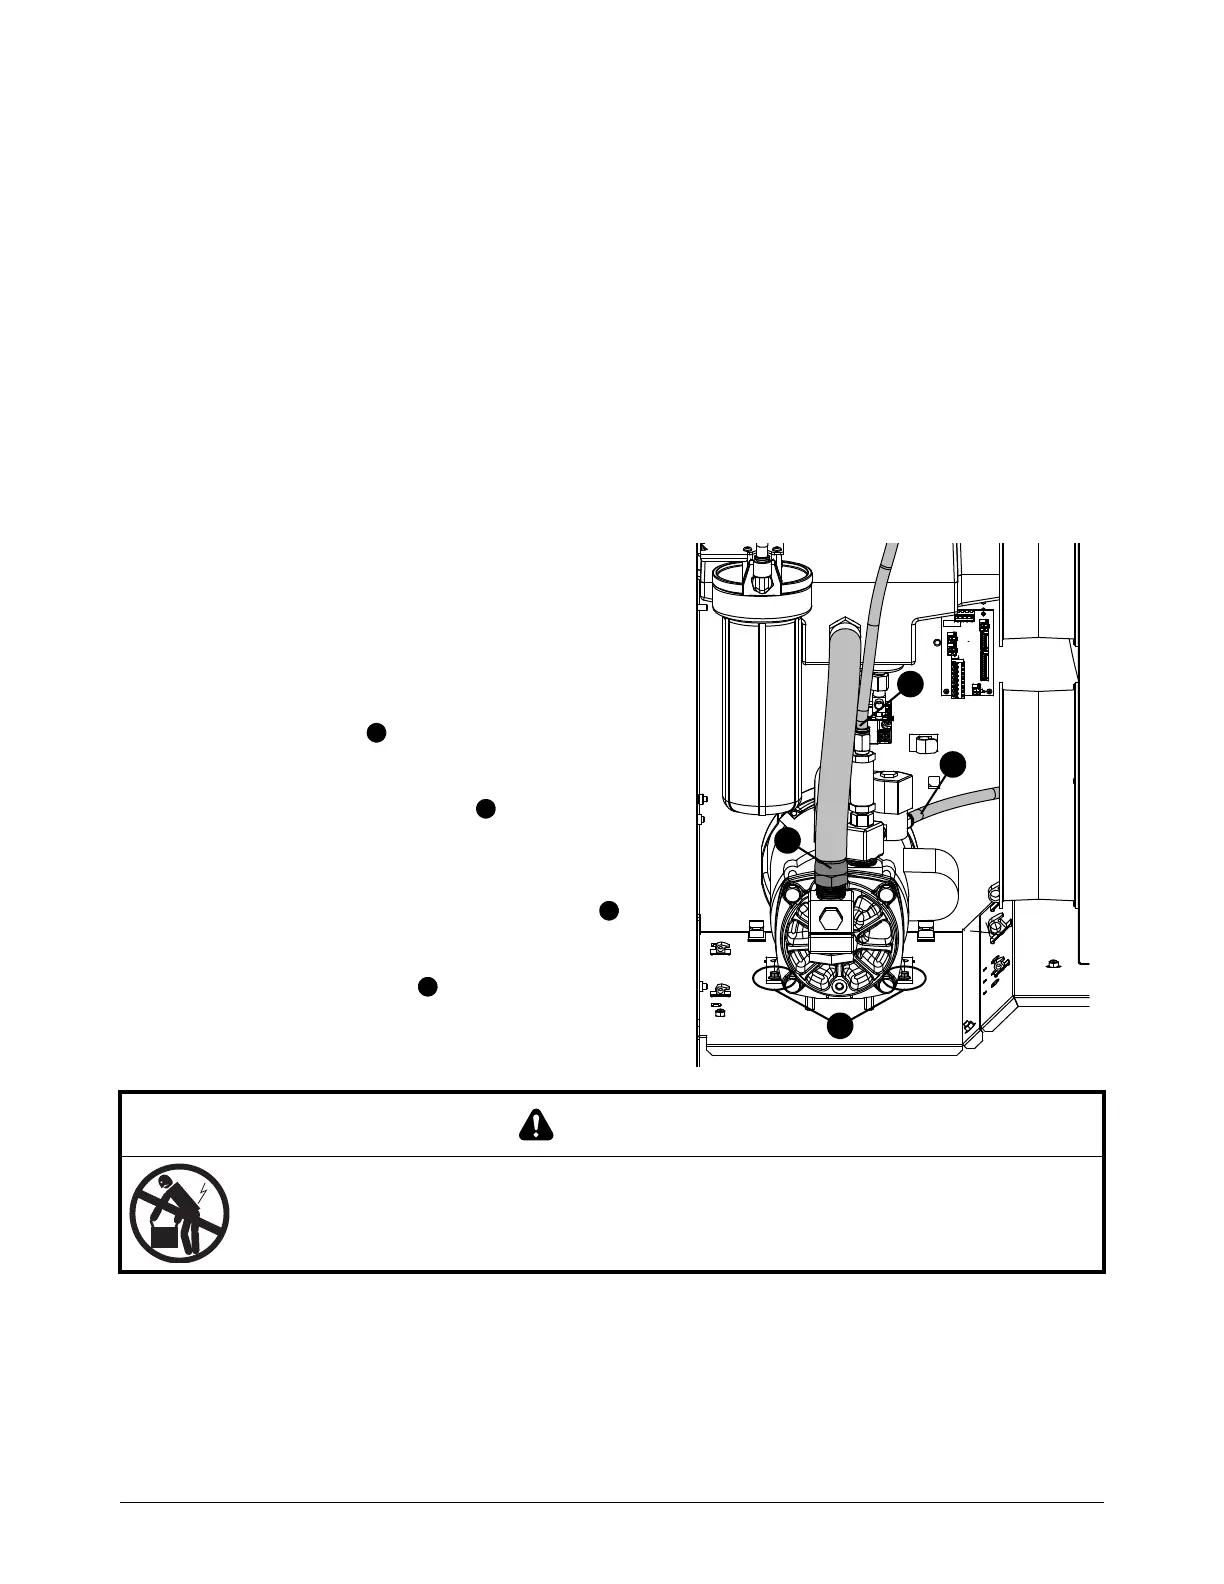
2. Disconnect the power connector (J21) from the
wire harness.
3. Disconnect the solenoid valve connector (J7) from
the motor.
4. Use a 1-1/2 inch, open-ended wrench to remove
the 1 inch hose from the pump.
5. Disconnect the tube from the push-to-connect
fitting on the solenoid valve . Refer to How to
use push-to-connect fittings on page 12.
6. Disconnect the tube from the push-to-connect
fitting on the coolant bypass check valve .
7. Use a 10 mm, hexagonal-socket wrench to
remove the 2 screws from the pump-motor
bracket.
8. Pull the pump out from the tabs in the sheet metal.
CAUTION
This equipment is heavy.
Use a 2-person lift.