EasyManuals Logo
Home>Hypertherm>Welding System>XPR170

Hypertherm XPR170 Replacement Part Procedures

Hypertherm XPR170
176 pages
To Next Page IconTo Next Page
To Previous Page IconTo Previous Page
Page #40 background imageLoading...
Page #40 background image
Plasma Power Supply
1
40 810410 Field Service Bulletin XPR170
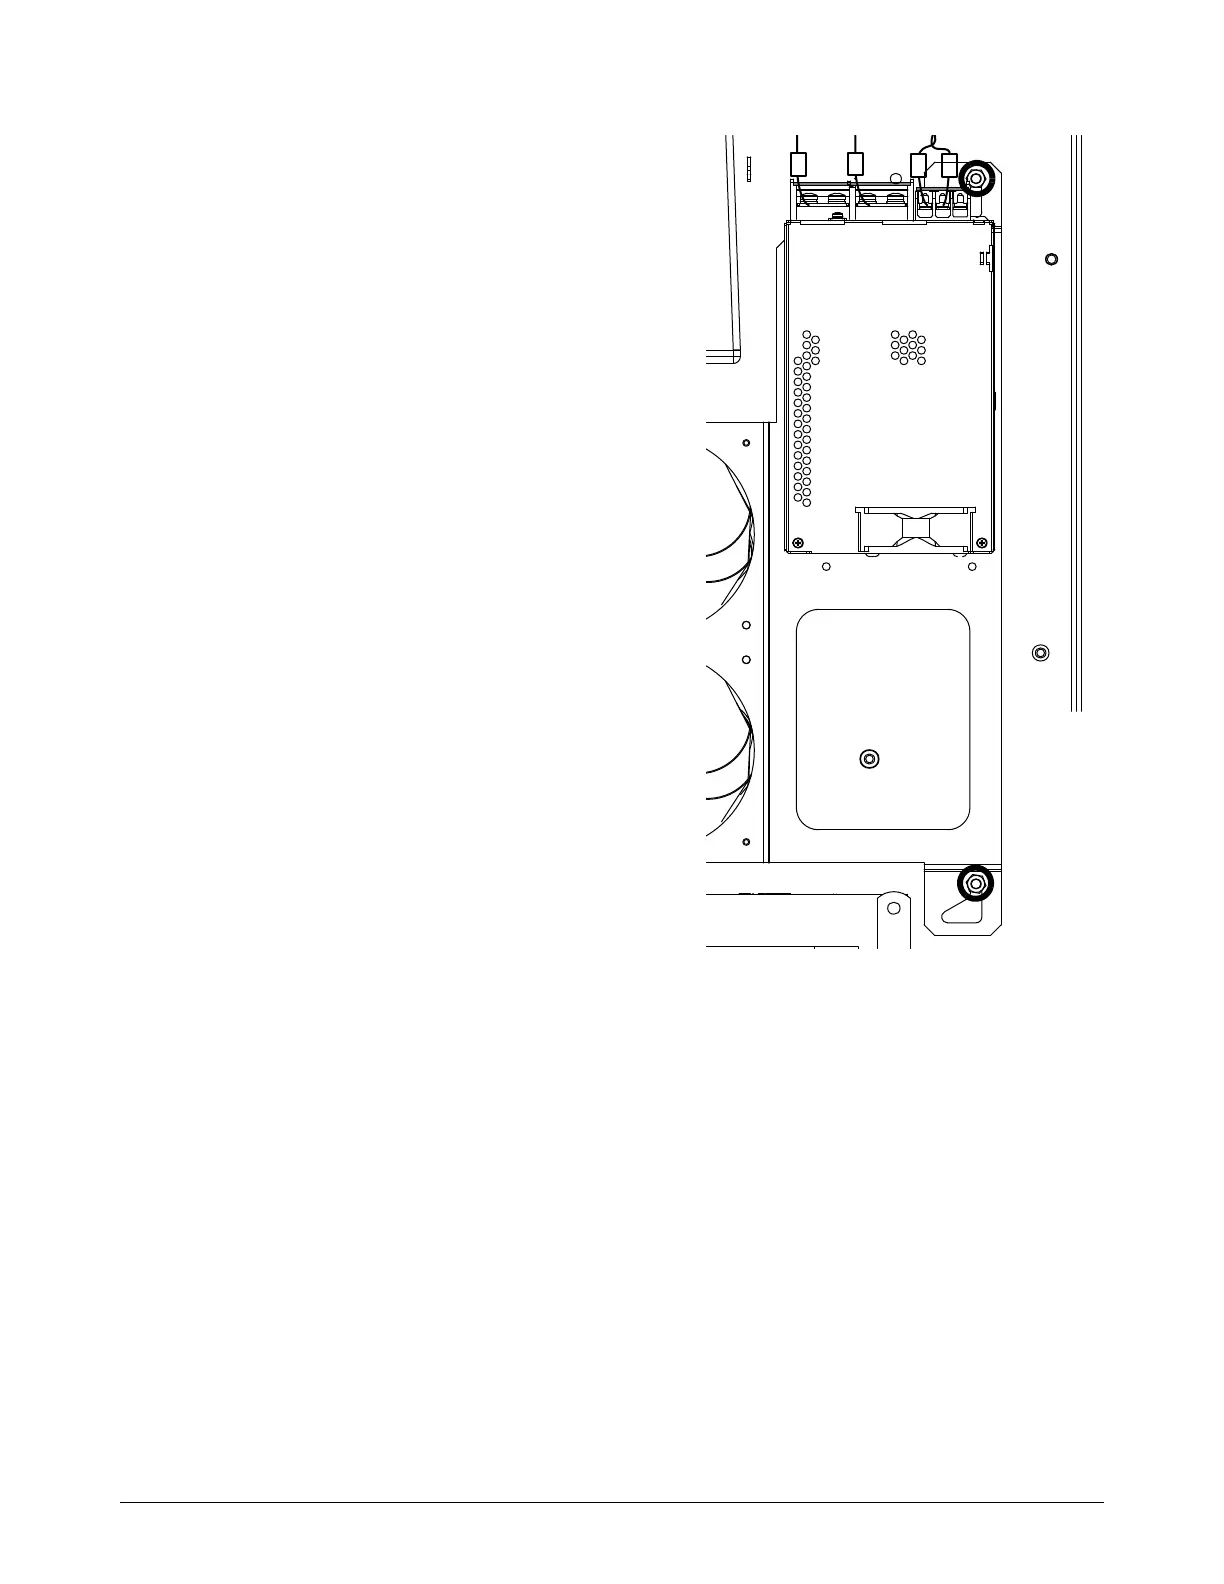
3. Use a 10 mm, hexagonal-socket wrench to install
the 2 nuts.
4. Install the wires as shown and tighten the screws.
5. Install the connector covers.
6. Route the fan wires through the center panel of
the plasma power supply.
7. Connect the control-side fans to the fan power
distribution PCB:
J7 for the top fan
J8 for the bottom fan
8. Install the control-side panel.
V+V-NL
V+
V-
L
N

Table of Contents

Other manuals for Hypertherm XPR170

Questions and Answers:

Question and Answer IconNeed help?

Do you have a question about the Hypertherm XPR170 and is the answer not in the manual?

Hypertherm XPR170 Specifications

General IconGeneral
BrandHypertherm
ModelXPR170
CategoryWelding System
LanguageEnglish

Related product manuals