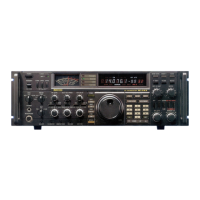
■ Linear amplier connections
D Connecting the IC-PW1/EURO
EXCITER
1
1&2
To an
antenna
ACC-1
ANT
ANT1
ACC 2
INPUT1
REMOTE
GND
IC-PW1/EURO
AC outlet
(Non-European versions : 100–120/220–240 V
European version : 230 V)
Transceiver
REMOTE
Remote control cable (supplied with the IC-PW1/EURO)
ACC cable (supplied with the IC-PW1/EURO)
Be sure to connect the cable
to the 7-pin ACC 2 jack.
Coaxial cable
(supplied with the
IC-PW1/EURO)
GND
GND
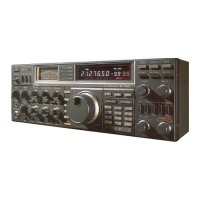
D Connecting a non-Icom linear amplier
RF OUTPUT RF INPUT
ALC
SEND
50 ø
coaxial
cable
Transceiver
ANT1
ALC SEND
To an
antenna
Non-Icom linear amplifier
R WARNING!
Set the transceiver output power and linear
amplifier ALC output level after referring to the
linear amplifier instruction manual.
The ALC input level must be in the range 0 V to
–4 V. The transceiver does not accept positive
voltage. Non-matched ALC and RF power settings
could overheat or damage the linear amplifier.
The maximum signal level of [SEND] jack is 16 V/
0.5 A DC with initial setting, and 250 V/ 200 mA
with “MOSFET” setting (see page 133 for details).
Use an external relay unit if your non-Icom linear
amplifier requires control voltage and/or current
greater than specified.
When using a linear amplifier that has a time
delay between receiving and transmitting, a high
SWR might cause the linear amplifier to
malfunction. To prevent this, slow the TX Delay the
“TX Delay (HF), (50M)” settings in the others set
mode. (pp. 136, 137)
22
2
INSTALLATION AND CONNECTIONS
2

 Loading...