Section 9 - Fault Finding
113
Installation and Maintenance
FAULT FINDING
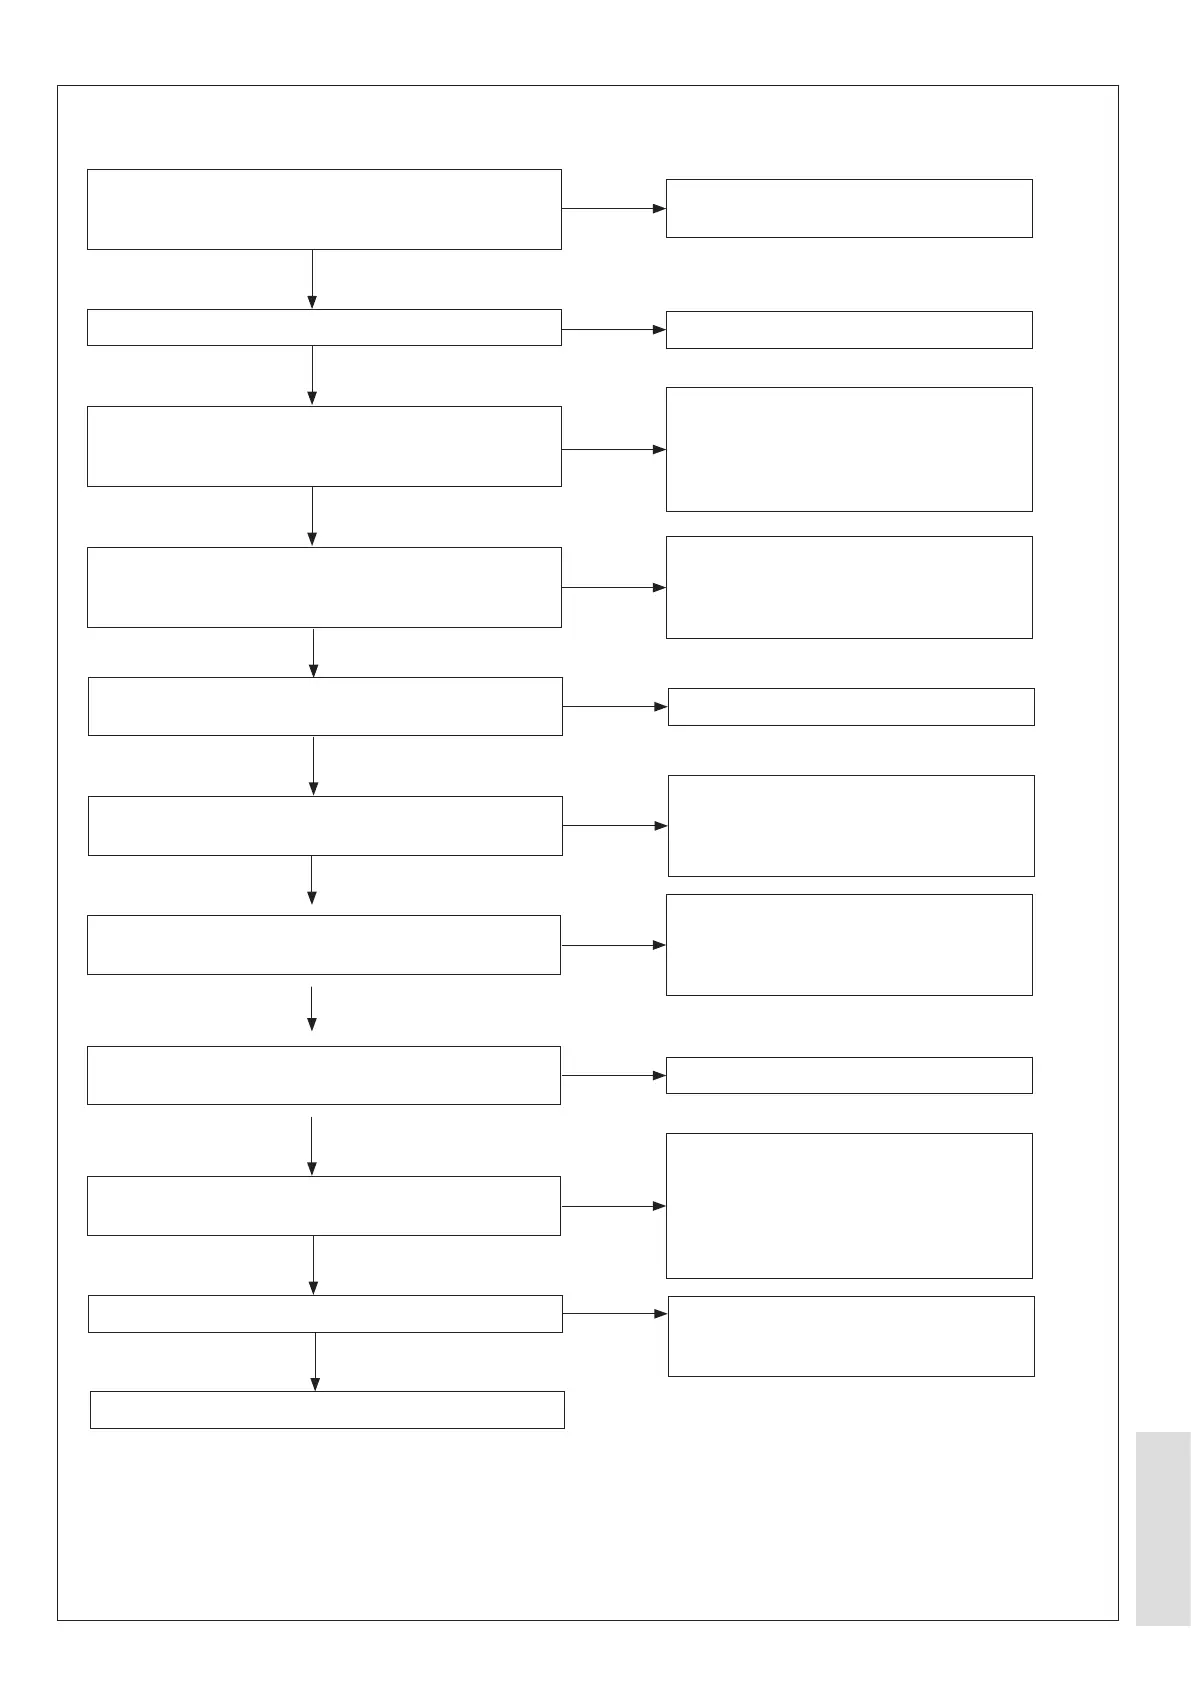
Is the Central Heating timer scheduled to be ON?
Refer to Schedule, Zone 1 daily timer or Zone 1 weekly
schedule in Appendix 1.3.1.
Is the Room Stat set to ON?
Disconnect the Indoor Control Box ON/OFF, Room Stat
1 connector. Is there electrical continuity across the
wires connected to Room Stat 1?
Is the wiring assembly from the Internal Control Box
to the CN31 connection on the Indoor PCB attached
correctly?
Is there a 240 V AC supply voltage at the Indoor PCB,
10 Po connection?
Is there a 240 V AC supply voltage at the CH1 Relay
LIVE connection?
Is there a 240 V AC supply voltage at the Indoor CH1,
Relay Contact L-in connection?
Is there a 240 V AC supply voltage at the Indoor CH1,
Relay Contact L-out connection?
Is there a 240 V AC supply voltage at the Indoor CH1
Pump or Valve LIVE connection?
Is there a 240 V AC voltage at the input to the Pump?
Replace the Pump.
Set up the CH Zone 1 schedule so it is
Timed to be ON.
Set Room Stat 1 to ON.
Make sure that the wiring assembly that
connects Room Stat 1 to the Indoor
Control Box is attached correctly. If the
fault does not change, then replace the
Room Stat 1.
Make sure that the wiring assembly
between the Internal Control Box to the
CN31 connection on the indoor PCB is
attached correctly?
Replace the Indoor PCB.
Make sure that the wiring assembly from
the Indoor PCB, connection 10_Po, to the
CH1 Relay Coil LIVE terminal is connected
correctly.
Make sure that the wiring assembly from
the mains electrical supply to the CH1
Relay Contact L-out terminal is connected
correctly.
Replace the Control Box.
Make sure that the wiring assembly from
the CH1 Relay Contact, L-out to the CH1
Pump and the Valve LIVE terminal are
connected correctly. Refer to Figure 46.
Control Box - Internal Wiring on page
46.
Make sure that the wiring assembly from
the Control Box to the pump is connected
correctly.
NO
NO
NO
NO
NO
NO
NO
NO
NO
NO
YES
YES
YES
YES
YES
YES
YES
YES
YES
YES
9.1.37 No CH or No CH1 Pump



 To Next Page