Do you have a question about the IEI Technology PCIE-Q57A and is the answer not in the manual?
| Brand | IEI Technology |
|---|---|
| Model | PCIE-Q57A |
| Category | Motherboard |
| Language | English |
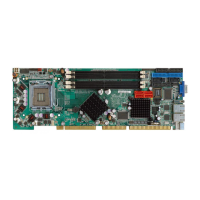
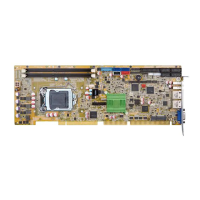
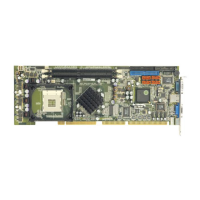
Overview of the PCIE-Q57A PICMG 1.3 CPU card features and capabilities.
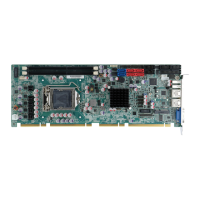
Identification and overview of various connectors on the PCIE-Q57A.
Detailed technical specifications of the PCIE-Q57A.
Safety measures to prevent electrostatic discharge during handling.
List of components included with the PCIE-Q57A.
Visual layout of connectors and jumpers on the board.
Detailed description of internal connectors.
Overview of the external I/O panel including Ethernet, USB, VGA.
Crucial ESD precautions to prevent damage to the PCIE-Q57A and injury.
Critical steps for installing CPU, cooling, and memory.
Connecting internal devices like serial, SATA, USB.
Guide to installing system drivers from the provided CD.
Overview of the BIOS setup program and its purpose.
Configuration options for CPU and peripheral devices.
Configuration of system boot options.
Configuration of Northbridge and Southbridge chipsets.
Steps to enable Intel Active Management Technology (AMT) 6.0.
Essential steps for using the Intel MEBx settings.
Introduction to the IEI one key recovery tool for backup and restore.
Steps to prepare for backup or restore of Windows system.
Overview of the functions available in the recovery tool.
Timer to ensure system recovery from crashes via reset or NMI.