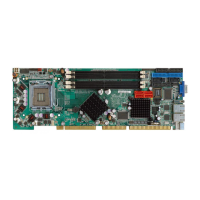
PCIE-Q57A PICMG 1.3 CPU Card
Page 38
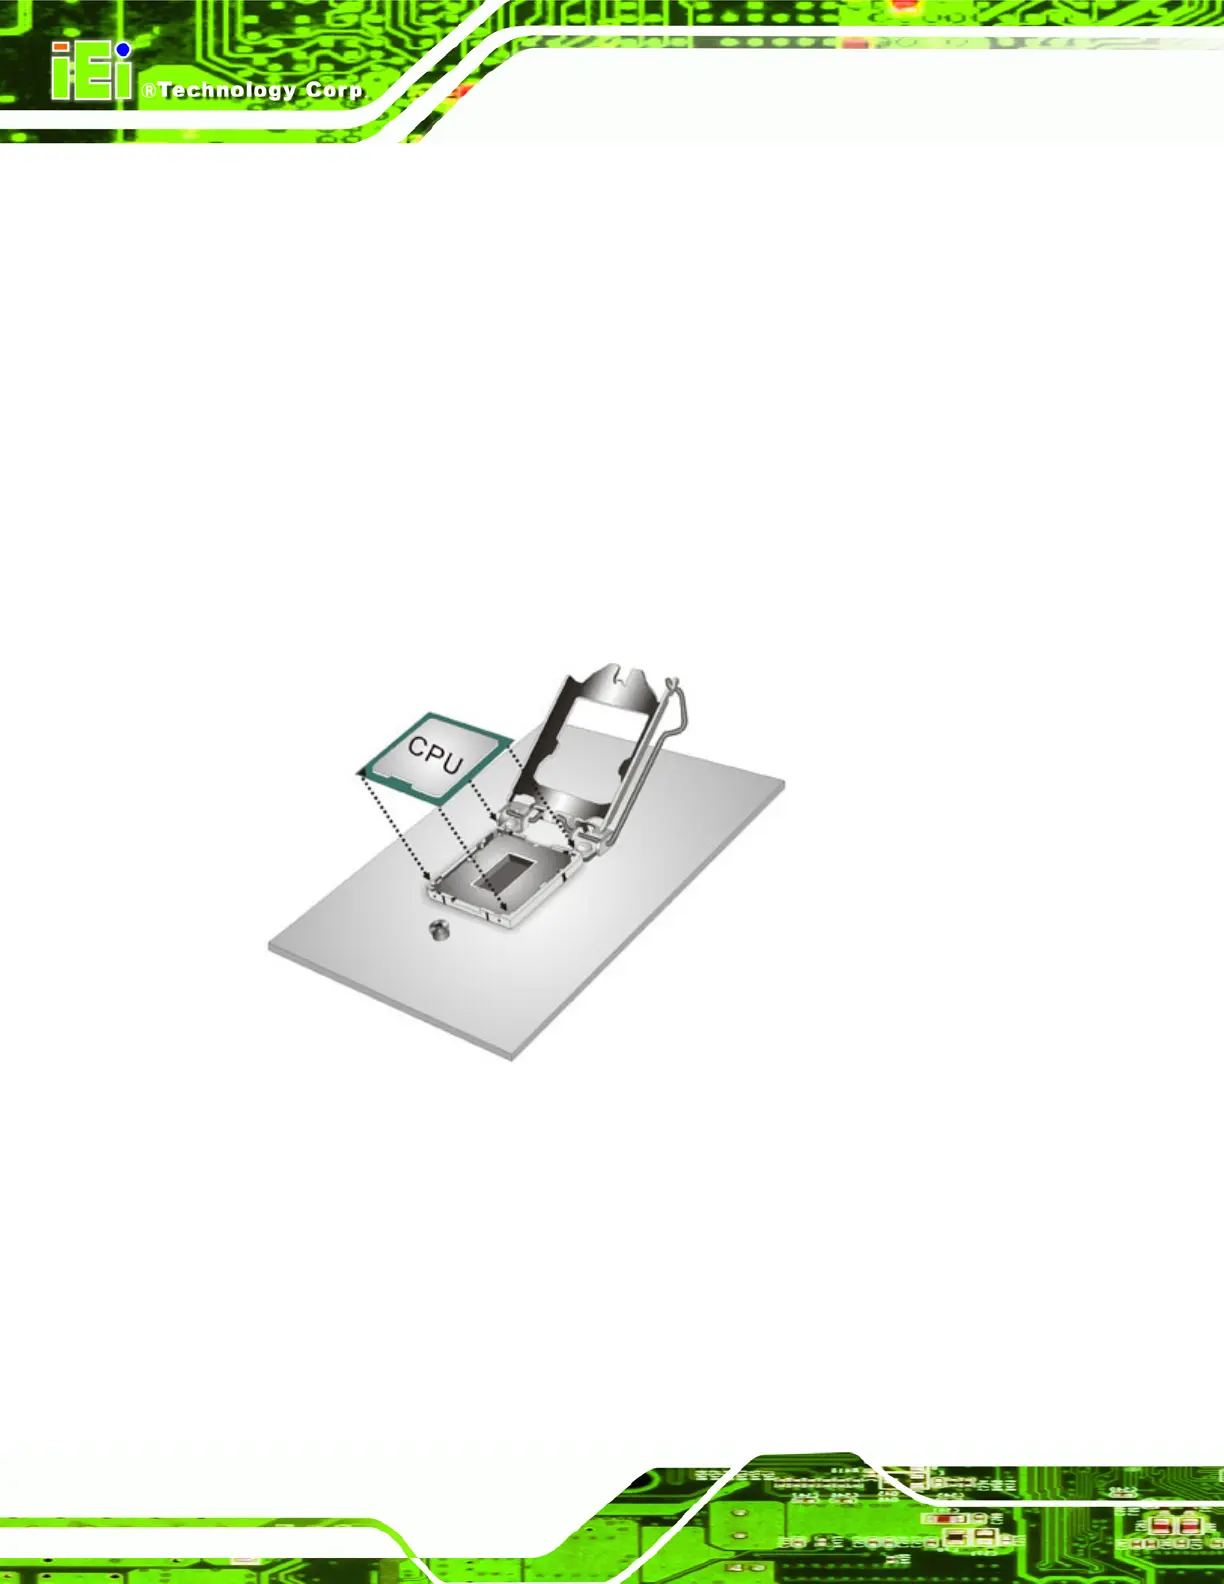
Step 4: Orientate the CPU properly. The contact array should be facing the CPU
socket.
Step 5: Correctly position the CPU. Match the Pin 1 mark with the cut edge on the
CPU socket.
Step 6: Align the CPU pins. Locate pin 1 and the two orientation notches on the CPU.
Carefully match the two orientation notches on the CPU with the socket
alignment keys.
Step 7: Insert the CPU. Gently insert the CPU into the socket. If the CPU pins are
properly aligned, the CPU should slide into the CPU socket smoothly. See
Figure 4-3.
Figure 4-3: Insert the Socket LGA1156 CPU
Step 8: Close the CPU socket. Close the load plate and pull the load lever back a little
to have the load plate be able to secure to the knob. Engage the load lever by
pushing it back to its original position (
Figure 4-4). There will be some
resistance, but will not require extreme pressure.
 Loading...