80
ELECTRICAL
ELECTRIC STARTER SERVICING
Place the washer on the armature shaft. Place a
new gasket on the drive end cap.
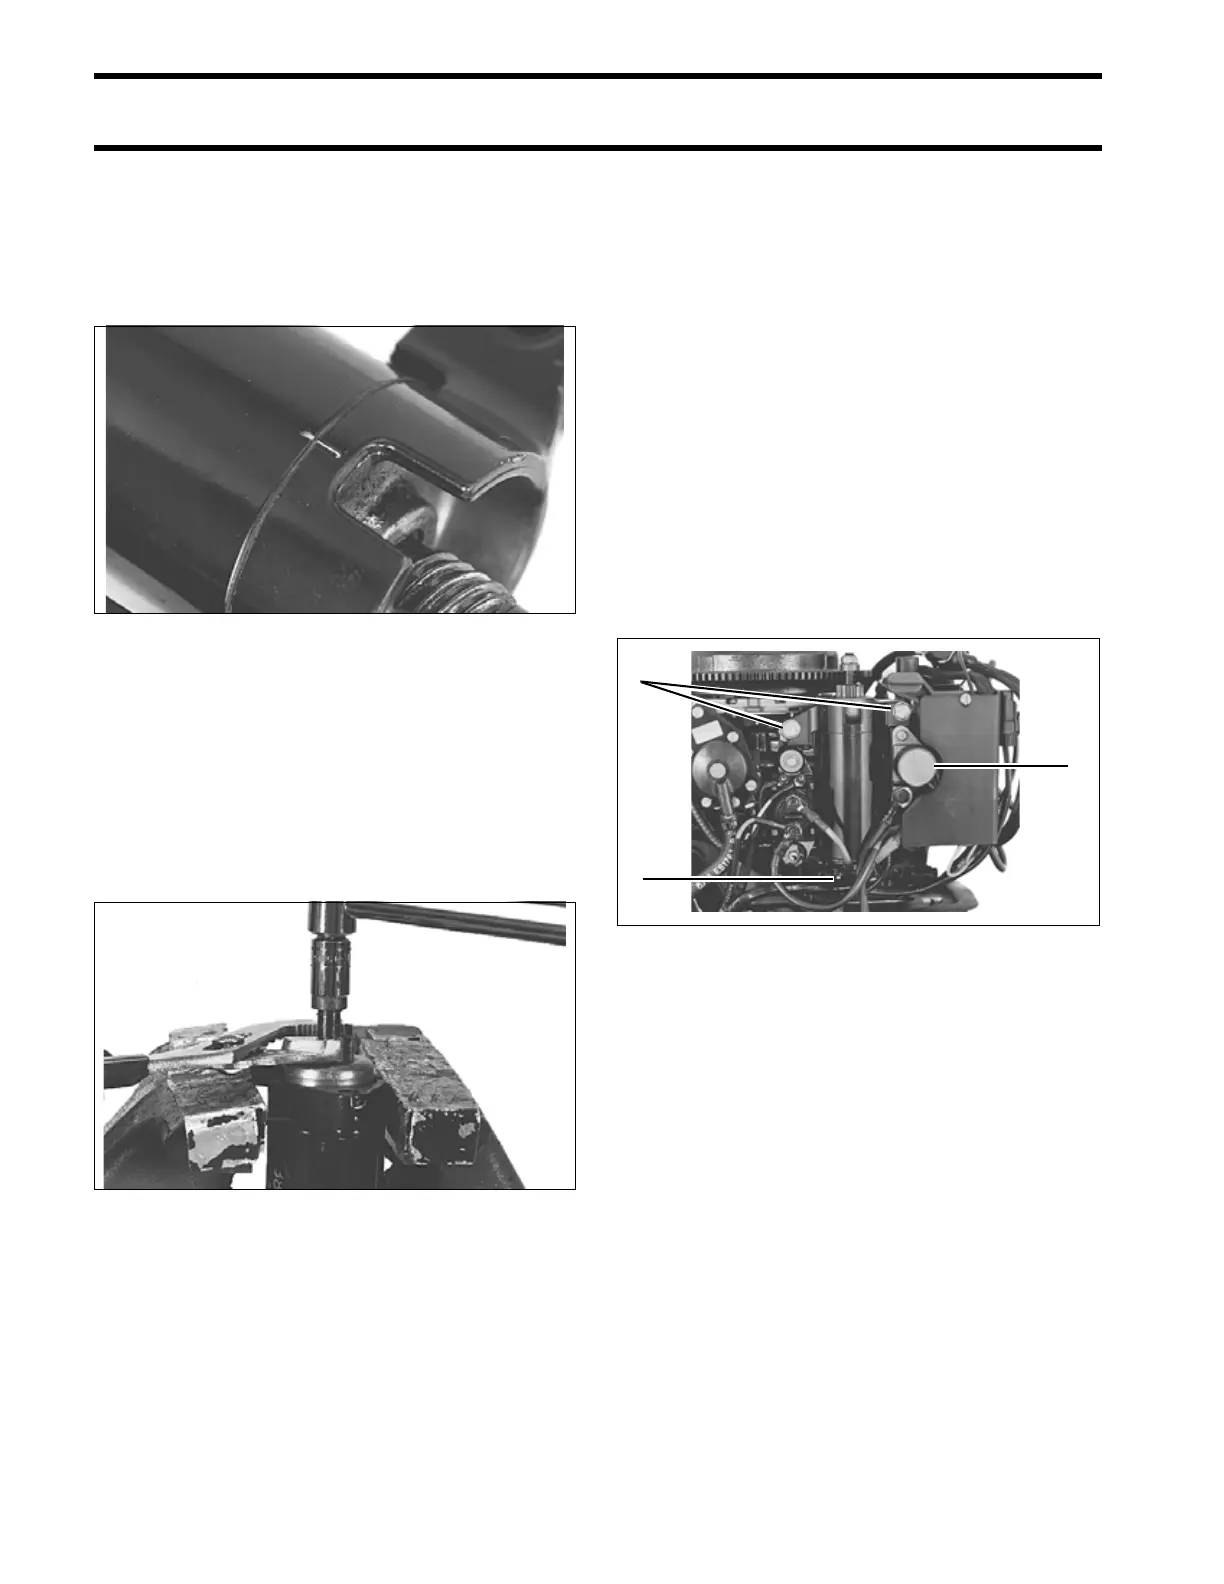
Align the drive end cap mark with the mark on the
frame and magnet assembly. Assemble the drive
end cap to the frame and magnet assembly.
Put a drop of oil on the two thru-bolts and install
the thru-bolts. Tighten the thru-bolts and torque 30
to 40 in. lbs. (3.4 to 4.6 N·m). Apply Black Neo-
prene Dip to the seams between the end caps and
frame and magnet assembly.
Assemble the pinion, spring, spacer, and nut to
the armature shaft. Tighten the nut and torque
150 to 170 in. lbs. (17 to 19 N·m).
Refer to No Load Current Draw Test on p. 77 to
check starter operation.
Installation
Install the starter on the bypass cover. The elec-
tric starter motor must be held firmly against the
bracket while bolting it to the bypass cover.
Tighten screws and torque 10 to 12 ft. lbs. (14 to
16 N·m).
Install the starter lead to the starter. Tighten the
nut securely. Apply Black Neoprene Dip to con-
nection.
IMPORTANT: When tightening the terminal nut,
make sure the starter lead and terminal does not
turn into a position where the lead and terminal
could contact the starter or lower engine cover.
Attach rectifier and two black wires to starter
bracket.
Reconnect the battery cables at the battery.
32980
30695
1. Screws
2. Starter lead at terminal
3. Rectifier
32987
3
1
2