55
Section 3 Operation
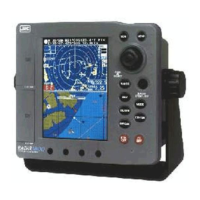
Using the Jog Dial
•Push and turn: Select function and adjust level.
Push: Select SEA, RAIN, GAIN, TUNE controls repeatedly. In
AUTO mode, skip control.
Selected control is displayed highlighted.
Turn: SEA: reduces sea clutter. No bar in Auto
mode.
RAIN: reduces rain or snow clutter.
GAIN: controls strength of returned echoes.
TUNE: manually fine tunes receiver by peaking
tuning bar. No tuning bar in AUTO
tune.
EBL: rotate EBL to CW or CCW
VRM: increase or decrease VRM
BRIGHT: Adjusts display backlighting.
CONTRAST: Adjusts the LCD contrast level.
Using the Joy Stick
Normally use the
Joystick
to move the cursor (8 directions) and
to use the menus. Or press the
Joystick
to do the following.
• Position cursor setting.
• Up/Down/Right/Left: Selects and changes an item when each menu
is displayed.
• Push: Fixes the set value when each menu is
displayed.
Enters a marker when no menu is displayed.
Registers EVENT or WAYPOINT in the
CHART mode. (Refer to p.71)
Changing CURSOR Operation in
RADAR/CHART Mode
• Press and hold
Joystick
approximately 2 seconds to jump the cursor
to another screen in RADAR/CHART mode.
• The color of cursor is white in the RADAR screen and black in the
CHART screen.
General MENU Operation
Following the basic operation described below, you can easily perform
all menu operations using only the
Joystick
.
Selecting an item:
• Press the
Joystick
up or down to select an item and push it to
complete the selection. When you select a normal item, the pull-down
menu of the selected item opens. Select an item with ‘>’ mark to
display the submenu in the next hierarchy.
RADAR SETTING>
PLOT SETTING >
GRAPH SETTING>
GPS SETTING >
DGPS SETTING >
WAAS SETTING >
INSTALLATION >
CUSTOM SETUP >
MEMORY COPY >
ALARM SETTING>
EDIT >
MENU

 Loading...