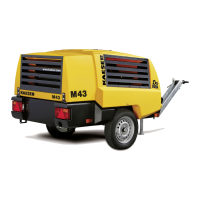
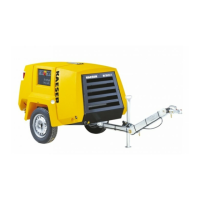
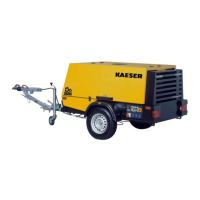
6.4.1 Option rb/rk/rm/rs, rb/rl/rm/rs
Adjusting the towbar height
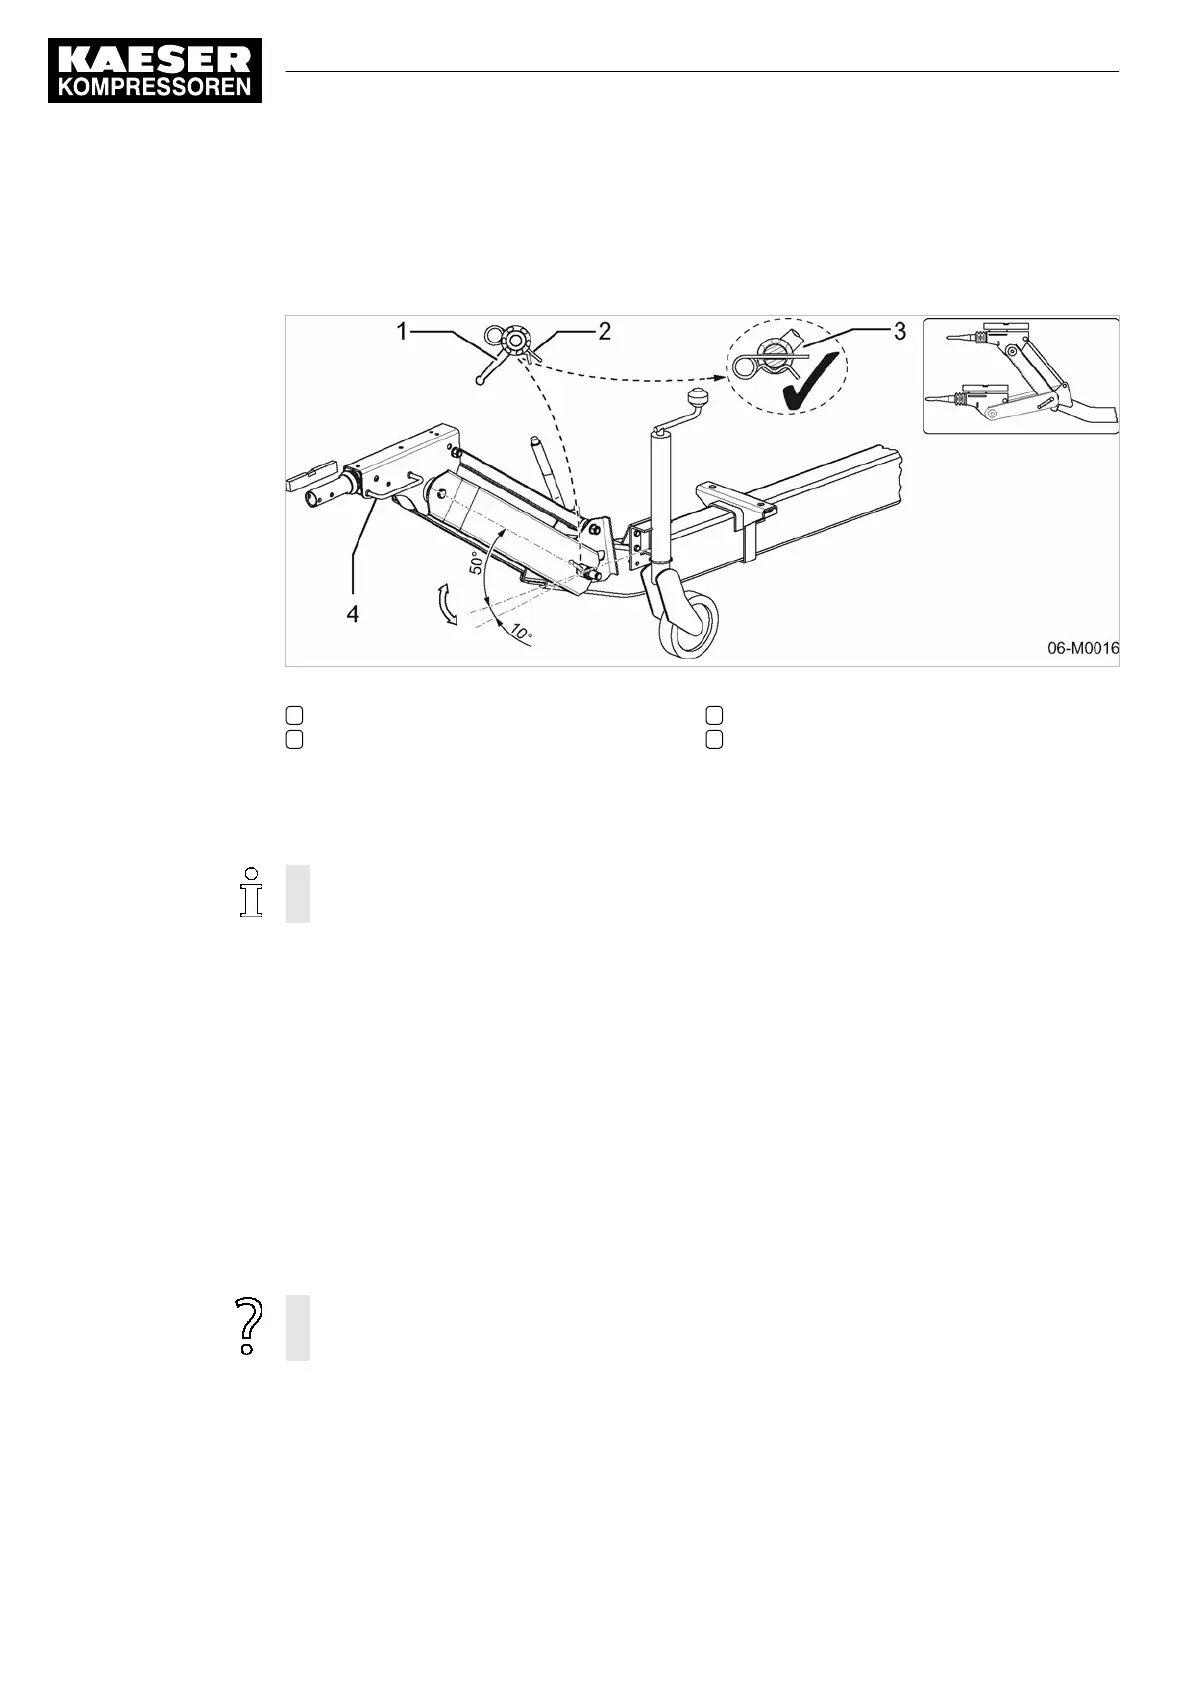
Fig. 27 Towbar height adjustment
1 Locking lever
2 Split pin
3 Split pin properly inserted
4 Handle
1. Pull out the split pin and unscrew the locking lever to the stop.
2. Adjust the towbar with the handle until it is horizontal with the coupling on the towing vehicle
and parallel to the ground.
The parallel tie bar ensures that the overrun braking mechanism stays horizontal (Fig. 27.
The centre-piece can be moved up to 50° upwards and 10° downwards for height adjustment.
3.
Tighten the locking lever:
■ Make sure the teeth in the adjustment joint mesh together.
■ Manually tighten the locking lever.
■ Use a hammer to hit the locking lever to further tighten the lower serrated joint until the
bore and the groove for the splint pin are aligned
4. Insert the splint pin.
5. Check if:
■ the teeth in the adjustment joint are fully engaged.
■ The locking lever is tight.
■ The split pin is correctly inserted to secure the locking lever (see 3 in Fig. 27).
6. Tighten the locking lever again after 30 miles.
The serrated joint will not disengage. The serrations are corroded together.
➤
Free the serrations by jerking the towbar horizontally and vertically.
6.4.2 Changing the towing eye/ball hitch
The towbar can be fitted with various towing eyes or couplings.
6 Installation
6.4 Adjusting the chassis
68
Operator Manual Screw Compressor
M100 No.: 9_6999 23 USE
Option rb/rk/rm/rs,
rb/rl/rm/rs