85
01/13424999386
EasyConnect+
16.4 Adding / removing control panels on an existing network
Should another control panel be added to the existing network system, this can be done by
simply plugging in and connecting the network board. The control panel is automatically
detected and integrated within one minute if its address is 0 (factory new) or another free
address has been set in advance.
► If a control panel is replaced by a control panel with the same ID or with address 0, press
button A on the master control panel (control panel with address 0) between 1 and 4
seconds. A control panel with address 0 receives the address of the remote control panel.
The process is completed after 60 seconds.
If a control panel is to be removed from a network, there are 2 possibilities:
► 1. On the network board of the previous master control panel, or on any other control panel
press button A for more than 4 seconds.
The process is completed after 60 seconds and the control panels get new addresses.
► 2. On the previous master board the button A is pressed between 1 and 4 seconds.
The process is completed after 60 seconds and the control panels retain their addresses.
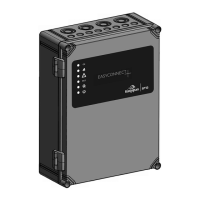
The bus LED in the door is illuminated for all active central panels in the network.
In the event of a power failure, the BUS LED switches from continuous display to pulsed (10s)
display.
Bus-LED
in der Tür der
Steuerzentrale
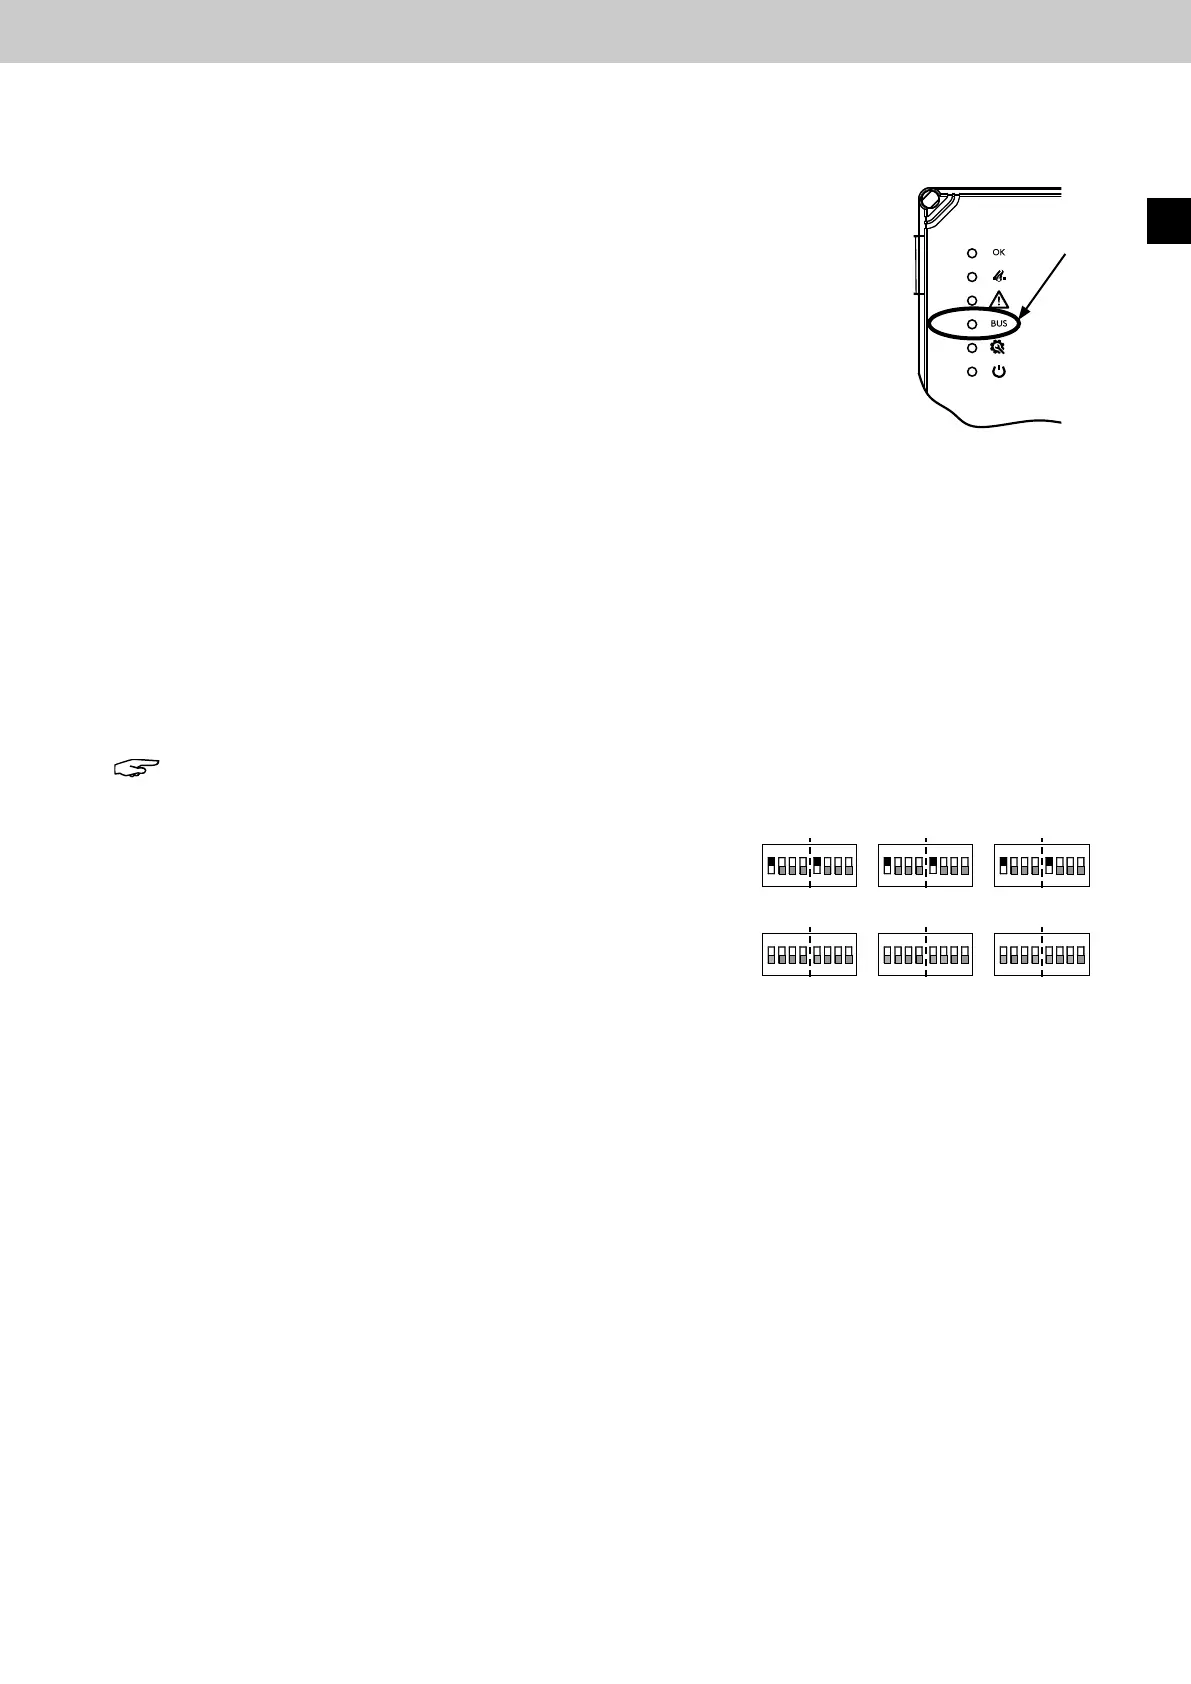
16.5 Networking examples and setting the Area DIP switches
Note: In case of channel separation, the function DIP switch 10 must be set to OFF.
SHE
SHE
SHE SHE
SHE
SHE
Vent
Vent
Vent Vent
Vent
Vent
Area
DIP switch
Channel 1 or 2
EasyConnect 1
Area
DIP switch
Channel 1 or 2
EasyConnect 2
Area
DIP switch
Channel 1 or 2
EasyConnect 3
Example setting of the area DIP switches, if the motor outputs are to be
controlled simultaneously for SHE or ventilation actuation.
Example setting of the area DIP switches, if the motor outputs are to be
controlled individually for SHE or ventilation actuation.
EN