- 37 -
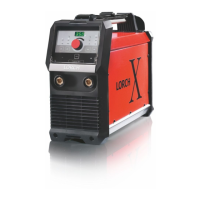
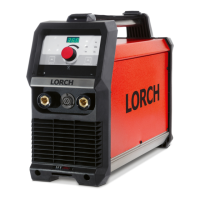
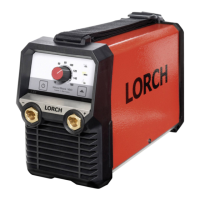
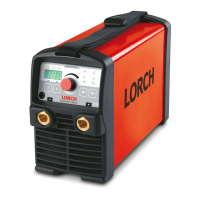
Starting up HandyTIG 180 DC BasicPlus
10.15
Make sure before turning-on, that the
electrode holder, electrode do not touch
on the welding table, the working piece or
any other object which is conductive. Oth-
erwise an arc will be ignited accidentally.
An accidentally ignited arc can damage
the electrode holder, the welding table, the
working piece or the machine.
15.1 Electrode welding process
Switch on machine
 Turn on the machine at mains switch 2 and select
MMA mode with mode key 44.
9 Symbol Electrode (LED 38) lights up.
 Adjust the required welding current by using turning
knob 45.
Ignition
 Touch the workpiece with the tip of the electrode and
lift the electrode a bit.
9 The arc ignites between the workpiece and elec-
trode.
15.2 TIG welding process
Switch on machine
 Turn on the machine at mains switch 2.
 Use key 44 to select welding mode TIG.
9 Symbol TIG (LED 41) lights up.
 Set the re required welding current by using turning
knob 45.
Setting secondary parameters
The machine has several secondary welding parameters
which are programmed with default values. These par-
ame-ters can be altered by the user.
Parameter LED min. Default max.
secondary current 38 Imin 0,5 * I1 2 * I1
start current 41 Imin 0,5 * I1 1 * I1
end current 40 Imin 0,5 * I1 1 * I1
upslope [A/s]
42 20 100 500
downslope [A/s]
43 20 100 500
hotstart* 36+38 1,25 *
I1
1,5 * I1 1,75 *
I1
hotstart time [s]*
36+41 0 1 5
pre-gas time [s]
36+40 0,1 0,1 1
post gas time [s] =
(I1 * 0,04) + t1
36+42 t1=0 t1=3 t1=8
gas ood time [s]
36+43 0,5 1 2,5
Tab. 4: secondary parameters BasicPlus
* only in MMA mode
Imin = min. current (5A)
I1 = main welding current
Programming mode:
 Keep mode key 44 pressed.
 Turn on the machine at mains switch 2.
9 Programming mode is active.
 Use the mode key to switch through the parameters.
Change parameter:
 Switch to desired parameter with mode key 44 (dedi-
cated LEDs ashing, see table above)
 Set value with knob 45.
 Program new value by pressing mode key 44 (LEDs
will ash once).
In the apendix of this manual, there are printed forms
to alle-viate the programming of the secondary pa-
rameters.
The center position of the knob 45 (12 o’clock pos.) is
always the default value.
 Switch the machine off, wait till all LEDs are off.
 Switch the machine on again.
9 The new values are active.
Reset to factory settings:
 Activate the programming mode.
 Keep the knob 44 pressed till the LEDs are ash-
ing twice, all secondary parameters are reset to
their default values.
 Switch the machine off, wait till all LEDs are off.
 Switch the machine on again.
9 The default values are active.
 Loading...