FlyMarker
®
mini 85/45 plus and 120/45 plus
Operating Manual
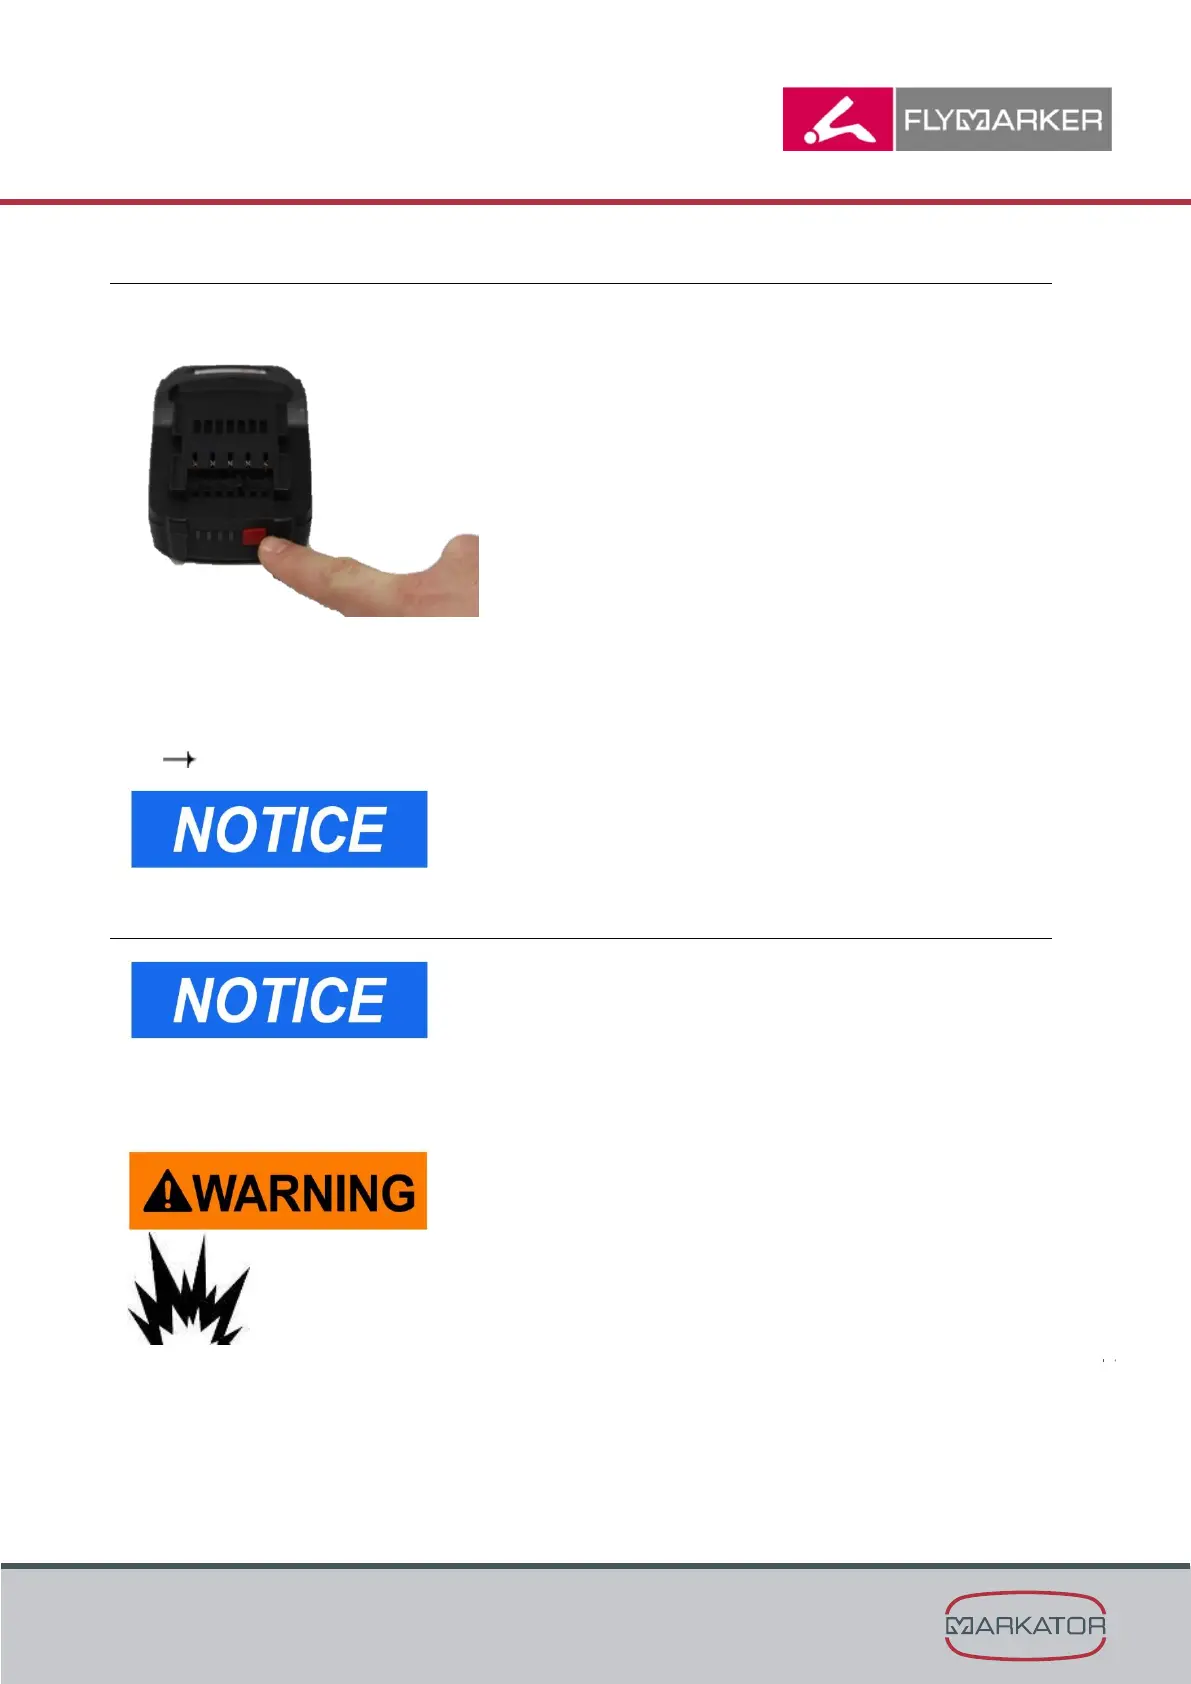
4.2.4.2 Checking the battery charging status directly at the battery
1. Press the button (battery symbol) on the battery to show the charging status.
2. After about 5 seconds, the charging status display goes off by itself.
3. If an LED blinks after the battery symbol is pushed, the battery must be charged.
4. If no LED lights up after the battery symbol is pushed, the battery is defective and must be
replaced.
( Chapter „Changing/charging the battery“, page 44)
The battery indication on the battery itself is not relevant for
the use of the FlyMarker
®
mini. Only the battery indication
shown in the display of the FlyMarker
®
mini is relevant.
4.2.9 Changing/charging the battery
If the value is set to 0 (zero seconds), the switch to standby
mode does not occur.
When using battery-powered tools, basic safety precautions must be taken, including the
following. This reduces the danger of fire from leaking batteries and personal injury.
Never use defective or deformed batteries.
There is a risk of explosion!