FlyMarker
®
mini 85/45 plus and 120/45 plus
Operating Manual
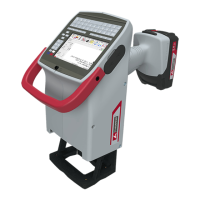
3.6 Operation
- The device must be handled with care.
- Never lubricate the magnet!
- If a marking pin is reground, despite the fact that this is
not cost effective, the standard spacing between the
marking pin and the work piece can no longer be set with
the distance gauge.
- The manufacturer recommends that only new, original
MARKATOR
marking pins be used when the old ones
wear out.
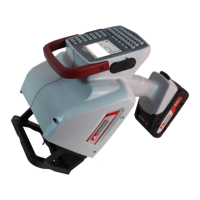
3.6.1 Selecting and installing the marking pin
The marking pin must be selected based on the material to be marked. Marking pins differ in
material and tip angle.
MARKATOR
supplies the following marking pins:
Especially soft materials
Standard universal marking pin
Especially hard materials
Extended carbide pin,
length 47mm (+10mm)
Extended carbide pin,
length 47mm (+10mm)
Extended carbide pin,
length 47mm (+10mm)