FlyMarker
®
mini 85/45 plus and 120/45 plus
Operating Manual
The Logo window appears.
4. Enter the desired size, position (X/Y), angle, force and marking YES/NO.
5. Press the ESC key.
The main menu appears.
The Logo substitute has been inserted.
- Several logos can be saved on the FlyMarker
®
mini.
- Upon delivery, the CE logo is saved by default on
FlyMarker
®
mini.
5.4.5 Editable shift marking configuration/insertion (program option B: KOMFORT)
This function is only possible after entering the user or
administrative password.
(→ Chapter “Entering passwords”, page 21).
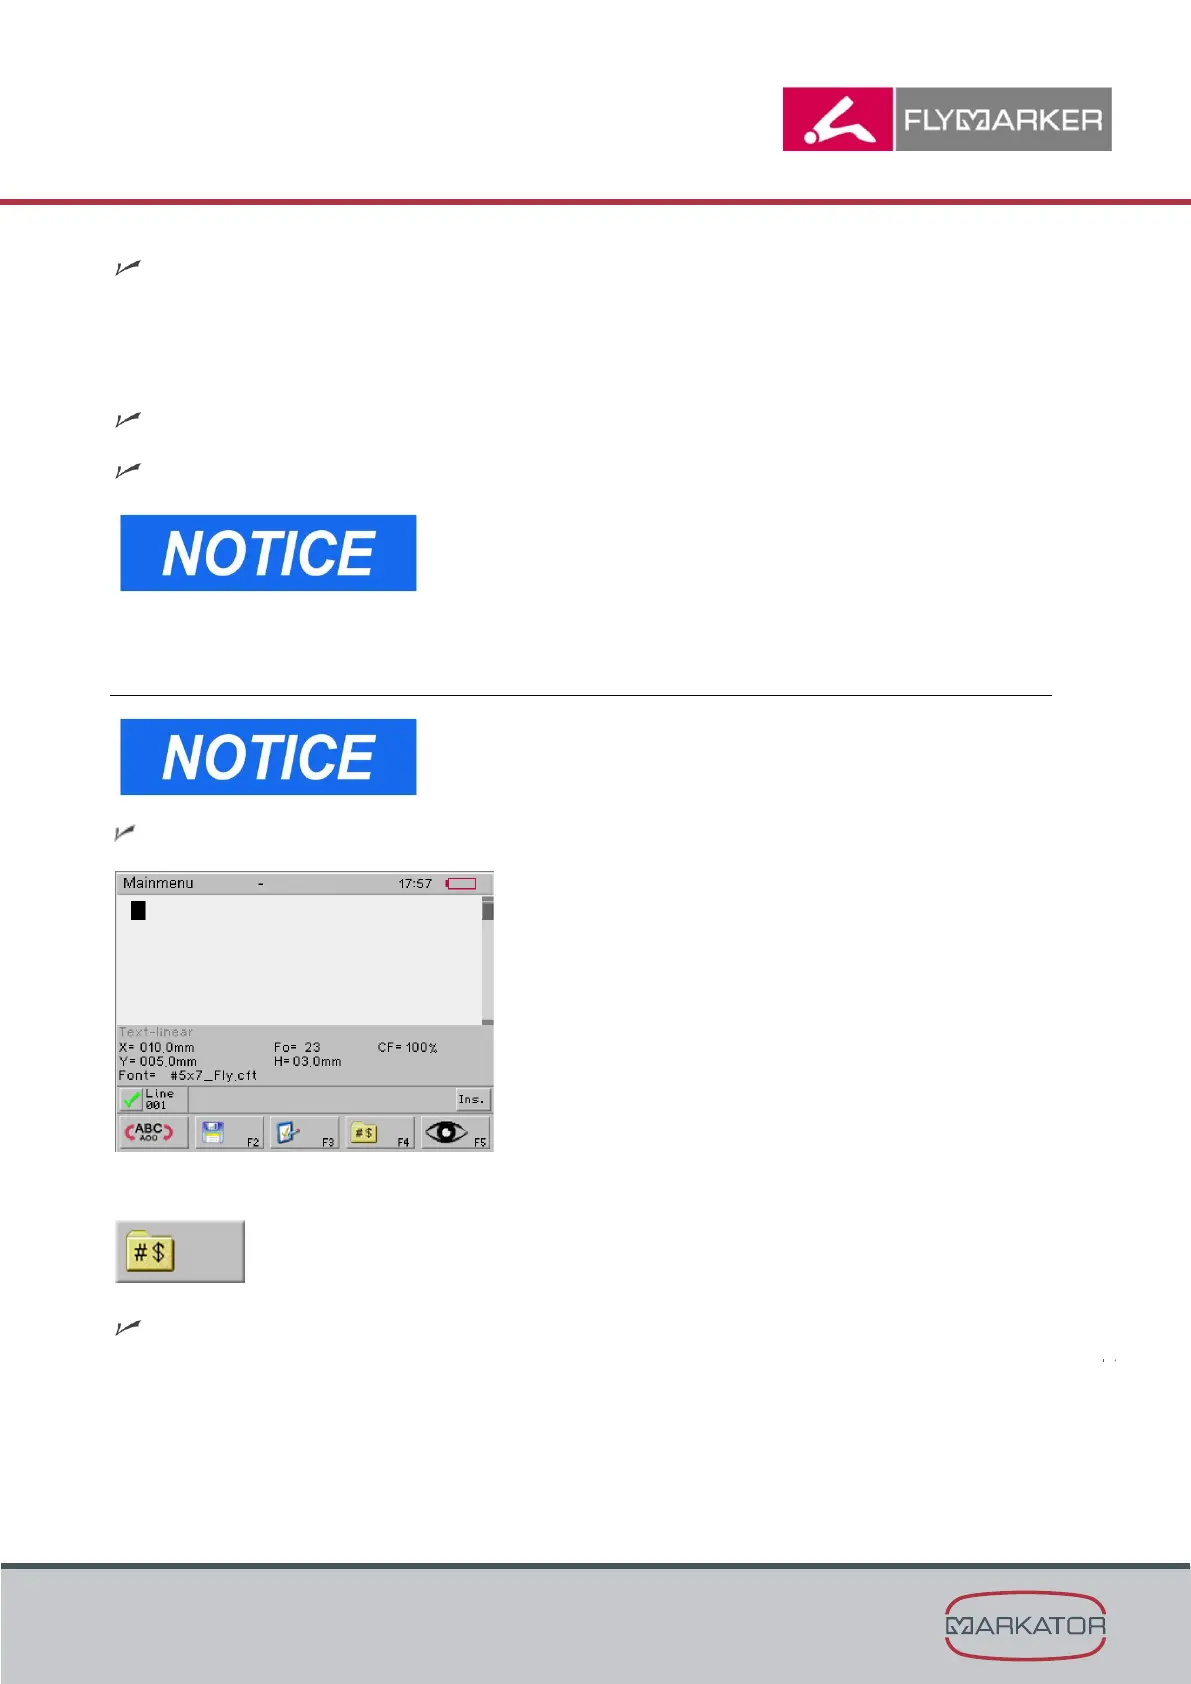
The main menu appears.
1. Press F4.
The Insert substitute window appears.