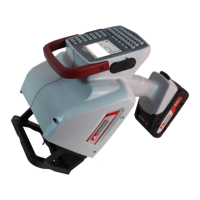
FlyMarker
®
mini 85/45 plus and 120/45 plus
Operating Manual
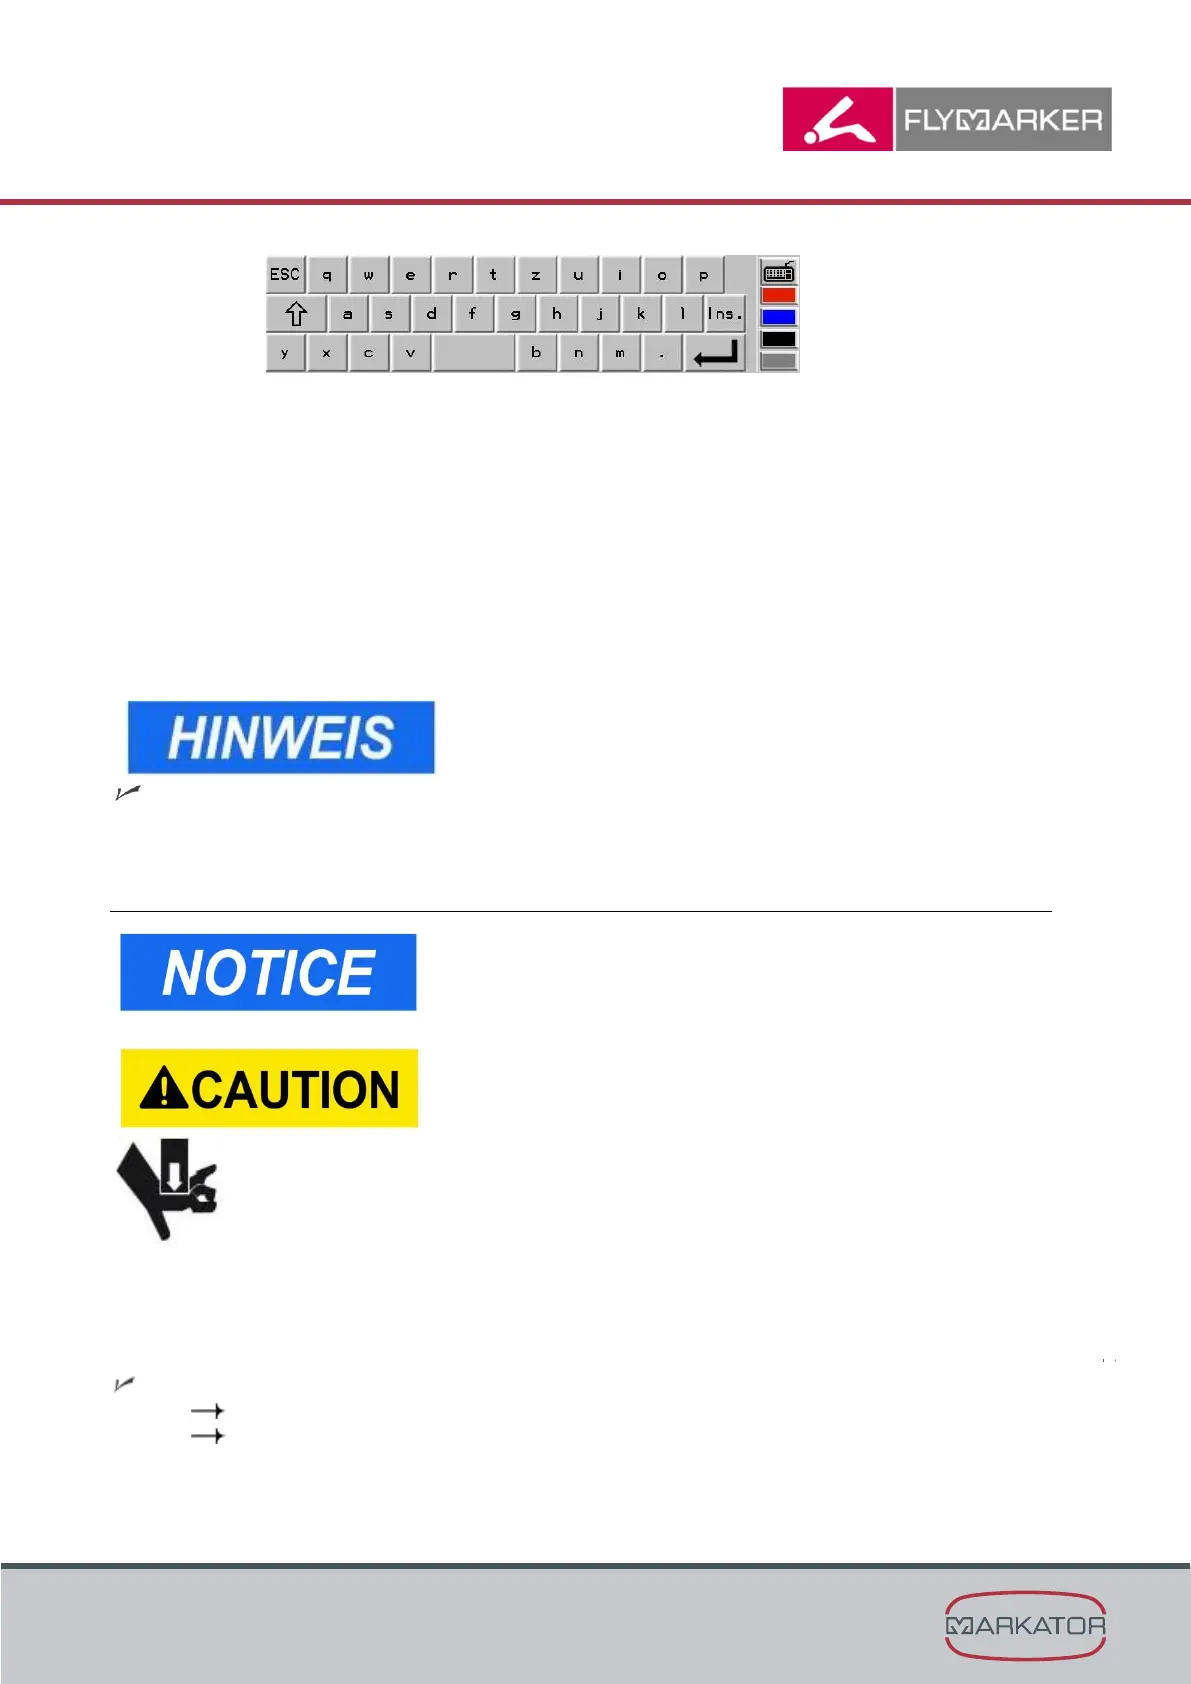
1 = Display
2 = On/Off button
3 = password request
4 = Enter button
5 = Undo button
6 = ESC key
7 = Keyboard button
8 = Insert key
9 = function keys
10 = Insert key
11 = Short-Key Keys
12 = point
13 = space bar
14 = SHIFT key
15 = ESC key
Keyboard button opens and closes when key 7 Keyboard
button is pressed.
Selecting operating language”, page 24)
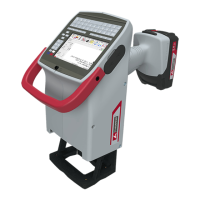
5.8 Teach-in
This function is only possible after entering the user or
administrative password.
(→ Chapter “Entering passwords”, page 21).
Crushing hazard!
- Never reach under the FlyMarker
®
mini during
teach-in or during the marking process!
- Stay away from the FlyMarker
®
mini’s working area
during the marking process.
Body parts may be caught and crushed by the
movement of the marking pin.
In Teach-in, the “manual” settings can be made and internal status reports displayed. Any
modified value (such as the X-position) is not applied by the current marking command.
The FlyMarker
®
mini is now ready to use.
( Chapter “First use”, page 14)
( Chapter “Operation”, page 57)