FlyMarker
®
mini 85/45 plus and 120/45 plus
Operating Manual
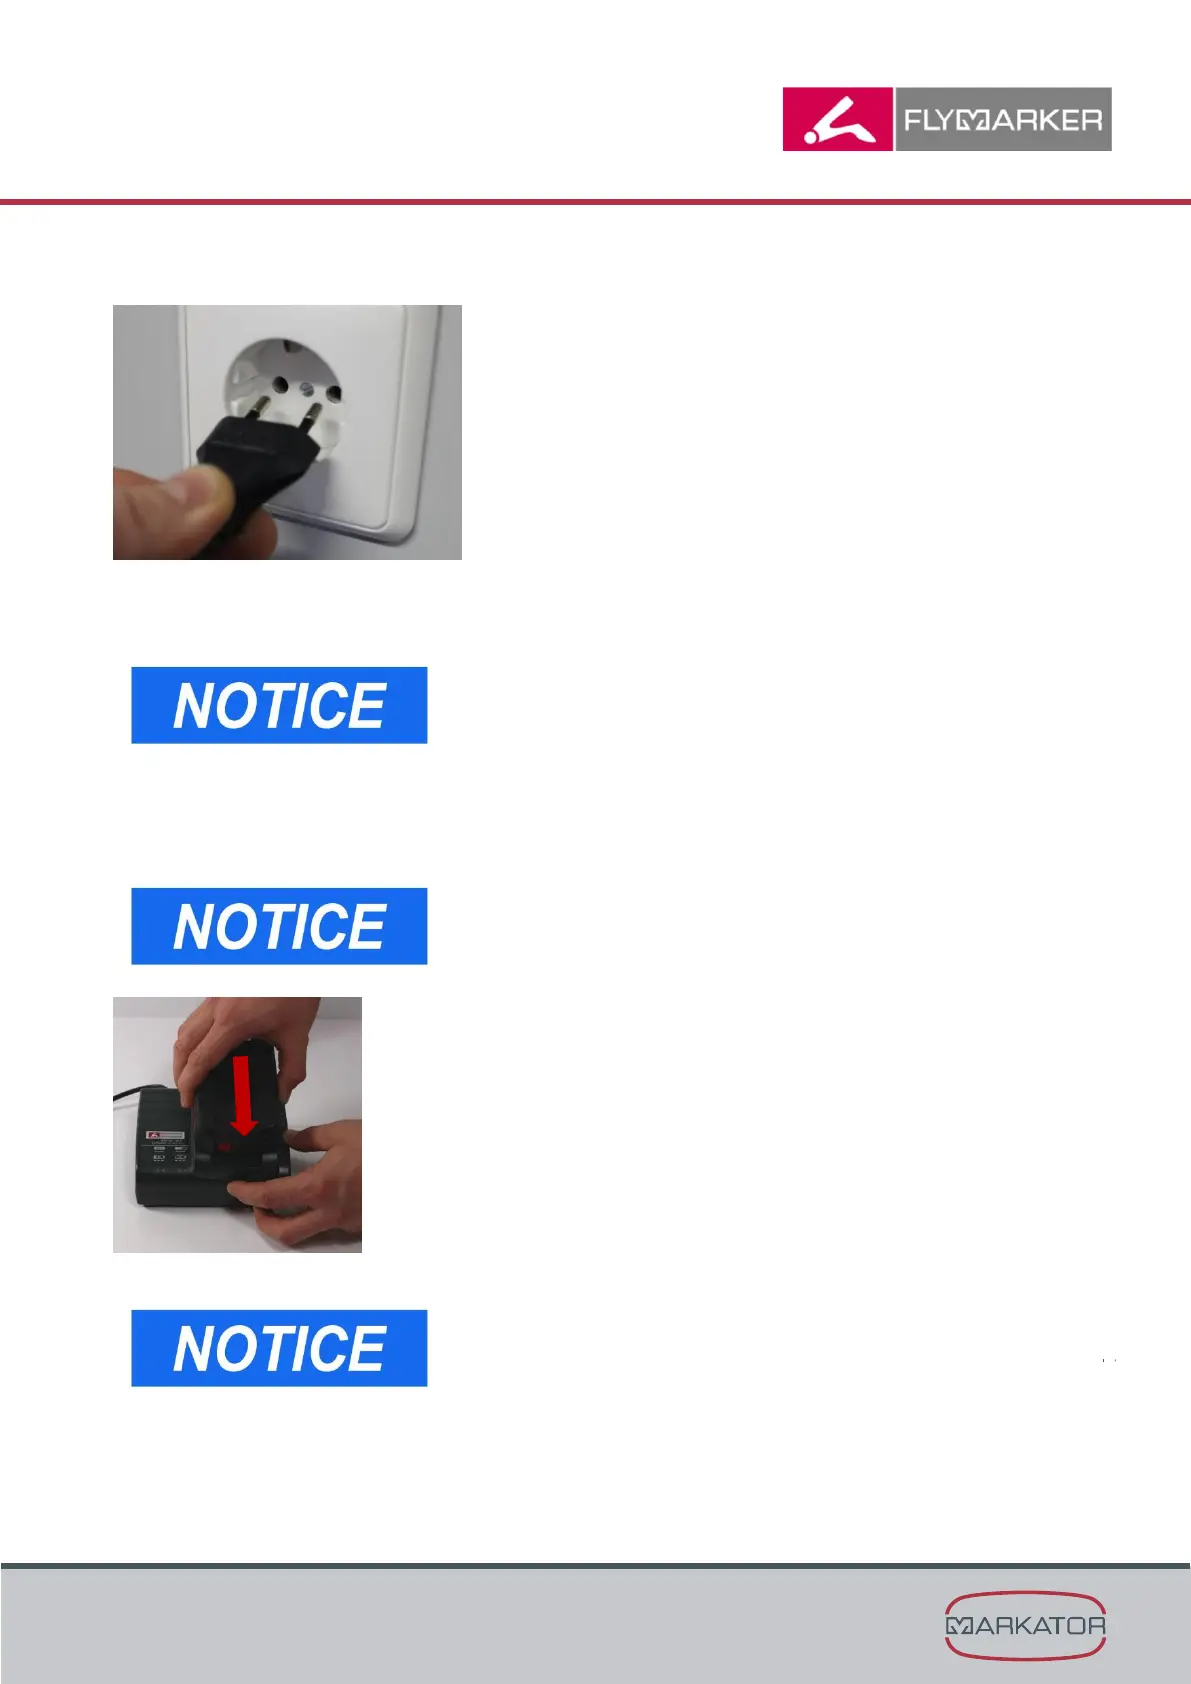
3. Insert the charger’s plug into a regulation-compliant socket.
The warning display and the operating indicator light up one after the other for approx. 1 second
and the installed fan runs for approx. 5 seconds.
- Make sure that the supply voltage conforms to the
charger’s technical data.
(→ Chapter “Technical data”,page 141)
- Pull the charger’s plug when the charger is not being
watched. The charger and battery get warmer during the
charging process.
4. Insert the battery into the charger. Flashing light on the charger.
Put the battery into the charger as far as the loading process
starts. Please take care that the battery is plugged straight.
To have the charge level displayed on Li-ion battery packs
(with 14.4 V, 18 V and 36 V), first take the battery pack out of
the charger and then press the button on the battery pack.