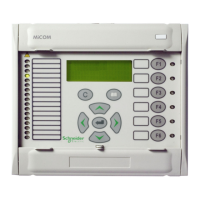
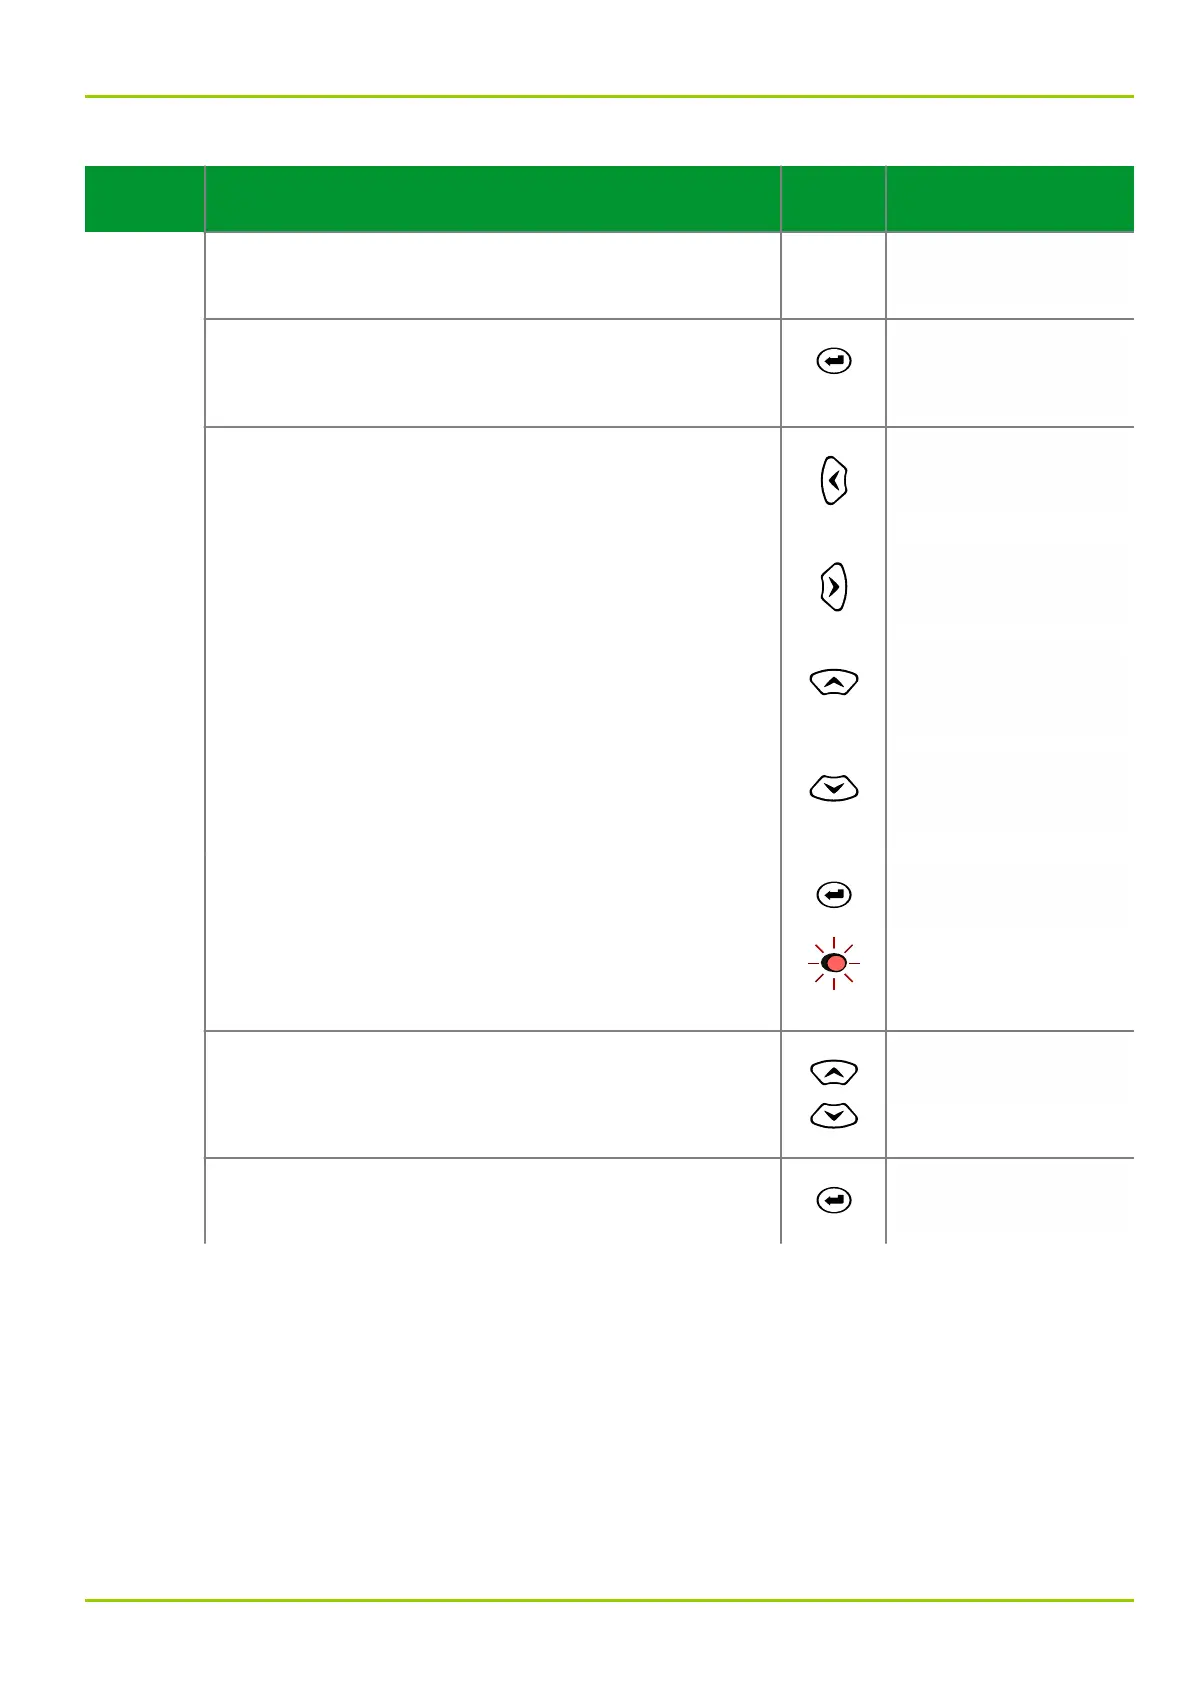
Control Step / Description Control
Action
Display
Step 0
In the menu tree Oper/CtrlTest/LOC, select the
LOC: Param. change enabl. parameter.
Oper/CtrlTest/LOC
Param. change enabl.
No
Step 1
Press the ENTER key. Eight asterisks (*) appear in the
fourth line of the display.
Oper/CtrlTest/LOC
Param. change enabl.
No
********
Step 2
Press the following keys in sequence:
“Left”
Oper/CtrlTest/LOC
Param. change enabl.
No
*
“Right”
Oper/CtrlTest/LOC
Param. change enabl.
No
*
“Up”
Oper/CtrlTest/LOC
Param. change enabl.
No
*
“Down”
The display will change as shown in the column on the
right.
Oper/CtrlTest/LOC
Param. change enabl.
No
*
Now press the enter key. The LED indicator labeled
EDIT MODE will light up. This indicates that the setting
can now be changed by pressing the “up” or “down”
keys.
If an invalid password has been entered, the display
shown in Step 1 appears.
Oper/CtrlTest/LOC
Param. change enabl.
No
Step 3
Change the setting to Yes.
Oper/CtrlTest/LOC
Param. change enabl.
Yes
Step 4
Press the enter key again. The LED indicator will go out.
The unit is enabled for further setting changes.
Oper/CtrlTest/LOC
Param. change enabl.
Yes
The same procedure applies to any setting change unless the global change-
enabling function has been activated. This method is recommended for a single
setting change only. If several settings are to be changed, then the global
change-enabling function is preferable. In the following examples, the global
change-enabling function has been activated.
6.11.3.1 Automatic Return
The automatic return function prevents the change-enabling function from
remaining activated after a change of settings has been completed. Once the set
return time (LOC: Autom. return time, menu tree “Par/Conf/LOC”) has
elapsed, the change-enabling function is automatically deactivated, and the
6 Local Control (HMI)
P631
P631/EN M/R-11-C // P631-310-650 6-19