How to patch 77
PRO6 Live Audio System
Owner’s Manual
Automatic patching (AUTO)
You can patch a block of source patch connectors, just by selecting a single destination.
This is called “automatic patching”. When using automatic patching, note the following:
• Sources are selected in blocks (see “To select a block of patch connectors in the
From section” on page 75).
• You can only select one block of sources.
• Destinations are restricted to a single type.
• The selected destination forms the start of the automatically patched range of
destinations.
• Sources and destinations are automatically patched in ascending order, the lowest
numbered source and the selected destination forming the first patch.
• Sources will only be patched up to the highest numbered destination of the current
destination type. If there are any sources left over, automatic patching pauses. You
can then patch these by selecting another destination.
>> To automatically patch a block of source channels
1 Click AUTO.
2 In the From section, select the source patch connectors (see “To select a block of
patch connectors in the From section” on page 75).
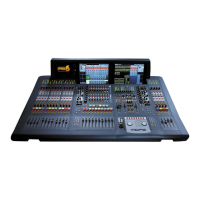
3 In the To section, choose the destination patch connector that will form the start
of the automatic patching range. For example, input channel 3 (Mic3).
4 Click the destination patch connector.
The sources will be patch in numerical
sequence and in ascending order from
here onwards.
Clearing all current patching
Caution:
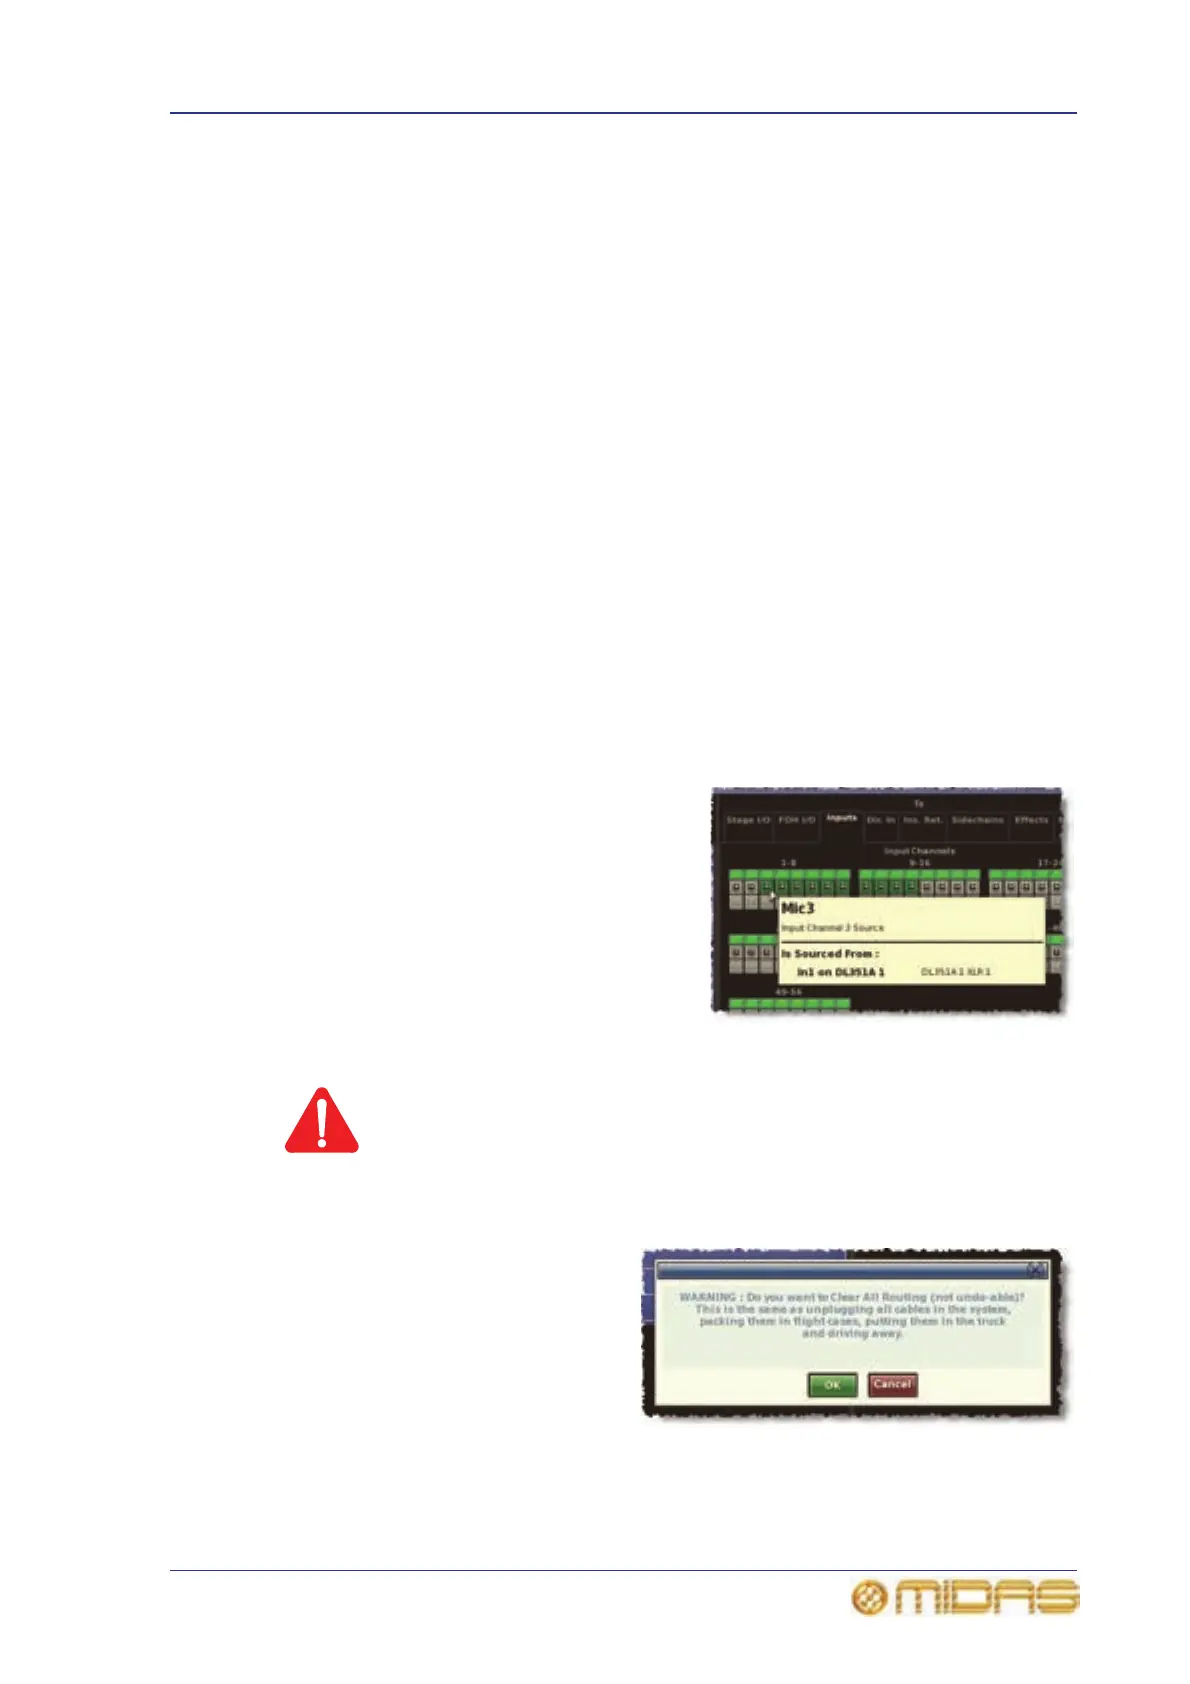
The CLEAR function button clears all current patching, and must be
used with great caution. To alert you of the drastic nature of using
this button, a WARNING appears.
>> To clear all current patching
1 Click CLEAR. The WARNING
window (shown right) will
appear.
2 Heed the warning and do one
of the following:
• If you want to clear all
current patching, click OK.
• To cancel the clear
operation and close the
WARNING, click CANCEL.