56 Chapter 8: Patching
PRO6 Live Audio System
Owner’s Manual
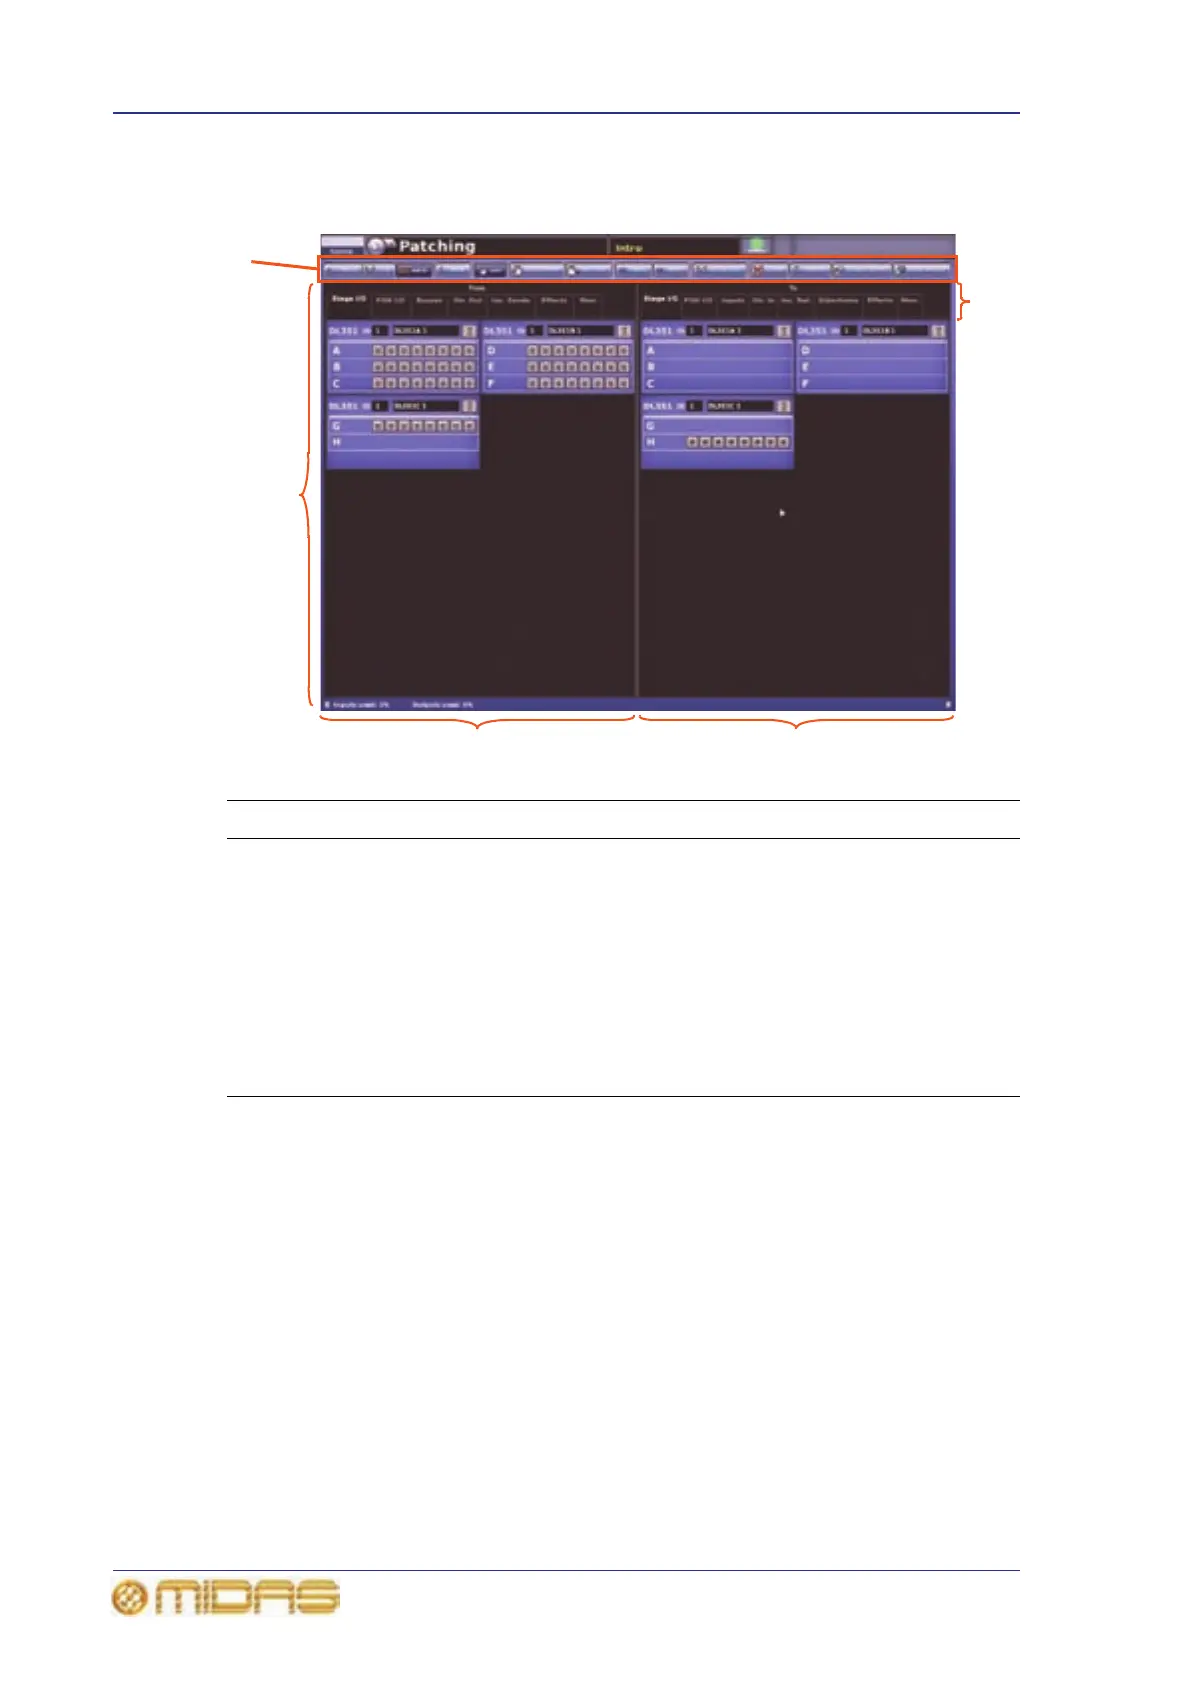
The I/O tabs represent the Stage and FOH racks, and contain graphical representations
(devices) of the units connected in those racks.
>> To access the Patching screen
Do one of the following:
• At the GUI, choose home
Patching.
• Press the patching/metering button in the primary navigation zone.
• At the appropriate GUI screen, click the src (source) or dest (destination) button.
The Patching screen will open at the appropriate tab/configuration window.
Item Description
1 Function button panel, contains the function buttons that enable patching
and device configuration (see “Patching screen function buttons” on
page 57).
2 Patching area, contains all of the patch connectors on tabs.
3 From section, has tabs that contain all of the patch connector sources (see
“About the tabs in the From section” on page 59).
4 To section, has tabs that contain all of the patch connector destinations
(see “About the tabs in the To section” on page 61).
5 Section titles and tab names.