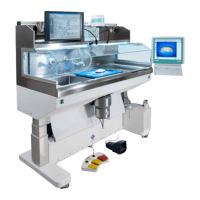
160
5.51.3. Installation instructions
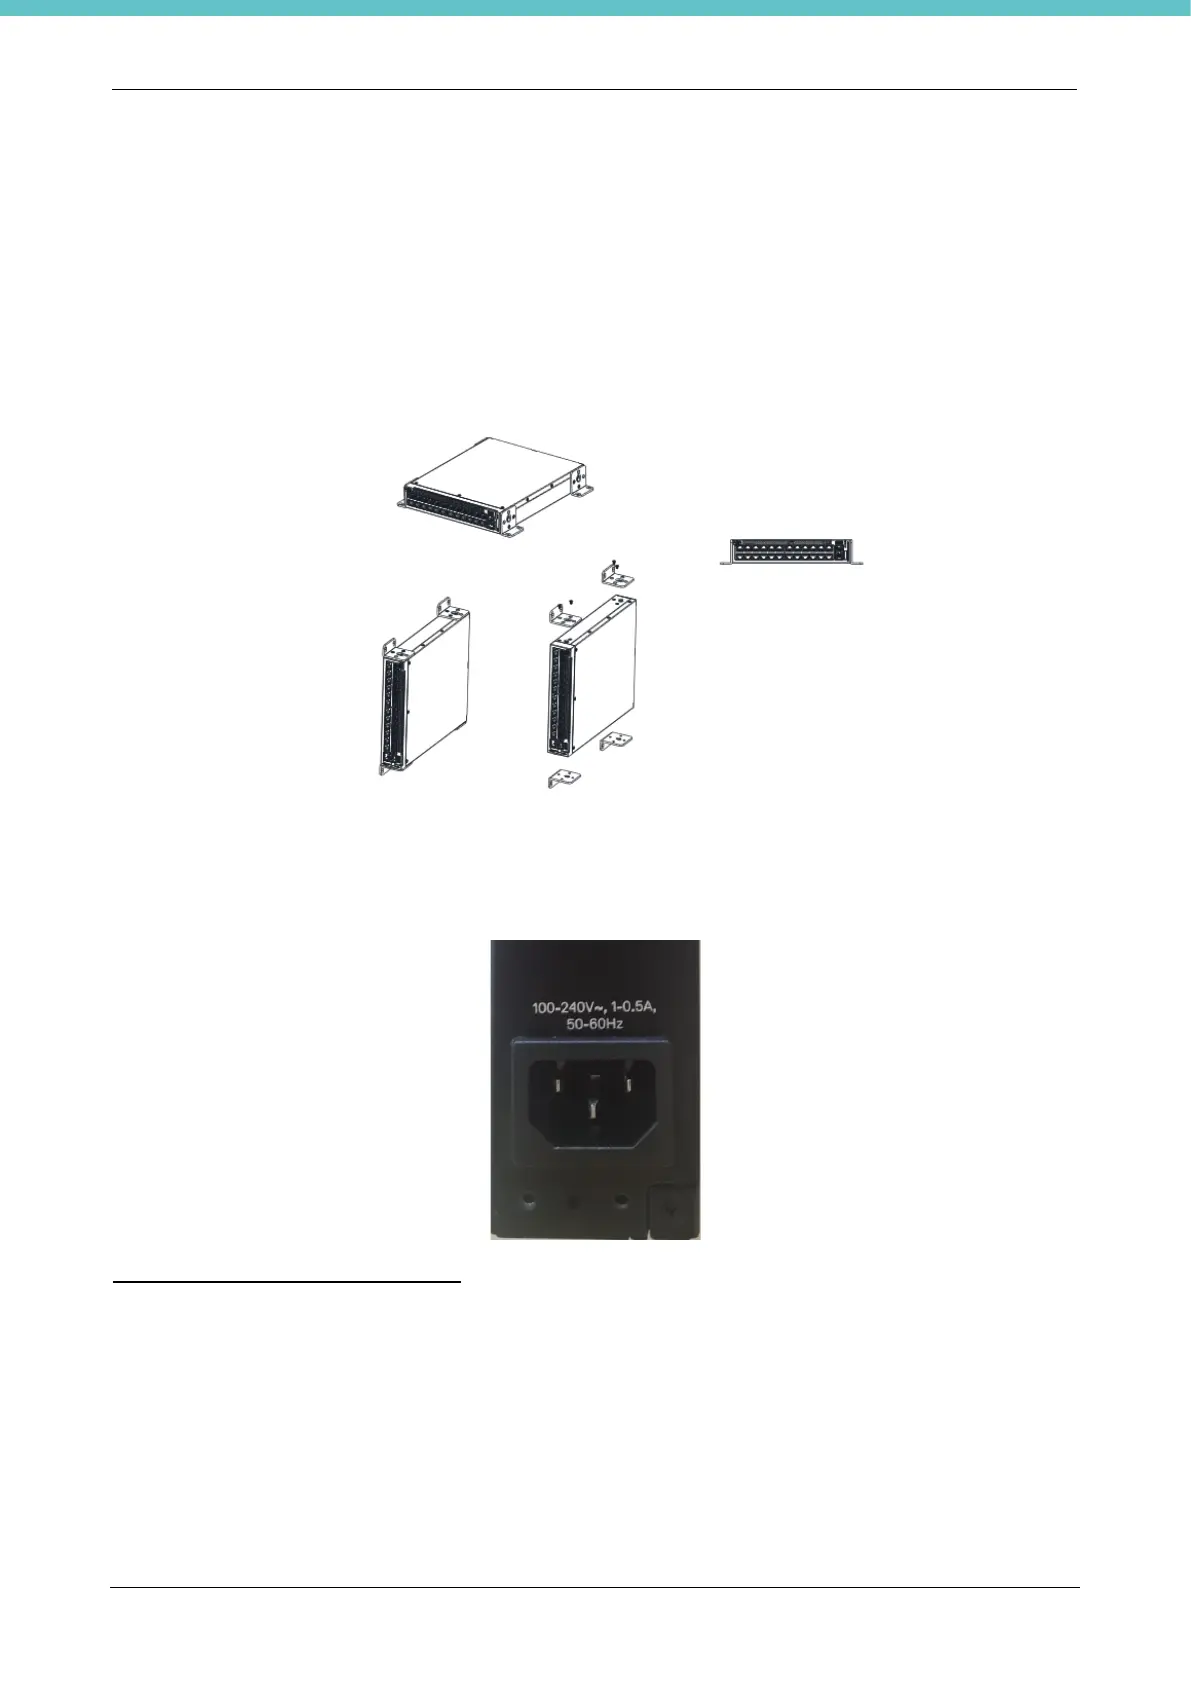
To mount the switch on a wall:
1) Make sure that the mounting location meets the following requirements:
• The surface of the wall must be capable of supporting the switch.
• Allow at least 2 inches (5.1cm) space on the sides for proper ventilation and 5 inches (12.7cm)
at the back for power cable clearance.
• The location must be ventilated to prevent heat buildup.
2) Place the supplied wall-mounting bracket on one side of the switch, verifying that the mounting holes
on the switch line up to the mounting holes on the wall-mounting bracket.
3) Connect the Ethernet cable from the Milestone device to Port 1 of the Programmable Switch, then
connect the ethernet cable from Port 2 to the laboratory/hospital network.
4) Using a standard power cable safely earthed, connect the power cable to the main AC socket located
on the rear panel. Connect the power cable to the earthed AC socket.
Booting the N1100-ON Series Switch
When the power is turned on with the local terminal already connected, the switch goes through a power-on
self-test (POST). POST runs every time the switch is initialized and checks hardware components to determine
if the switch is fully operational before completely booting. If POST detects a critical problem, the program flow
stops. If POST passes successfully, valid firmware is loaded into RAM. POST messages are displayed on the
terminal and indicate test success or failure. The boot process runs for approximately 60 seconds.
You can open the Boot menu after the first part of the POST is completed.
From the Boot menu, you can perform configuration tasks such as resetting the system to default values,
activating the backup image, or recovering a password. For more information about the Boot menu functions,
refer to the CLI Reference Guide.
For further configuration instructions, please refer to the Dell Networking N1108T-ON/N1108P-ON/N1124T-
ON/N1124P-ON/N1148T-ON/N1148P-ON Switches Getting Started Guide included in the device.